如果您有任何关于错误和功能请求的问题,请访问 ZEGOCLOUD 社区
- 打开终端,切换到您项目的根目录,然后运行以下命令以创建
podfilepod init - 编辑
Podfile文件以添加基本依赖项pod 'ZegoUIKitPrebuiltVideoConference' - 在终端中,运行以下命令以使用 Cocoapods 下载所有必需的依赖项和 SDK
pod install
import ZegoUIKitSDK
import ZegoUIKitPrebuiltVideoConference
// YourViewController.swift
class ViewController: UIViewController {
    //Other code...
}
- 转到 ZEGOCLOUD 管理控制台|_blank,获取您项目的
appID和appSign。 - 指定用于连接视频会议套件服务的
userID和userName。 - 创建一个代表您要启动的会议的
conferenceID。
userID和conferenceID只能包含数字、字母和下划线 (_)- 使用相同的
conferenceID将进入相同的视频会议。
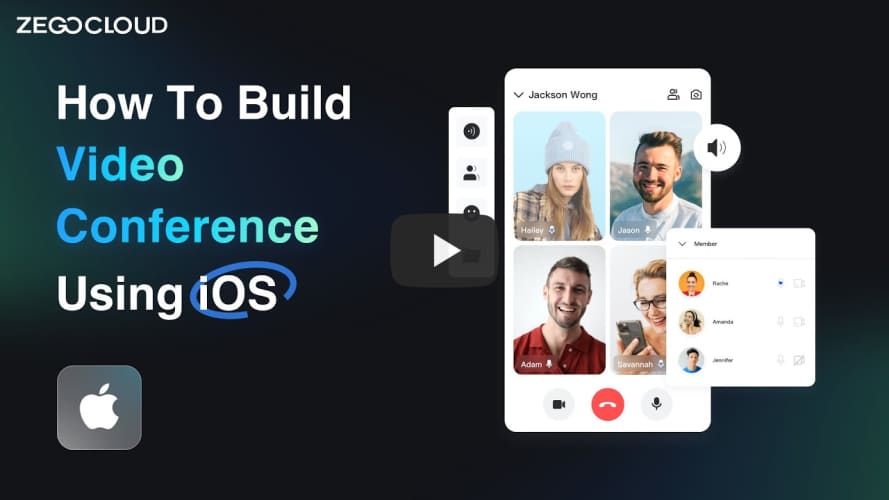
// YourViewController.swift
class ViewController: UIViewController {
    // Other code...
    var userID: String = <#UserID#>
    var userName: String = <#UserName#>
    var conferenceID: String = <#ConferenceID#>

    @IBAction func enterMeeting(_ sender: Any) {

        let config: ZegoUIKitPrebuiltVideoConferenceConfig = ZegoUIKitPrebuiltVideoConferenceConfig()
        let layout: ZegoLayout = ZegoLayout()
        layout.mode = .gallery
        let layoutConfig = ZegoLayoutGalleryConfig()
        layout.config = layoutConfig
        config.layout = layout
        config.useSpeakerWhenJoining = true
        let bottomMenuBarConfig: ZegoBottomMenuBarConfig = ZegoBottomMenuBarConfig()
        bottomMenuBarConfig.style = .dark
        config.bottomMenuBarConfig = bottomMenuBarConfig
        let topMenuBarConfig: ZegoTopMenuBarConfig = ZegoTopMenuBarConfig()
        topMenuBarConfig.buttons = [.switchCameraButton,.showMemberListButton]
        config.topMenuBarConfig = topMenuBarConfig

        let videoConferenceVC: ZegoUIKitPrebuiltVideoConferenceVC = ZegoUIKitPrebuiltVideoConferenceVC.init(appID, appSign: appSign, userID: userID, userName: userName, conferenceID: conferenceID, config: config)
        videoConferenceVC.modalPresentationStyle = .fullScreen
        self.present(videoConferenceVC, animated: true, completion: nil)
    }
}
然后,您可以通过呈现 VC 来启动视频会议。
打开 Info.plist,在 dict 部分添加以下代码
<key>NSCameraUsageDescription</key>
<string>Access permission to camera is required.</string>
<key>NSMicrophoneUsageDescription</key>
<string>Access permission to microphone is required.</string>
现在您已完成所有步骤!
您只需在 XCode 中单击 运行 即可运行和测试您的 App。