Uber Rides iOS SDK
这个 Swift 库 允许您将 Uber Rides API 集成到您的 iOS 应用中。
要求
- iOS 8.0+
- Xcode 10.0+
- Swift 4.2+
安装 Uber Rides SDK
为了安装 Uber Rides SDK,您可以使用 CocoaPods、Carthage 或者将其手动添加到您的项目中。
pod 'UberRides', '~> 0.13'Carthage
github "uber/rides-ios-sdk" ~> 0.13
开始使用
SDK 配置
要开始调用 Uber API,您需要在 Uber 开发者网站(https://developer.uber.com/dashboard/create)上注册应用程序,并获取应用程序凭证。
然后,使用 Uber SDK 的信息配置您的 Xcode。找到您应用程序的 Info.plist 文件。右键单击此文件,然后选择 以源代码方式打开 > 源代码
添加以下代码片段,将方括号内([])的占位符替换为您从开发者仪表板中获取的应用程序信息。(注意:请不要包含方括号)
<key>UberClientID</key>
<string>[ClientID]</string>
<key>UberServerToken</key>
<string>[Server Token]</string>
<key>UberDisplayName</key>
<string>[App Name]</string>
<key>LSApplicationQueriesSchemes</key>
<array>
    <string>uber</string>
    <string>uberauth</string>
</array>
注意:在用户尚未通过 Uber 进行身份验证时,您的 服务器密钥 用于生成 价格 & 和 时间 估计。我们建议仅在您需要在使用者登录之前获取估计时将其添加到您的 Info.plist 中。
乘车请求按钮
RideRequestButton 是显示 Uber 产品的价格和时间估计的简单方法,并且可以自定义以执行各种操作。该按钮接受描述产品 ID、出发地点和到达地点的 RideParameters。默认情况下,按钮显示无信息。
要显示时间估计,设置产品 ID 和出发地点。要显示价格估计,您还需要设置一个到达地点。
将库导入到您的项目中,并像添加任何其他 UIView 一样将乘车请求按钮添加到视图中。
// Swift
import UberRides

let button = RideRequestButton()
view.addSubview(button)
// Objective-C
@import UberRides;
UBSDKRideRequestButton *button = [[UBSDKRideRequestButton alloc] init];
[view addSubview:button];这将创建一个带默认行为的请求按钮,取件位置的针设置为用户的当前位置。用户将在切换到 Uber 应用程序时选择产品并输入其他信息。
使用 RideParameters 添加参数
该SDK提供了一个简单的对象来定义您的行程请求。RideParameters对象允许您指定上车地点、下车地点、产品ID等。使用RideParametersBuilder对象创建RideParameters非常简单。
// Swift
import UberRides
import CoreLocation

let builder = RideParametersBuilder()
let pickupLocation = CLLocation(latitude: 37.787654, longitude: -122.402760)
let dropoffLocation = CLLocation(latitude: 37.775200, longitude: -122.417587)
builder.pickupLocation = pickupLocation
builder.dropoffLocation = dropoffLocation
builder.dropoffNickname = "Somewhere"
builder.dropoffAddress = "123 Fake St."
let rideParameters = builder.build()

let button = RideRequestButton(rideParameters: rideParameters)
// Objective-C
@import UberRides;
@import CoreLocation;
UBSDKRideParametersBuilder *builder = [[UBSDKRideParametersBuilder alloc] init];
CLLocation *pickupLocation = [[CLLocation alloc] initWithLatitude:37.787654 longitude:-122.402760];
CLLocation *dropoffLocation = [[CLLocation alloc] initWithLatitude:37.775200 longitude:-122.417587];
[builder setPickupLocation:pickupLocation];
[builder setDropoffLocation:dropoffLocation];
[builder setDropoffAddress:@"123 Fake St."];
[builder setDropoffNickname:@"Somewhere"];
UBSDKRideParameters *rideParameters = [builder build];
UBSDKRideRequestButton *button = [[UBSDKRideRequestButton alloc] initWithRideParameters:rideParameters];我们建议传递额外的参数,以使用户的Uber体验更加无缝。例如,可以使用下车地点参数自动将用户的 destination 信息传递给司机。设置所有必要的参数后,按下按钮即可无缝显示行程请求确认界面。
注意:如果您正在使用深入链接到Uber应用的RideRequestButton并想指定一个下车地点,您必须提供该地点的昵称或格式化地址。否则,将不会显示标记。
您还可以使用RideRequestButtonDelegate在按钮刷新期间接收成功和失败事件的告知。
行程请求Deep Link
如果您不想使用Uber提供的按钮,您也可以类似于上述方式手动发起一个deep link。
// Swift
import UberRides
import CoreLocation

let builder = RideParametersBuilder()
// ...
let rideParameters = builder.build()

let deeplink = RequestDeeplink(rideParameters: rideParameters)
deeplink.execute()
// Objective-C
@import UberRides;
@import CoreLocation;
UBSDKRideParametersBuilder *builder = [[UBSDKRideParametersBuilder alloc] init];
// ...
UBSDKRideParameters *rideParameters = [builder build];
UBSDKRequestDeeplink *deeplink = [[UBSDKRequestDeeplink alloc] initWithRideParameters:rideParameters];
[deeplink executeWithCompletion:nil];借助行程请求Deep Link,您可以为未安装Uber应用的用户指定回退。有了回退,他们将被重定向到Uber的移动网页版或App Store。要这样做,只需添加fallbackType参数。
// Swift
let deeplink = RequestDeeplink(rideParameters: rideParameters, fallbackType: .mobileWeb) // Or .appStore

// Objective-C
UBSDKRequestDeeplink *requestDeeplink = [[UBSDKRequestDeeplink alloc] initWithRideParameters:rideParameters
                                          fallbackType:UBSDKDeeplinkFallbackTypeMobileWeb];
通过Uber登录
要使用SDK的其他功能,您需要让最终用户授权您的应用程序使用Uber API。
设置
首先,打开Uber开发者仪表板。转到授权标签,在应用程序签名下,输入您的iOS应用程序的Bundle ID。
我们还需要为您的应用程序注册一个重定向URL。这确保Uber在用户登录后将用户发送到正确的应用程序。创建以下格式的URL,并保存您的应用程序: YourApplicationBundleID://oauth/consumer。
在您的Xcode项目中,您还需要将URL方案以及回调URL与Uber SDK注册。将以下内容复制到您的Info.plist中,替换相关值。
注意:如果您在
Info.plist文件中已经有了以下键之一,您必须将值添加到它们,而不是重复键。
<key>UberCallbackURIs</key>
<array>
    <dict>
        <key>UberCallbackURIType</key>
        <string>General</string>
        <key>URIString</key>
        <string>[Your Bundle ID Here]://oauth/consumer</string>
    </dict>
</array>
<key>CFBundleURLTypes</key>
<array>
    <dict>
        <key>CFBundleTypeRole</key>
        <string>Editor</string>
        <key>CFBundleURLSchemes</key>
        <array>
            <string>[Your Bundle ID Here]</string>
        </array>
    </dict>
</array>
您还需要修改应用程序的App Delegate以调用RidesAppDelegate来处理URL。
// Swift
// Add the following calls to your AppDelegate
import UberCore

@available(iOS 9, *)
func application(_ app: UIApplication, open url: URL, options: [UIApplicationOpenURLOptionsKey : Any]) -> Bool {
    let handledUberURL = UberAppDelegate.shared.application(app, open: url, sourceApplication: options[UIApplicationOpenURLOptionsKey.sourceApplication] as? String, annotation: options[UIApplicationOpenURLOptionsKey.annotation] as Any)

    return handledUberURL
}

func application(_ application: UIApplication, open url: URL, sourceApplication: String?, annotation: Any) -> Bool {
    let handledUberURL = UberAppDelegate.shared.application(application, open: url, sourceApplication: sourceApplication, annotation: annotation)

    return handledUberURL
}
// Objective-C
// Add the following calls to your AppDelegate
@import UberCore;
// iOS 9+
- (BOOL)application:(UIApplication *)app openURL:(NSURL *)url options:(NSDictionary<NSString *,id> *)options {
BOOL handledURL = [[UBSDKAppDelegate shared] application:app open:url sourceApplication:options[UIApplicationOpenURLOptionsSourceApplicationKey] annotation:options[UIApplicationOpenURLOptionsAnnotationKey]];
return handledURL;
}
// iOS 8
- (BOOL)application:(UIApplication *)application openURL:(NSURL *)url sourceApplication:(NSString *)sourceApplication annotation:(id)annotation {
BOOL handledURL = [[UBSDKAppDelegate shared] application:application open:url sourceApplication:sourceApplication annotation:annotation];
return handledURL;
}登录按钮
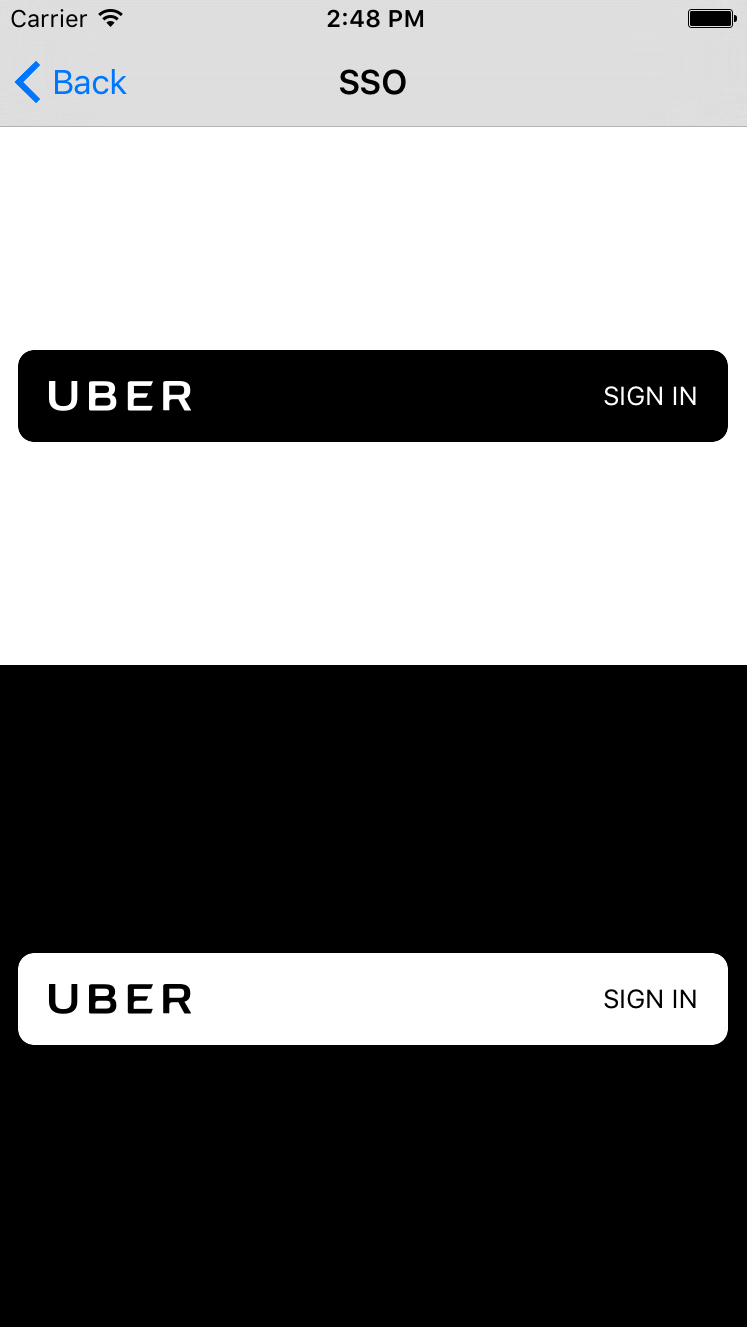
登录按钮是一种简化用户授权的方式。您通过向Uber请求特定的作用域或权限来初始化该按钮。更多关于作用域信息。当用户点击按钮时,将执行登录操作。
您可以可选地设置一个LoginButtonDelegate以接收登录/注销成功的通知。
// Swift
import UberCore

let scopes: [UberScope] = [.profile, .places, .request]
let loginManager = LoginManager(loginType: .native)
let loginButton = LoginButton(frame: CGRect.zero, scopes: scopes, loginManager: loginManager)
loginButton.presentingViewController = self
loginButton.delegate = self
view.addSubview(loginButton)

// Mark: LoginButtonDelegate

func loginButton(_ button: LoginButton, didLogoutWithSuccess success: Bool) {
	// success is true if logout succeeded, false otherwise
}

func loginButton(_ button: LoginButton, didCompleteLoginWithToken accessToken: AccessToken?, error: NSError?) {
    if let _ = accessToken {
        // AccessToken Saved
    } else if let error = error {
        // An error occured
    }
}
// Objective-C
@import UberCore;
NSArray<UBSDKScope *> *scopes = @[UBSDKScope.profile, UBSDKScope.places, UBSDKScope.request];
UBSDKLoginManager *loginManager = [[UBSDKLoginManager alloc] initWithLoginType:UBSDKLoginTypeNative];
UBSDKLoginButton *loginButton = [[UBSDKLoginButton alloc] initWithFrame:CGRectZero scopes:scopes loginManager:loginManager];
loginButton.presentingViewController = self;
[loginButton sizeToFit];
loginButton.delegate = self;
[self.view addSubview:loginButton];
#pragma mark - UBSDKLoginButtonDelegate
- (void)loginButton:(UBSDKLoginButton *)button didLogoutWithSuccess:(BOOL)success {
// success is true if logout succeeded, false otherwise
}
- (void)loginButton:(UBSDKLoginButton *)button didCompleteLoginWithToken:(UBSDKAccessToken *)accessToken error:(NSError *)error {
if (accessToken) {
// UBSDKAccessToken saved
} else if (error) {
// An error occured
}
}自定义集成
如果您想在您的应用中提供更多定制的体验,有一些类需要您熟悉。阅读下面的部分,您将很快就能请求行程了!
Uber行程API端点
SDK公开了Uber开发者文档中所有可用的端点。某些端点可以使用服务器令牌进行认证,但对于大多数端点,您将需要一个承载令牌。承载令牌可以通过隐式授权、授权代码授权或SSO获取。要授权特权作用域,您必须使用授权代码授权或SSO。
请访问CocoaDocs阅读完整的API文档。
RidesClient是您访问Uber行程API中所有端点的地方。只需您的服务器令牌,您就可以获取Uber产品的列表,以及价格和时间估计。
// Swift example
let ridesClient = RidesClient()
let pickupLocation = CLLocation(latitude: 37.787654, longitude: -122.402760)
ridesClient.fetchProducts(pickupLocation: pickupLocation, completion:{ products, response in
    if let error = response.error {
        // Handle error
        return
    }
    for product in products {
        // Use product
    }
})
// Objective-C example
UBSDKRidesClient *ridesClient = [[UBSDKRidesClient alloc] init];
CLLocation *pickupLocation = [[CLLocation alloc] initWithLatitude: 37.787654 longitude: -122.402760];
[ridesClient fetchProductsWithPickupLocation: pickupLocation completion:^(NSArray<UBSDKProduct *> * _Nullable products, UBSDKResponse *response) {
if (response.error) {
// Handle error
return;
}
for (UBSDKProduct *product in products) {
// Use product
}
}];本地/SSO授权
要获取更多有信息量的端点,您需要让最终用户授权您的应用程序访问他们的Uber数据。
最简单的授权形式是使用.native登录类型。它允许您请求特权作用域,并且如果您的用户已登录Uber应用程序,则不需要用户输入用户名和密码。这要求用户在设备上拥有本地Uber应用程序。
本地身份验证可以通过Uber出行主应用程序或Uber Eats应用程序进行。您也可以从一个应用程序切换到另一个应用程序,例如,如果用户设备上未安装UberEats应用程序,您可以通过主Uber出行应用程序进行身份验证。
// Swift
let loginManager = LoginManager(loginType: .native, productFlowPriority: [UberAuthenticationProductFlow(.eats), UberAuthenticationProductFlow(.rides)])
// Objective-C
UBSDKUberAuthenticationProductFlow *eatsProduct = [[UBSDKUberAuthenticationProductFlow alloc] init:UberProductTypeEats];
UBSDKUberAuthenticationProductFlow *ridesProduct = [[UBSDKUberAuthenticationProductFlow alloc] init:UberProductTypeRides];
UBSDKLoginManager *loginManager = [[UBSDKLoginManager alloc] initWithLoginType:loginType productFlowPriority:@[ eatsProduct, ridesProduct ]];LoginManager默认使用主Uber出行应用程序的本地登录类型,因此您可以简单地实例化一个LoginManager,并使用您请求的权限范围调用login()。
// Swift
let loginManager = LoginManager()
loginManager.login(requestedScopes:[.request], presentingViewController: self, completion: { accessToken, error in
    // Completion block. If accessToken is non-nil, you’re good to go
    // Otherwise, error.code corresponds to the RidesAuthenticationErrorType that occured
})
// Objective-C
UBSDKLoginManager *loginManager = [[UBSDKLoginManager alloc] init];
[loginManager loginWithRequestedScopes:@[ UBSDKScope.request ] presentingViewController: self completion: ^(UBSDKAccessToken * _Nullable accessToken, NSError * _Nullable error) {
// Completion block. If accessToken is non-nil, you're good to go
// Otherwise, error.code corresponds to the RidesAuthenticationErrorType that occured
}];注意:presentingViewController参数是可选的,但如果提供了该参数,将尝试智能地回退到其他登录方法。否则,将用户重定向到App Store下载Uber应用程序。
| 身份验证方法 | 令牌类型 | 允许的权限范围 |
|---|---|---|
| 无 | 服务器 | 无(可访问产品和估算) |
| 隐式授权 | 持票人 | 通用 |
| 授权代码授权 | 持票人 | 特权通用 |
| SSO | 持票人 | 特权通用 |
自定义授权 / TokenManager
如果您的应用程序允许用户通过自定义逻辑进行授权,您需要手动创建一个AccessToken并将其保存到keychain中,使用TokenManager。
// Swift
let accessTokenString = "access_token_string"
let token = AccessToken(tokenString: accessTokenString)
if TokenManager.save(accessToken: token) {
    // Success
} else {
    // Unable to save
}
// Objective-C
NSString *accessTokenString = @"access_token_string";
UBSDKAccessToken *token = [[UBSDKAccessToken alloc] initWithTokenString: accessTokenString];
if ([UBSDKTokenManager saveWithAccessToken: token]) {
// Success
} else {
// Unable to save
}TokenManager还可以用于获取和删除AccessToken。
// Swift
TokenManger.fetchToken()
TokenManager.deleteToken()
// Objective-C
[UBSDKTokenManager fetchToken];
[UBSDKTokenManager deleteToken];获得帮助
Uber开发人员积极关注StackOverflow上的Uber 标签。如果您需要安装或使用库的帮助,您可以在那里提出问题。确保将问题标记为uber-api和ios!
有关我们的API的完整文档,请访问我们的开发者网站。
贡献
我们
注意:所有贡献者也需要在合并任何更改之前填写Uber贡献许可协议。
请将任何针对develop分支的pull请求打开。
许可协议
Uber Rides iOS SDK遵循MIT许可协议发布。有关更多详细信息,请参阅LICENSE文件。

