URWeatherView


这是为什么?
显示一些天气效果,用Swift3编写。
此代码风格是面向协议编程。
要显示由Adobe After Effects制作的矢量动画,可以使用Lottie代替UIImageView。
在使用URWeatherView之前,需要哪些资源?
1. 主图像或主Lottie资源(必需)
- 天气效果的主要目标
- 应用色调曲线滤镜或渐变蒙版
2. 主视图的背景图(可选)
- 天气效果背景图
3. 顶部图像(可选)
- 天气特效顶部图像
- 如果您想要额外的效果,可以使用它。
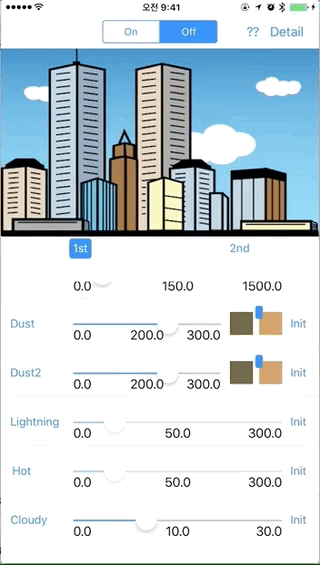
可供使用的天气效果
1. 雪

2. 雨

3. 尘土
- #1

- #2


4. 闪电
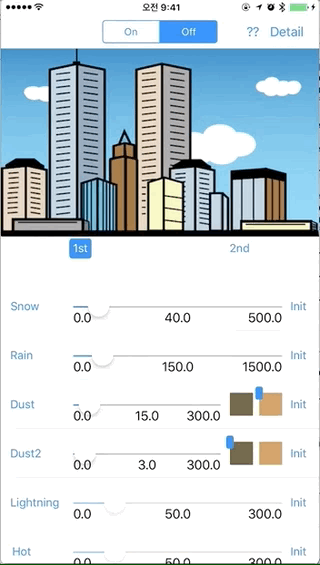
5. 热门

6. 阴天
使用库栈
SpriteKit
CIFilter & CIKernel & Core Imager Kernel Language(类似于GLSL)
Lottie
- 我需要应用颜色过滤器以实现天气效果。
因此,我制作了一个自定义的 Lottie 库来从 LOTAnimationView 获取一些属性。 - 这是lottie-ios-extension。
要求
- iOS 9.0+
- Swift 3.0+
安装
Cocoapods
在您的 Podfile 中添加以下代码。
pod "URWeatherView"
依赖项
lottie-ios-extension
(但,当使用 URWeatherView 时,您无需关心这一点,因为它已包含了这个依赖项。)
Carthage
在您的 Cartfile 中添加以下代码。
github "jegumhon/URWeatherView"
依赖项
lottie-ios-extension
(但,当使用 URWeatherView 时,您无需关心这一点,因为它已包含了这个依赖项。)
示例
查看 Example 文件夹。
运行 pod install 并打开 .xcworkspace。
(示例源代码是为使用 Carthage 而制作的。
因此,您需要从项目的 General 设置中移除链接的框架。
然后,您需要从项目的 Build Phases 设置中移除 Carthage 的运行脚本。)
或者
运行 carthage update 并打开 .xcodeproj。
使用方法
import URWeatherView1. 初始化天气视图
    // for example...

    // You can use the xib or storyboard to show the URWeatheView...
    @IBOutlet var mainView: URWeatherView!

    override func viewDidLoad() {
        super.viewDidLoad()

        // set the main Image to apply the weather effects...
        // and set the backgroundImage, if you want to apply...
        self.mainView.initView(mainWeatherImage: #imageLiteral(resourceName: "buildings"), backgroundImage: #imageLiteral(resourceName: "bluesky.en"))

        // or, to use Lottie, do like below..
        // self.mainView.initView(dataNameOfLottie: "data", backgroundImage: #imageLiteral(resourceName: "bluesky.en"))
    }
1.1. 如何使用Lottie
- 详细了解Lottie使用指南,请访问 Lottie-iOS
- 将lottie文件添加到项目中,然后只需使用json文件名来加载Lottie视图
2. 显示或移除天气效果
    func showWeather() {
        let weather: URWeatherType = .cloudy
        self.mainView.startWeatherSceneBulk(weather, debugOption: true, additionalTask: {
            // task what you want to do after showing the weather effect...
        })
    }

    func removeWeather() {
        self.mainView.stop()
    }
3. 😀 URWeatherView的配置参数😀
使用或组合URWeatherView中的函数,可以自定义天气效果。默认的配置参数如下。
- birthRate:粒子的出生率。在效果中使用,例如雪、雨、灰尘、云。
- upperImage:天气视图上的图像。(可选)
- duration:持续时间(秒)。应用于URWeatherView的一些效果中。
- debugOption:启用以显示SpriteKit的调试选项。默认为“false”。这用于SpriteKit帧检查。
- 云效果选项:特别地,您可以使用此结构来自定义云效果。示例代码包含在示例代码中。或者您也可以查看下面的代码。
    case .cloudy:
    //    self.mainView.startWeatherSceneBulk(cell.weather, duration: 33.0, debugOption: self.segment.selectedSegmentIndex == 0)

        self.mainView.initWeather()
        self.mainView.setUpperImageEffect(customImage: nil)
        let option = UREffectCloudOption(CGRect(x: 0.0, y: 0.5, width: 1.0, height: 0.5), angleInDegree: 0.0, movingDuration: 33.0)
        self.mainView.startWeatherScene(cell.weather, duration: 33.0, userInfo: [URWeatherKeyCloudOption: option])
待办事项
- 将Core Image Kernel转移至 Metal。
许可
URWeatherView 项目遵循 MIT 许可。更多详细信息请参阅LICENSE 文件。
