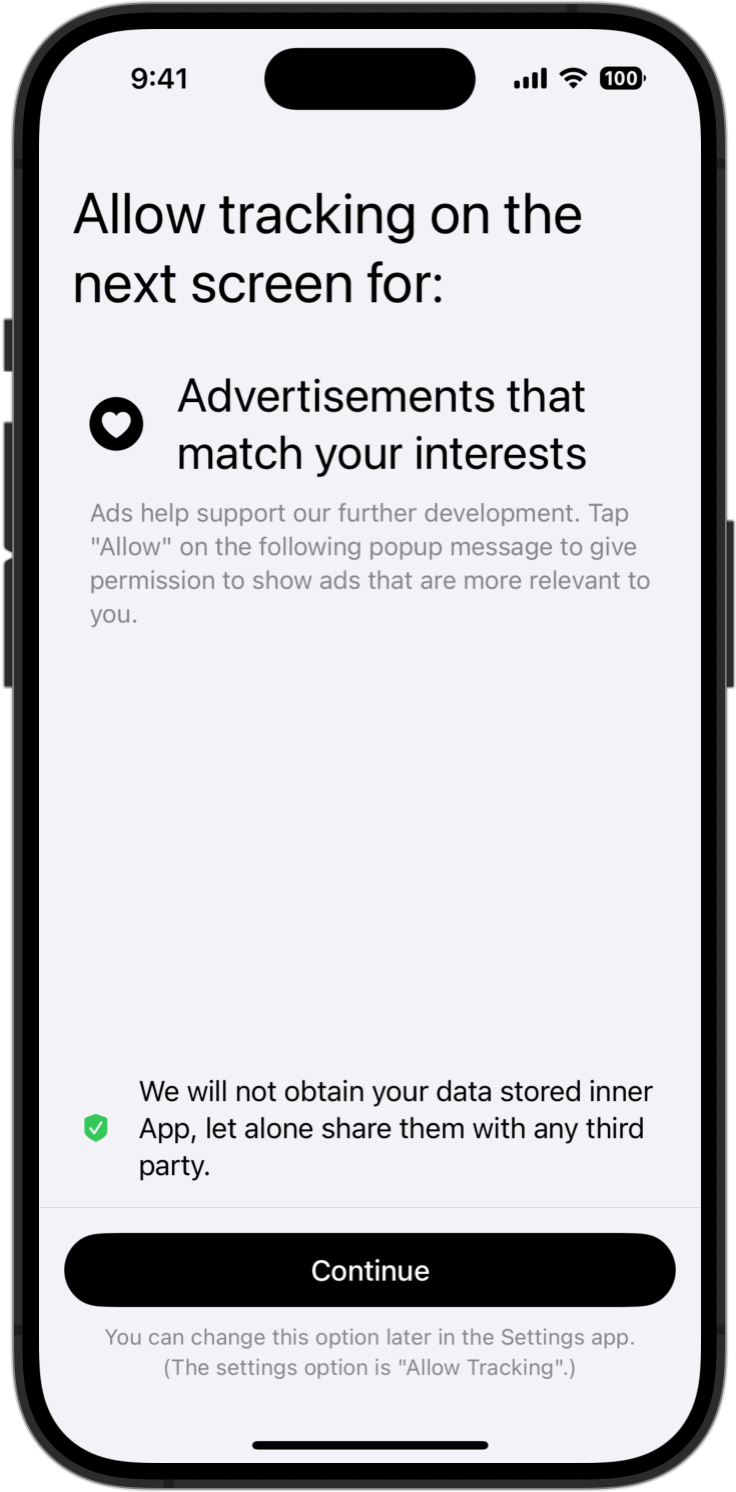
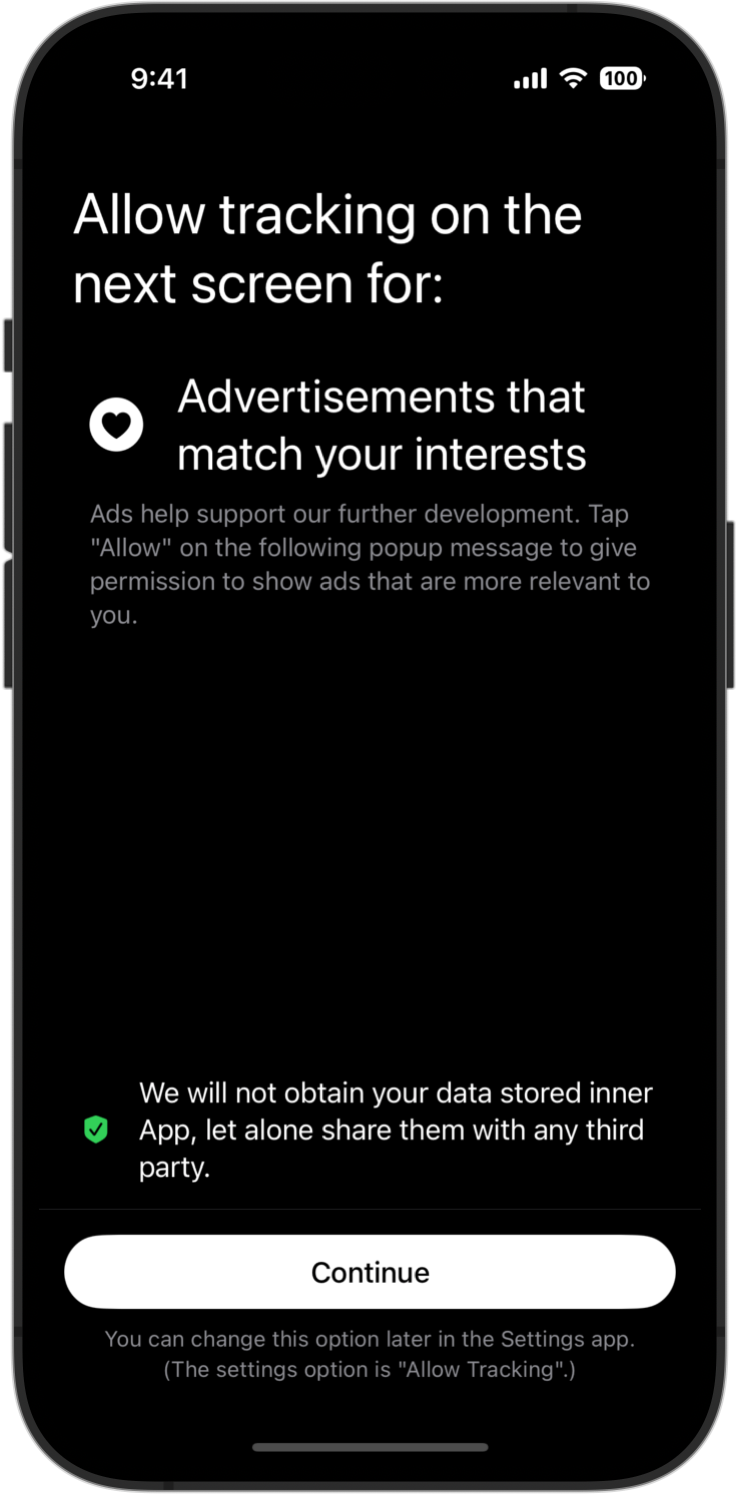
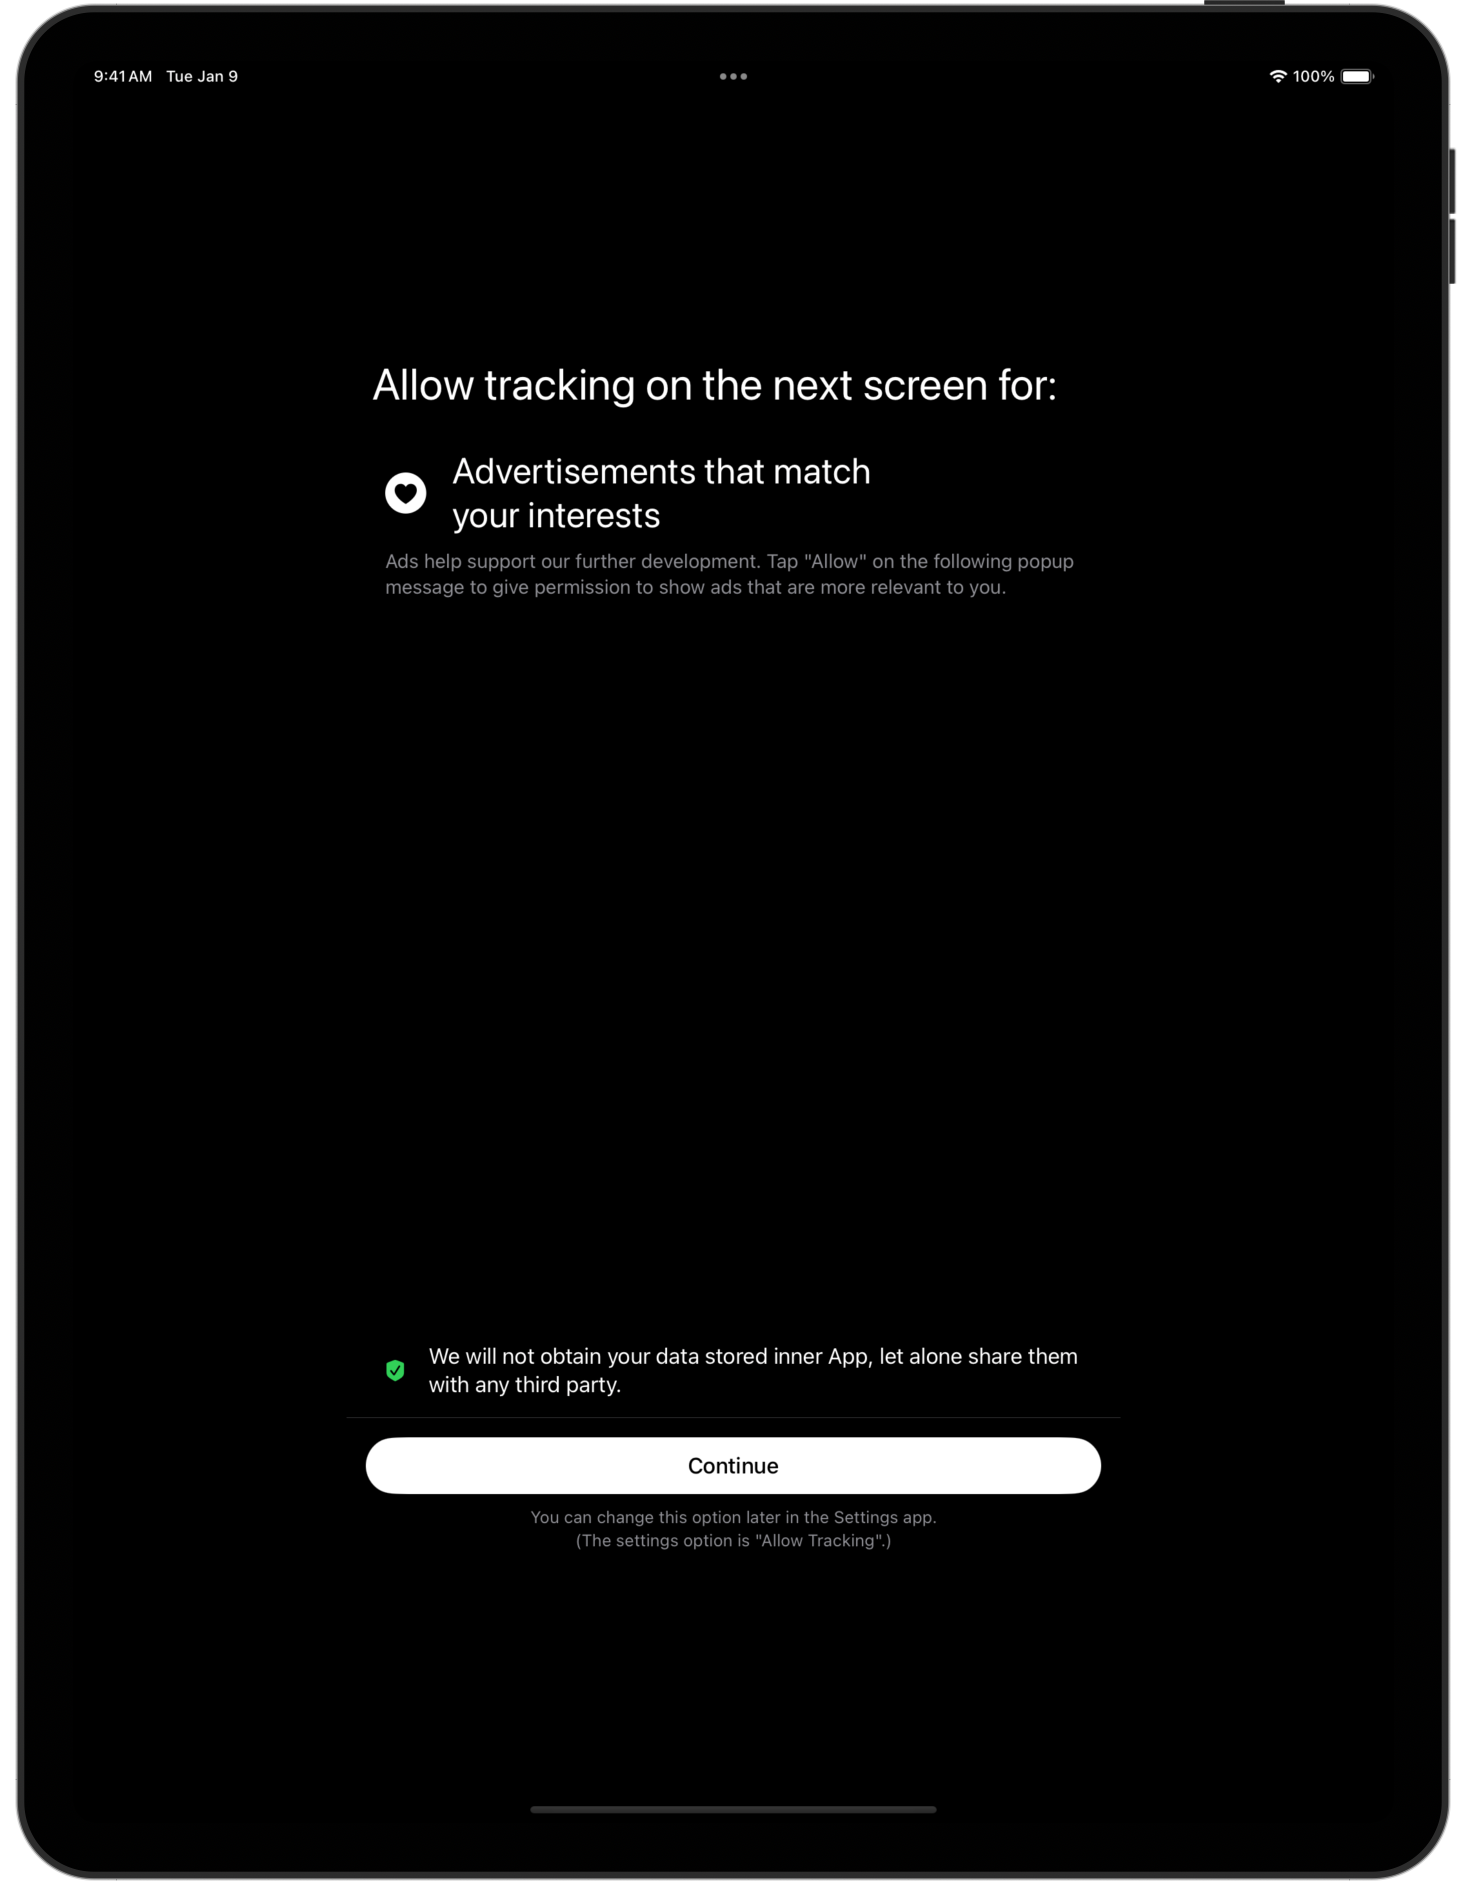
UDAExplainer
敏感用户数据访问说明,例如用于照片库、面容 ID、应用追踪透明度等。
与 SwiftUI 一起使用
@State private var explainerType: UDAExplainerType?
private let isCompactDevice: Bool = UIDevice.current.userInterfaceIdiom == .phone

var body: some View {
  ... {
    // Assign self.explainerType when the authorisation status is not determined.
  }
  .fullScreenCover(item: $explainerType) { type in
    let config = UDAExplainerDefaultDataSource.configuration(for: type, inCompactDevice: self.isCompactDevice)
    UDAExplainerView(config: config)
  }
  .onReceive(NotificationCenter.default.publisher(for: .UDAExplainer.shouldContinue)) { note in
    if let type = note.object as? UDAExplainerType {
      // ... Do authorisation for this type, and post notification to dismiss the explainer view
      //   when the authorisation is done.
      NotificationCenter.default.post(name: .UDAExplainer.shouldDismissView, object: type)
    }
  }
}
与 UIKit 一起使用
func presentUDAExplainer(for type: UDAExplainerType) {
  let config = UDAExplainerDefaultDataSource.configuration(for: type, inCompactDevice: self.isCompactDevice)
  let explainerViewController = UDAExplainerHostingController(with: config)
  viewController.present(explainerViewController, animated: false)

  NotificationCenter.default.addObserver(
    self,
    selector: #selector(_handleUDAExplainerShouldContinueNotification),
    name: .UDAExplainer.shouldContinue,
    object: nil)
}

@objc private func _handleUDAExplainerShouldContinueNotification(_ note: NSNotification) {
  guard let type = note.object as? UDAExplainerType else {
    return
  }
  NotificationCenter.default.removeObserver(self, name: .UDAExplainer.shouldContinue, object: nil)

  // ... Do authorisation for this type, and post notification to dismiss the explainer view
  //   when the authorisation is done.
  NotificationCenter.default.post(name: .UDAExplainer.shouldDismissView, object: type)
}
自定义
您可以使用自定义的 UDAExplainerConfiguration 实例为 UDAExplainer 提供预期的内容和颜色集。
请参考 UDAExplainerDefaultDataSource 以获取详细信息。