SpotlightSearch
在SwiftUI和Combine中编写的Spotlight Search UI。


SpotlightSearch旨在提供macOS spotlight搜索UI/UX以及更多。
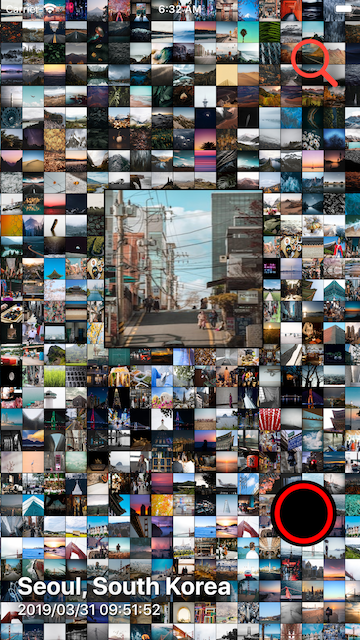
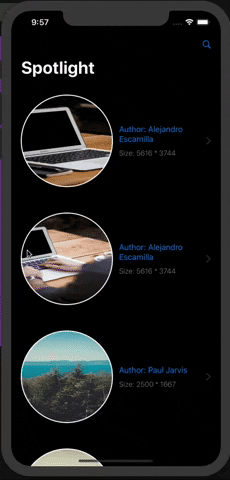
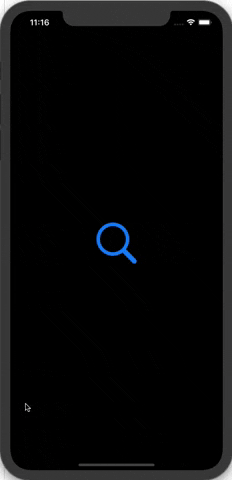
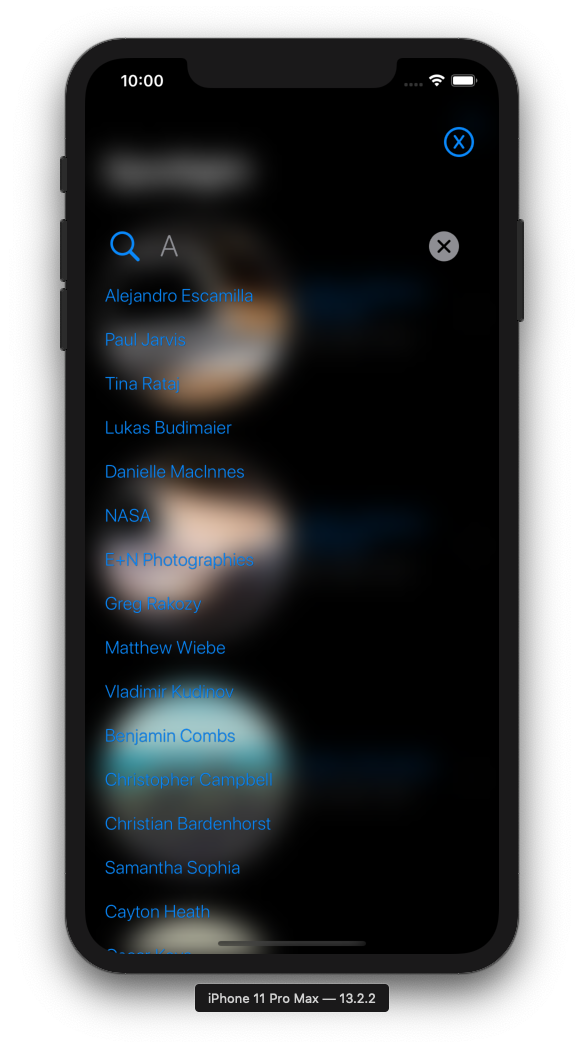
截图
关于暗黑模式下如何工作的YouTube视频链接
链接0
关于普通模式下如何工作的YouTube视频链接
链接0
概览
// MARK: - Body
 var body: some View {
     SpotlightSearch(searchKeywords:viewModel.searchableItems,
               isSearching:$isSearching,
               didChangeSearchText: { self.viewModel.searchText = $0 },
               didTapSearchItem: { self.viewModel.searchText = $0 }) {
                 Text("Your view goes here")
     }
 }
特点
- 100%用SwiftUI和Combine编写的
- 旨在提供类似于iOS和macOS Spotlight Search的快速而美观的搜索UI/UX
- 完全面向MVVM
- 目标是简单易用的API
示例
运行示例项目,首先克隆仓库,然后从示例目录运行pod install。它包括UIKit和SwiftUI的示例。
需求
- iOS 13.0 或更高版本
- Swift 5.0 或更高版本
- Xcode 11.0 或更高版本
入门
- SwiftUI 简化版。只需复制并粘贴以下代码。它将正常工作。
- 克隆存储库
- 切换并选择 'QuickExample' 目标。
- 构建并运行。
在 'QuickExample' 目录下,有示例代码。
//
//  ContentView.swift
//  QuickExample
//
//  Created by Seoksoon Jang on 2019/12/05.
//  Copyright © 2019 Seoksoon Jang. All rights reserved.
//

import SwiftUI

/// Step1: 😆 import `SpotlightSearch`!
import SpotlightSearch

struct ContentView: View {
    @State private var isSearching = false
    @ObservedObject var viewModel = TestViewModel()

    // MARK: - Body
    var body: some View {
        /// Step2: 😆 Declare `Spotlight` externally.
        SpotlightSearch(searchKeywords:viewModel.searchableItems,
                  isSearching:$isSearching,
                  didChangeSearchText: { self.viewModel.searchText = $0 },
                  didTapSearchItem: { self.viewModel.searchText = $0 }) {
                    /// Step3: 😎 Let's wrap SwiftUI Views in it using trailing closure.
                    Button(action: {
                        withAnimation(.easeIn(duration: 0.3)) {
                            self.isSearching.toggle()
                        }
                    }) {
                        ZStack {
                            Image(systemName: "magnifyingglass")
                                .resizable()
                                .scaledToFit()
                                .frame(width: 80.0, height: 80.0)
                                .foregroundColor(.blue)
                        }

                    }
        }
    }
}

class TestViewModel: ObservableObject {
    @Published var searchText: String = ""
    @Published var searchableItems: [String] = ["Objective-C",
                                                "Clojure",
                                                "Swift",
                                                "Javascript",
                                                "Python",
                                                "Haskell",
                                                "Scala",
                                                "Rust",
                                                "C",
                                                "C++",
                                                "Dart",
                                                "C#",
                                                "F#",
                                                "LISP",
                                                "Golang",
                                                "Kotlin",
                                                "Java",
                                                "Assembly",
                                                "안녕하세요",
                                                "감사합니다",
                                                "사랑합니다",
                                                "행복하세요"]
}
- 使用 Combine 基础网络操作的 SwiftUI MVVM 示例代码。您需要设置自己的逻辑。
- 克隆存储库
- 切换并选择 'SwiftUIExample' 目标
- 构建并运行。
在 SwiftExample 目录下,有示例代码。
import SwiftUI

/// Step1: 😙 import `Spotlight`
import SpotlightSearch

struct ContentView: View {
    /// Assuming your viewmodel is like the example view model in the demo project, the way of how to use is as below.
    /// You can clone this repo then there is SwiftUIExample target demo project in it.
    @ObservedObject var viewModel: ItemListViewModel()
    @State private var isSearching = false

    // MARK: - Body
    var body: some View {
        /// Step2: 😆 Declare `Spotlight` externally.
        SpotlightSearch(searchKeywords:viewModel.searchableItems,
                  isSearching:$isSearching,
                  didChangeSearchText: { self.viewModel.searchText = $0 },
                  didTapSearchItem: { self.viewModel.searchText = $0 }) {
                    /// Step3: 😎 Let's wrap SwiftUI Views in it using trailing closure.
                    self.navigationView
        }
    }
}
注意事项
由于 SwiftUI 处于非常早期的发展阶段,缺乏大量 API,并且无法使用 SwiftUI 100% 实现这种 UI 变化,因此 SpotlightSearch 目前使用以下 全局 API 来全局更改 UITableViewCell 和 UITableView 属性 。
在将 SpotlightSearch 应用于您应用程序时,请特别注意,可能会导致您应用程序中的 UI/UX 产生意外的变化。我将关注 SwiftUI API 的变化,并在可能的情况下,随着新版本的发布,尽快修复此解决方法。
请注意,SpotlightSearch 在最新版本中在初始化器中使用以下实现:
// MARK: - Initializers
public init(searchKeywords: [String],
     isSearching: Binding<Bool>,
     didChangeSearchText: @escaping (String) -> Void,
     didTapSearchItem: @escaping (String) -> Void,
     wrappingClosure: @escaping () -> Content) {

    /// FIXME: THOSE GLOBAL THINGS MAY BE APPLIED TO ALL APP ALTHOUGH MODULE IS SEPARATED.
    /// BUT, THERE IS NO SUCH THING AS API BY WHICH I CAN MODIFY SWIFTUI.
    UITableView.appearance().allowsSelection = false
    UITableView.appearance().separatorStyle = .none
    UITableView.appearance().backgroundColor = .clear
    UITableView.appearance().tableFooterView = UIView()
    UITableView.appearance().contentInset = UIEdgeInsets(top:0,
                                                         left: 0,
                                                         bottom: 300,
                                                         right: 0)

    UITableViewCell.appearance().selectionStyle = .none
    UITableViewCell.appearance().backgroundColor = .clear

    self.content = wrappingClosure
    self._isSearching = isSearching

    self.didTapSearchItem = didTapSearchItem
    self.didChangeSearchText = didChangeSearchText

    self.spotlightSearchVM = SpotlightSearchVM(searchKeywords: searchKeywords,
                                               didChangeSearchText: didChangeSearchText)
}
安装
官方有两种方法可以在项目中使用 SpotlightSearch
- 使用 CocoaPods
- 使用 Swift 包管理器
使用 CocoaPods 进行安装
CocoaPods 是 Objective-C 的依赖管理器,它可以自动化并简化在你的项目中使用第三方库的过程。详情请参阅 入门 部分。
Podfile
首先,
pod 'SpotlightSearch'然后在您的根项目中,
pod install使用 Swift Package Manager(Xcode 11+)进行安装
Swift Package Manager(SwiftPM)是一个用于管理 Swift 代码分发以及 C 家族依赖的工具。从 Xcode 11 开始,SwiftPM 原生集成到了 Xcode 中。
SpotlightSearch 从版本 5.1.0 开始支持 SwiftPM。要使用 SwiftPM,您应使用 Xcode 11 打开您的项目。点击 文件 -> Swift 包 -> 添加包依赖,输入 SpotlightSearch 仓库的 URL。或者,您可以使用 GitHub 账户登录 Xcode,然后只需键入 SpotlightSearch 来搜索。
选择包后,您可以选择依赖类型(标签版本、分支或提交)。然后 Xcode 会为您设置所有内容。
如果您是框架作者并且使用 SpotlightSearch 作为依赖项,请更新您的 Package.swift 文件
let package = Package(
    dependencies: [
        .package(url: "https://github.com/boraseoksoon/SpotlightSearch", from: "0.1.1")
    ],
    // ...
)
作者
许可协议
SpotlightSearch 在 MIT 许可协议下提供。详情请参阅 LICENSE 文件。
参考文献
PhotoCell : 基于时间和位置的照片浏览 iOS 应用,您可以免费下载并编辑您喜欢的照片。