SimpleAutoLayout 0.1.0
| 测试已测试 | ✗ |
| 语言语言 | SwiftSwift |
| 许可证 | MIT |
| 发布时间最新发布 | 2017年1月 |
| SwiftSwift 版本 | 3.0 |
| SPM支持 SPM | ✗ |
由 Bao Lei 维护。
SimpleAutoLayout 0.1.0
- 由
- Bao Lei
SimpleAutoLayout
一款简单的库,用于在 iOS 上进行自动布局。
动机
正如大家所说的:没有人喜欢 Interface Builder。通过编程进行自动布局本身就是一件困难的事情。
以前人们制作过像 Masonry、Snapkit、Stevia 等东西。它们都是优秀的。SimpleAutoLayout 与之类似,但它有独特的口味:它减少了魔法,并试图更接近原始的自动布局 API。
它不是一个 DSL 或关于布局的新颖思考方式。它只是一组可链定的函数,使自动布局使用起来非常简单。因此,它很容易调试,并且非常灵活(例如添加任何约束,编辑或删除约束,动画改变)。
如何使用
快速入门指南
布局 viewA(100x100)、viewB(100x100)、viewC(100x100)水平放置(左边距、间隔 = 10),在 viewC 内有 viewD(40x40)和 viewE(40x40)垂直对齐(顶部间隔,间隔 = 10)
SimpleAutoLayout(superview: self.view)
    .place(viewA, fromLeft: 10, fromTop: 10, w: 100, h: 100)
    .goRight(viewB, 10, alignToLast: [.Width: 0, .Top: 0, .Bottom: 0])
    .goRight(viewC, 10, alignToLast: [.Width: 0, .Top: 0, .Bottom: 0])
    .place(viewD, alignToLast: [.Top: 10, .CenterX: 0], w: 40, h: 40)
    .goDown(viewE, 10, alignToLast: [.Left: 0, .Right: 0, .Height: 0])
(不需要调用 superview.addSubview(viewA) 或设置 translatesAutoresizingMaskIntoConstraints。就是这样。)
详细信息
首先创建一个 SimpleAutoLayout 对象,该对象具有一个父视图。
SimpleAutoLayout(on: superview)
然后放置所有子视图。放置子视图的一种方法是通过使用 place 函数。每个参数的含义如下:
fromLeft: distance from left border of the superview
fromRight: distance from right border of the superview
fromTop: distance from top border of the superview
fromBottom: distance from bottom border of the superview
fromCenterX: distance to this view's centerX from superview's centerX
fromCenterY: distance to this view's centerY from superview's centerY
alignToLast: a dictionary. key is an NSAutoLayoutAttribute, like .Left, .CenterX, value is the difference between this view's this attribute and last view's such attribute (last view is the view we placed before calling this line)
w: width
h: height
aspectRatio: w/h. Only use no more than 2 of w, h, and aspectRatio to avoid a conflict.
另一种添加子视图的方式是使用 goLeft、goRight、goUp 或 goDown。例如
SimpleAutoLayout(on: self)
    .place(label1, fromLeft: 10, fromRight: 10, fromTop: 40, w: 100)
    .goDown(label2, 30, alignToLast: [.Left: 0, .Right: 0])
表示 label2 将在 label1 下方 30 点处(label2 的顶部位于 label1 的底部下方),而 .Left 和 .Right 将与 label1 相同
还有一个 from 函数可以重置最后一个视图。因此,如果 viewB 和 viewC 都在 viewA 的下方,则可以这样做:
.place(viewA, ...)
.goDown(viewB, distance, ...)
.from(viewA).goDown(viewC, distance, ...)
最后,一切都会转换为一系列 addConstraint 调用,这是可以添加任何约束(具有 item1、a1(意味着属性1)、item2、a2、multiplier、constant、relation、priority)的最基本函数。对于任何更复杂的东西,总有这个回退。
并且请记住,所有内容都是链式的。所有函数都返回相同的 SimpleAutoLayout 对象。
文档
http://cocoadocs.org/docsets/SimpleAutoLayout
示例
查看SimpleAutoLayoutExample。前往SimpleAutoLayoutExample文件夹,运行pod install和open SimpleAutoLayoutExample.xcworkspace,选择iPhone模拟器并运行。
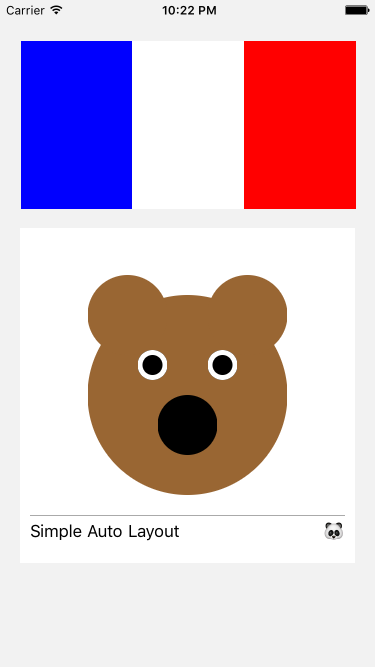
布局结果
仍然不完全相信?
还可以查看SimpleAutoLayout.swift,看看它是多么简单。因为SimpleAutoLayout库本身简单、简短、直截了当,当出现意料之外的情况时,调试起来非常容易。并且,该库本身不太可能引起任何新的复杂性或问题。
正因为如此,这个项目的维护很可能是长期的。(除非Apple完全停止使用Auto Layout)
我在几天内迅速构建了一个简单的应用(未来在经过更多打磨后发布到App Store),以确保它能真正处理许多复杂的设计实例。使用SimpleAutoLayout可以非常快地完成。
一些其他的Auto Layout语法糖也很酷,但这个方法允许你用一行代码处理大多数视图(甚至addSubview调用也是由那个一个调用处理的)。例如,如果你正在将多个视图水平放置,当你对每个视图调用goRight时,你还可以在同一个函数调用中设置垂直对齐、宽度、高度等。