RichEditorView 5.0.0
- 由
- Caesar Wirth
- cjwirth
RichEditorView
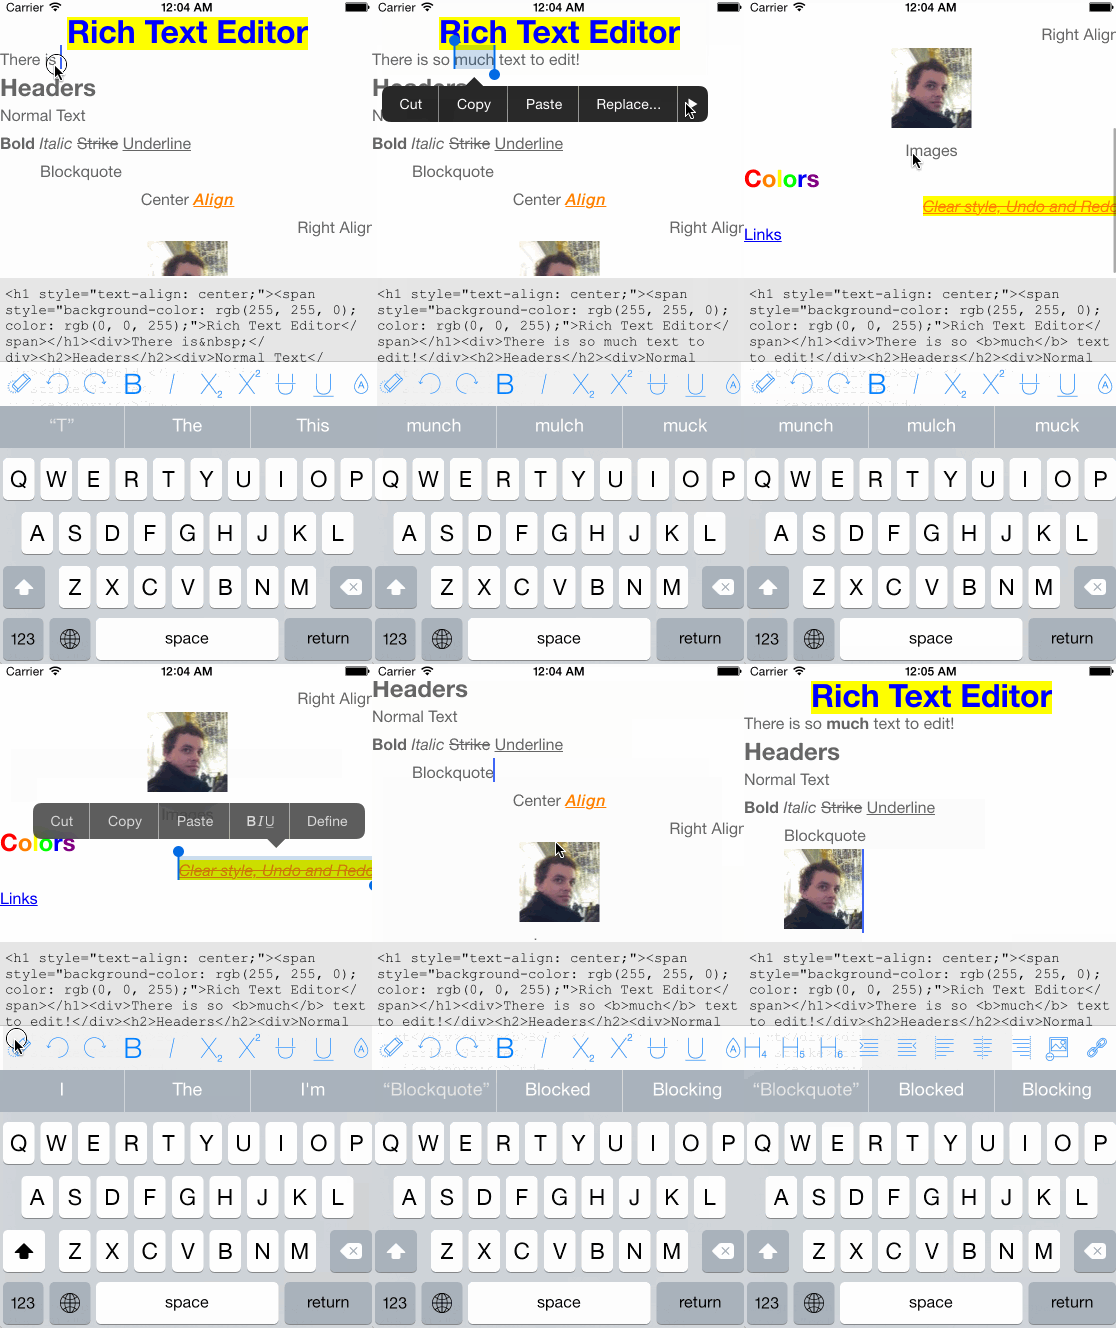
RichEditorView 是一个简单、模块化、可直接使用的 UIView 子类,用于富文本编辑。
使用 Swift 3.0 编写
支持 iOS 8+,通过 Cocoapods 或 Carthage。
- 想要查看 Android?请查看 wasabeef/richeditor-android
实况展示
只需克隆项目,并在 Xcode 中打开 RichEditorViewSample/RichEditorViewSample.xcworkspace。
功能
- [x] 加粗
- [x] 斜体
- [x] 下标
- [x] 上标
- [x] 删除线
- [x] 下划线
- [x] 左对齐
- [x] 居中
- [x] 右对齐
- [x] 标题 1
- [x] 标题 2
- [x] 标题 3
- [x] 标题 4
- [x] 标题 5
- [x] 标题 6
- [x] 撤销
- [x] 重做
- [x] 有序列表
- [x] 无序列表
- [x] 缩进
- [x] 减少缩进
- [x] 插入图片
- [x] 插入链接
- [x] 文本颜色
- [x] 文本背景颜色
使用 RichEditorView
RichEditorView 不对您如何在使用中的应用中使其工作做出任何假设。它是一个简单的 UIView 子类,因此您可以在任何地方、任何方式使用它。
大多数基本使用
editor = RichEditorView(frame: self.view.bounds)
editor.html = "<h1>My Awesome Editor</h1>Now I am editing in <em>style.</em>"
self.view.addSubview(editor)
编辑文本
要更改当前选中文本的样式,您只需直接在 RichEditorView 上调用方法即可。
editor.bold()
editor.italic()
editor.setTextColor(.red)
如果您想显示编辑工具栏 RichEditorToolbar,您将需要处理其显示(示例项目中 KeyboardManager.swift 是一个很好的起点)。但配置它就像告诉它您想要启用哪些选项,以及它将针对哪个 RichEditorView 工作。
let toolbar = RichEditorToolbar(frame: CGRect(x: 0, y: 0, width: 320, height: 44))
toolbar.options = RichEditorOptions.all
toolbar.editor = editor // Previously instantiated RichEditorView
一些操作需要用户反馈(例如选择图片、选择颜色等)。在这种情况下,您可以遵守 RichEditorToolbarDelegate 并对这些操作做出反应,并可能显示一些自定义 UI。例如,从示例项目中,我们只是随机选择一个颜色
private func randomColor() -> UIColor {
    let colors: [UIColor] = [
        .red, .orange, .yellow,
        .green, .blue, .purple
    ]

    let color = colors[Int(arc4random_uniform(UInt32(colors.count)))]
    return color
}

func richEditorToolbarChangeTextColor(toolbar: RichEditorToolbar) {
    let color = randomColor()
    toolbar.editor?.setTextColor(color)
}
高级编辑
如果您需要更丰富的选项灵活性,您可以通过创建符合 RichEditorOption 协议的对象,或者配置一个 RichEditorOptionItem 对象,并将其添加到工具栏的选项中,来添加完全定制的操作。
let clearAllItem = RichEditorOptionItem(image: UIImage(named: "clear"), title: "Clear") { toolbar in
    toolbar?.editor?.html = ""
    return
}
toolbar.options = [clearAllItem]
作者
恺撒·维尔特 - [email protected]
致谢
- wasabeef/richeditor-android - 该库的Android版本(Apache v2)
- nnhubbard/ZSSRichTextEditor - 启发和图标(MIT)
许可证
RichEditorView 以 BSD 3-Clause 许可发布。有关详细信息,请参阅 LICENSE.md。


 @cjwirth