PathMenu 2.0.1
| 测试测试 | ✗ |
| Lang语言 | SwiftSwift |
| 许可证 | MIT |
| 发布最新发布 | 2017年6月 |
| SwiftSwift 版本 | 3.0 |
| SPM支持 SPM | ✗ |
由 Nagasawa Hiroki 维护。
PathMenu 2.0.1
- 由
- Nagasawa Hiroki
#PathMenu
使用 Swift 和 CoreAnimation 实现的 Path 4.2 菜单。灵感来自 AwesomeMenu。
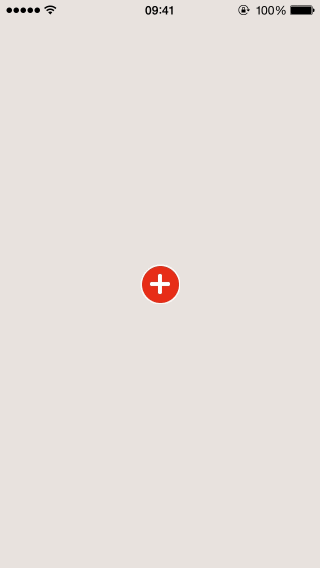
##屏幕截图 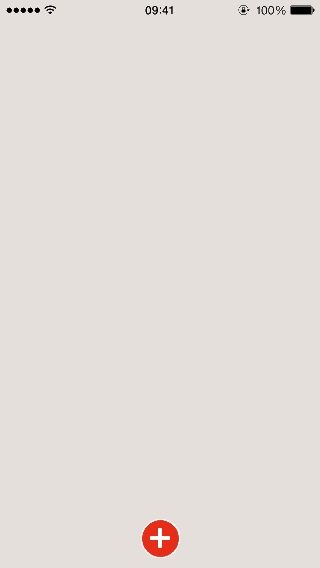
##安装
###Cocoapods
开始使用 CocoaPods 的最简单的方法是,将以下行添加到 Podfile 中
platform :ios, '8.0'
use_frameworks!
# The following is a Library of Swift.
pod 'PathMenu'
然后,运行以下命令
pod install###Carthage
Carthage 是一个分散式的依赖管理工具,它可以自动化将框架添加到您的 Cocoa 应用程序的过程。
您可以使用以下命令通过 Homebrew 安装 Carthage
$ brew update
$ brew install carthage
运行 carthage update。
$ carthage update###其他
将 PathMenu(包括 PathMenu.swift 和 PathMenuItem.swift)文件夹添加到您的项目。
##如何使用?
通过设置 PathMenuItem 创建 PathMenu。
有关详细信息,请参阅 PathMenu-Sample。
let menuItemImage = UIImage(named: "bg-menuitem")!
let menuItemHighlitedImage = UIImage(named: "bg-menuitem-highlighted")!

let starImage = UIImage(named: "icon-star")!

let starMenuItem1 = PathMenuItem(image: menuItemImage, highlightedImage: menuItemHighlitedImage, contentImage: starImage)

let starMenuItem2 = PathMenuItem(image: menuItemImage, highlightedImage: menuItemHighlitedImage, contentImage: starImage)

let starMenuItem3 = PathMenuItem(image: menuItemImage, highlightedImage: menuItemHighlitedImage, contentImage: starImage)

let starMenuItem4 = PathMenuItem(image: menuItemImage, highlightedImage: menuItemHighlitedImage, contentImage: starImage)

let starMenuItem5 = PathMenuItem(image: menuItemImage, highlightedImage: menuItemHighlitedImage, contentImage: starImage)

let items = [starMenuItem1, starMenuItem2, starMenuItem3, starMenuItem4, starMenuItem5]

let startItem = PathMenuItem(image: UIImage(named: "bg-addbutton")!,
                  highlightedImage: UIImage(named: "bg-addbutton-highlighted"),
                      contentImage: UIImage(named: "icon-plus"),
           highlightedContentImage: UIImage(named: "icon-plus-highlighted"))

let menu = PathMenu(frame: view.bounds, startItem: startItem, items: items)
menu.delegate = self
然后,设置 PathMenu 和一些选项。
以下为动画和位置的选项。
PathMenu-Sample 项目类似于真实的 Path 菜单。
引用自 PathMenu-Sample 项目。
menu.startPoint = CGPointMake(UIScreen.mainScreen().bounds.width/2, self.view.frame.size.height - 30.0)
menu.menuWholeAngle = CGFloat(M_PI) - CGFloat(M_PI/5)
menu.rotateAngle = -CGFloat(M_PI_2) + CGFloat(M_PI/5) * 1/2
menu.timeOffset = 0.0
menu.farRadius = 110.0
menu.nearRadius = 90.0
menu.endRadius = 100.0
menu.animationDuration = 0.5
顺序是 farRadius→nearRadius→endRadius。
默认值如下
startPoint = CGPointMake(UIScreen.mainScreen().bounds.width/2, UIScreen.mainScreen().bounds.height/2)
timeOffset                    = 0.036
rotateAngle                   = 0.0
menuWholeAngle                = CGFloat(M_PI * 2)
expandRotation                = -CGFloat(M_PI * 2)
closeRotation                 = CGFloat(M_PI * 2)
animationDuration             = 0.5
expandRotateAnimationDuration = 2.0
closeRotateAnimationDuration  = 1.0
startMenuAnimationDuration    = 0.2
nearRadius                    = 110.0
endRadius                     = 120.0
farRadius                     = 140.0
##委托协议(PathMenuDelegate)
func didSelect(on menu: PathMenu, index: Int)
func didFinishAnimationClose(on menu: PathMenu)
func didFinishAnimationOpen(on menu: PathMenu)
func willStartAnimationOpen(on menu: PathMenu)
func willStartAnimationClose(on menu: PathMenu)