KJExpandableTableTree 1.1.2
| 测试已测试 | ✗ |
| 语言语言 | SwiftSwift |
| 许可证 | MIT |
| 发布上次发布 | 2017年7月 |
| SwiftSwift 版本 | 3.0 |
| SPM支持 SPM | ✗ |
由 Kiran Jasvanee 维护。
KJExpandableTableTree 1.1.2
- 作者
- Kiran Jasvanee
预览
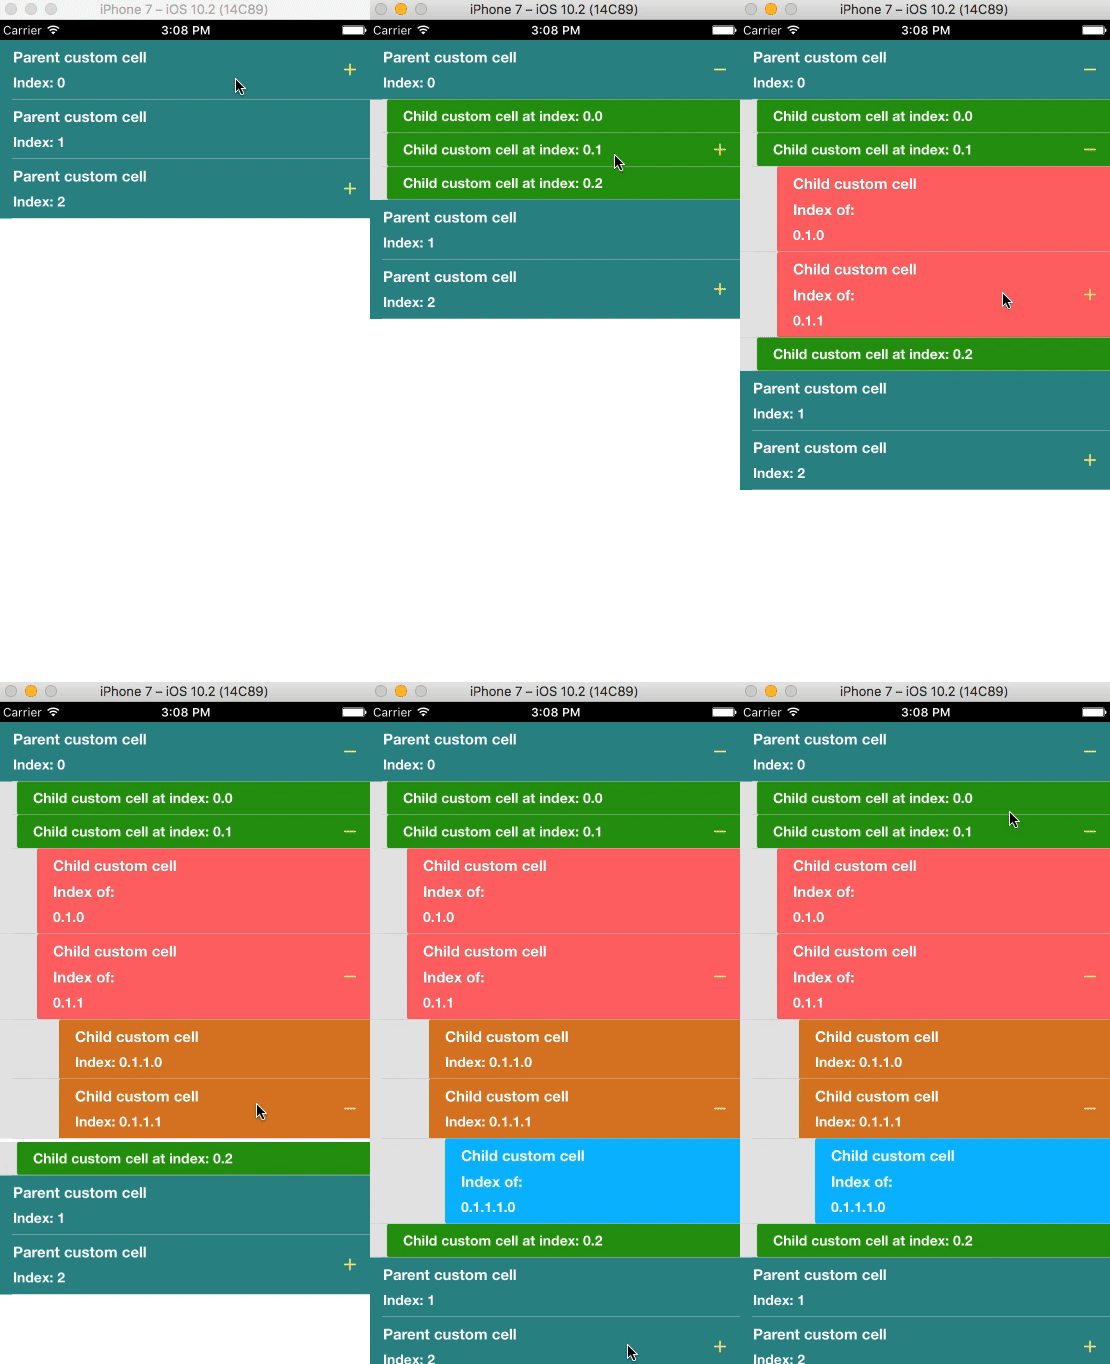
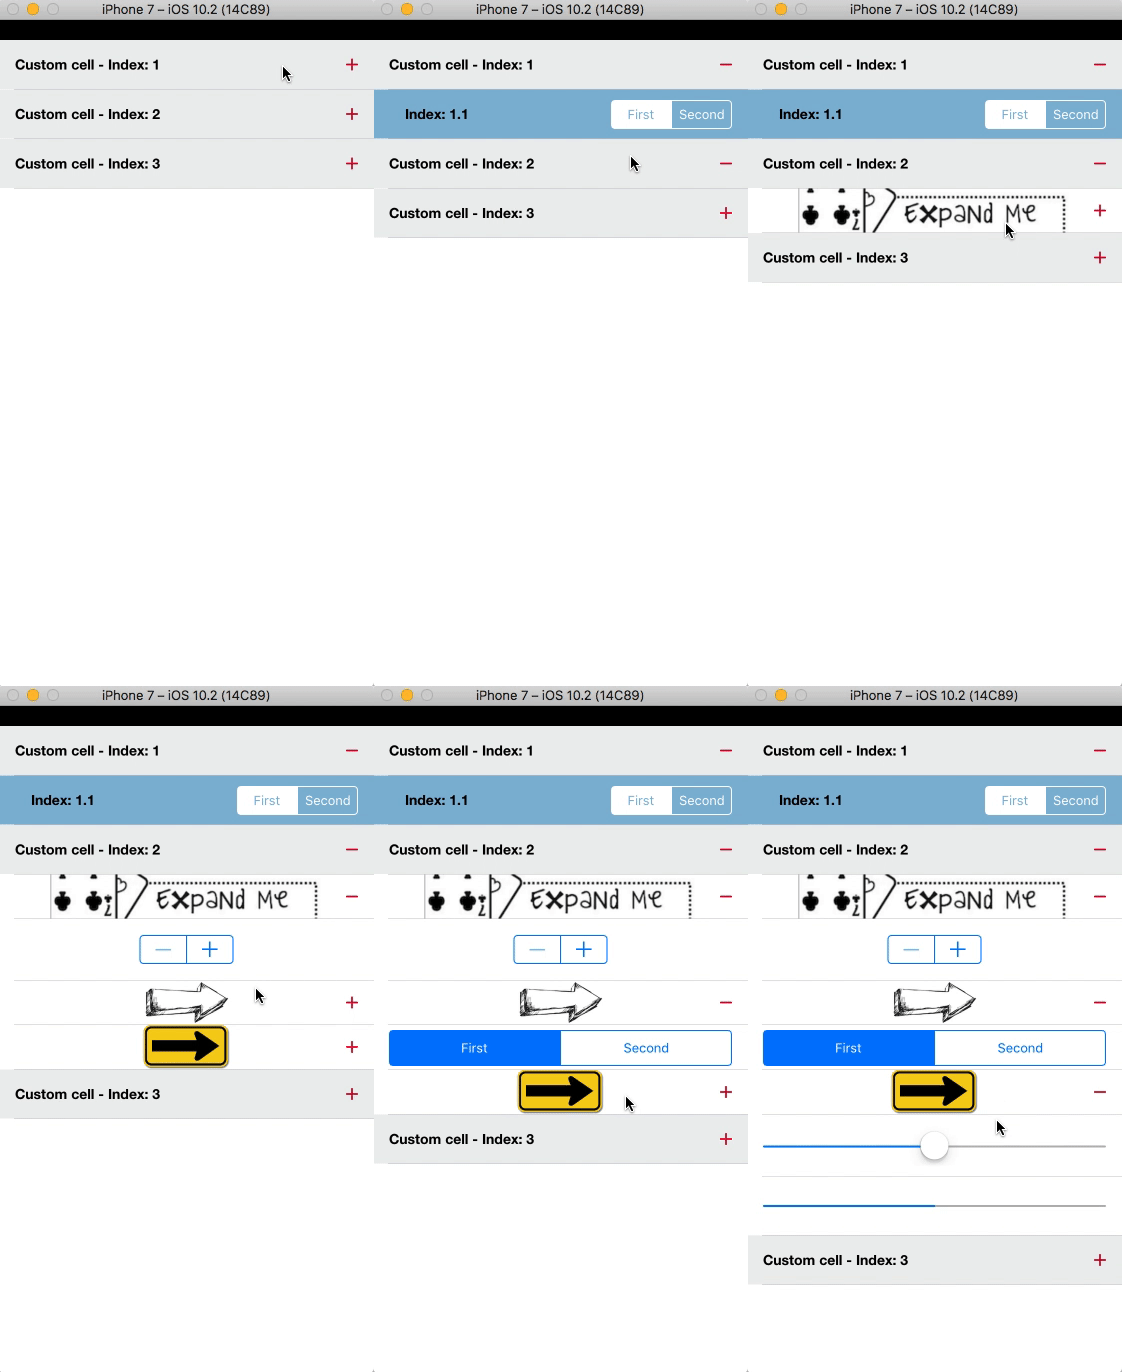
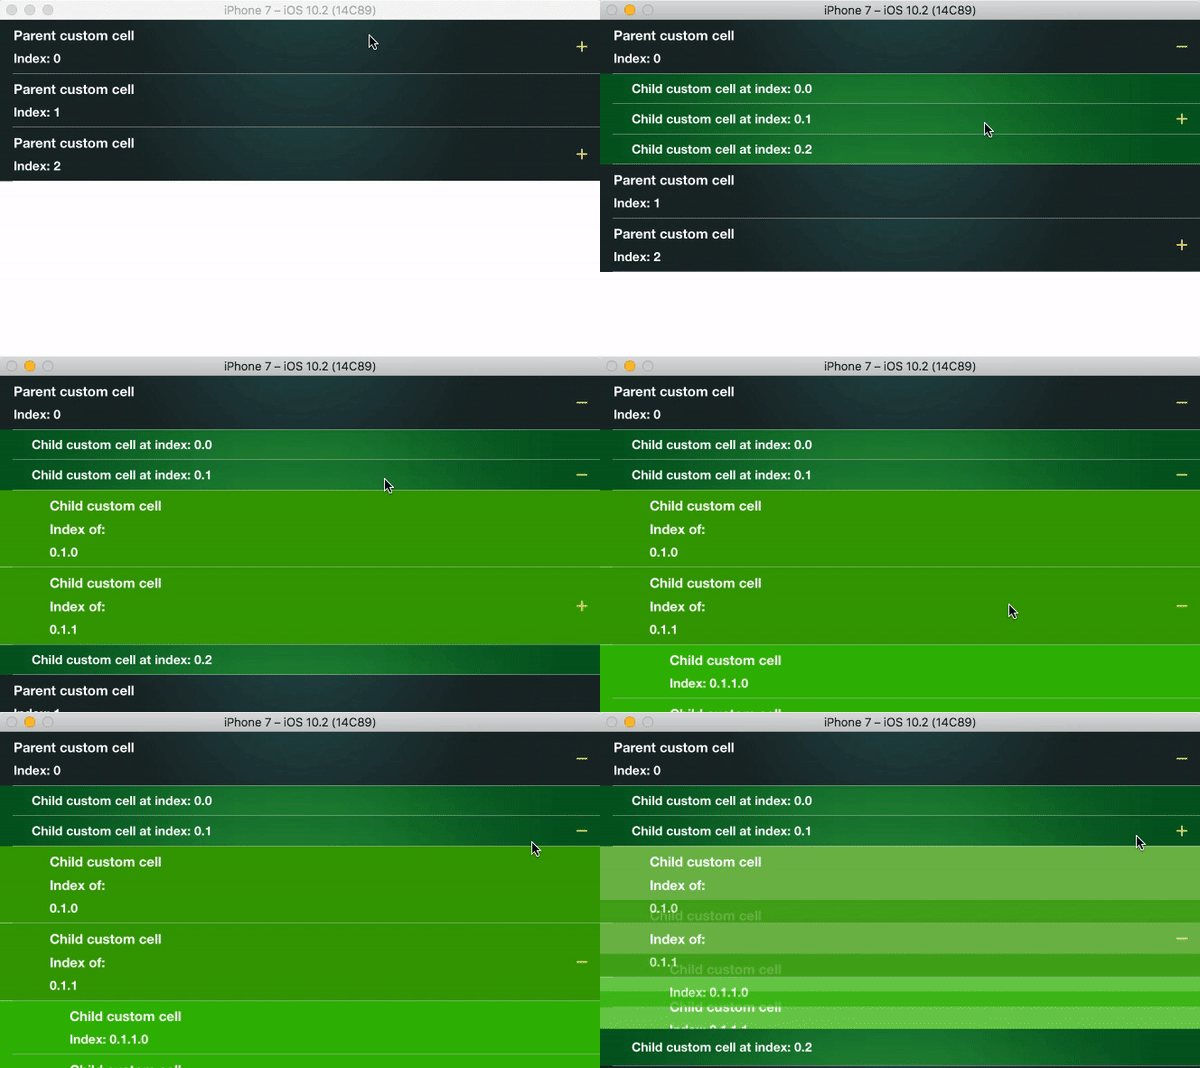
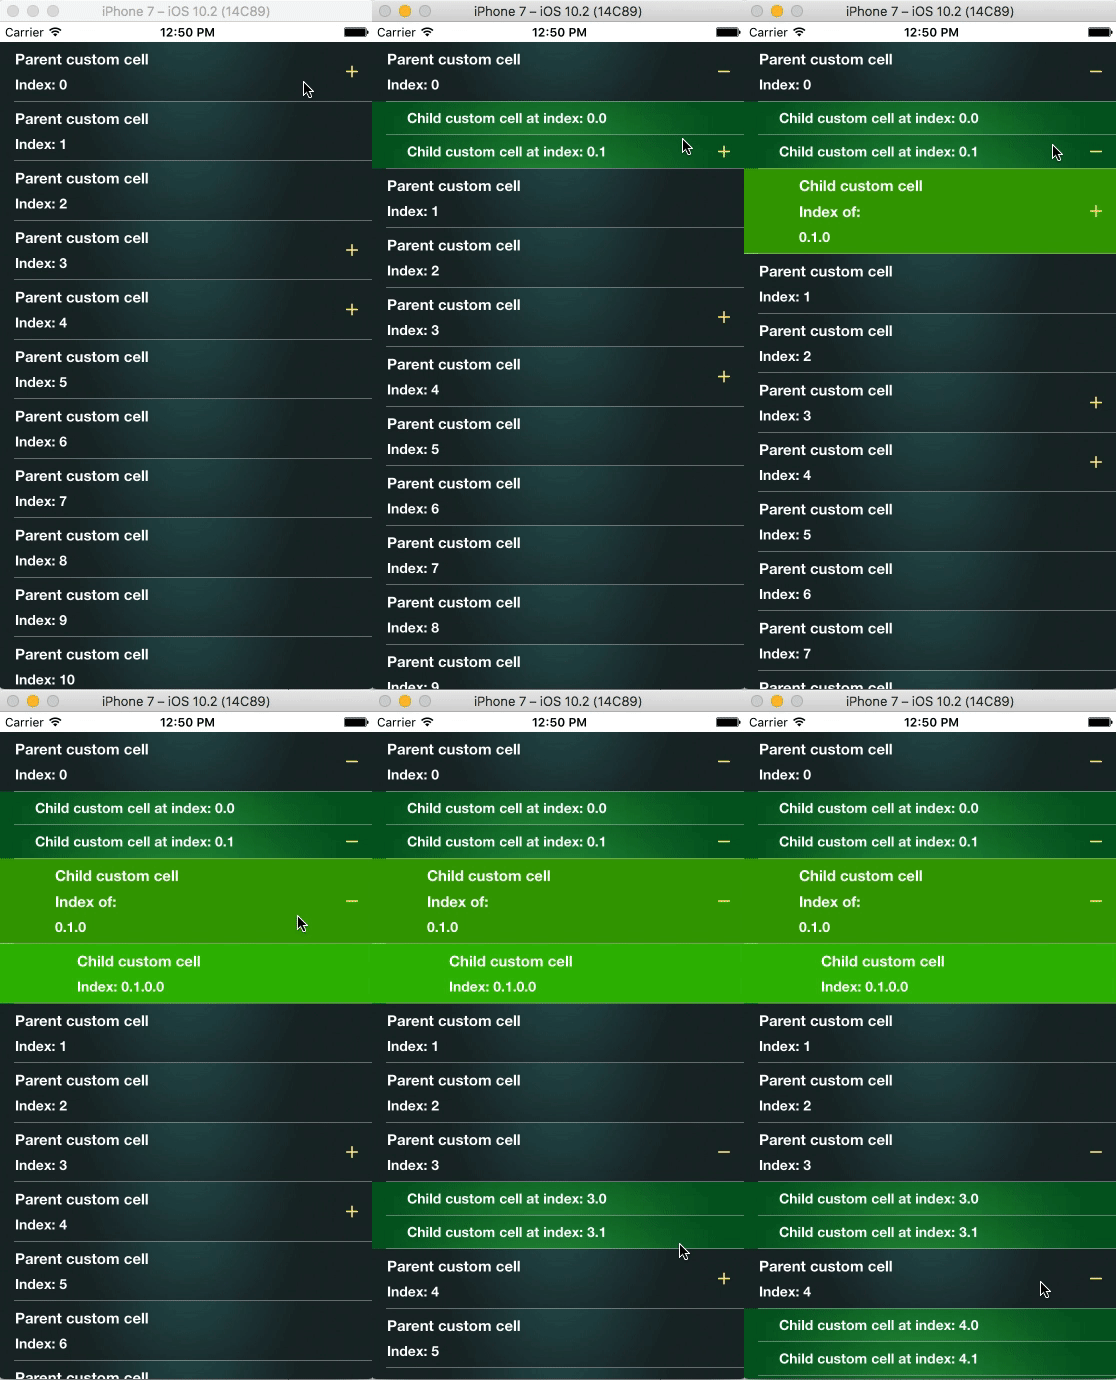
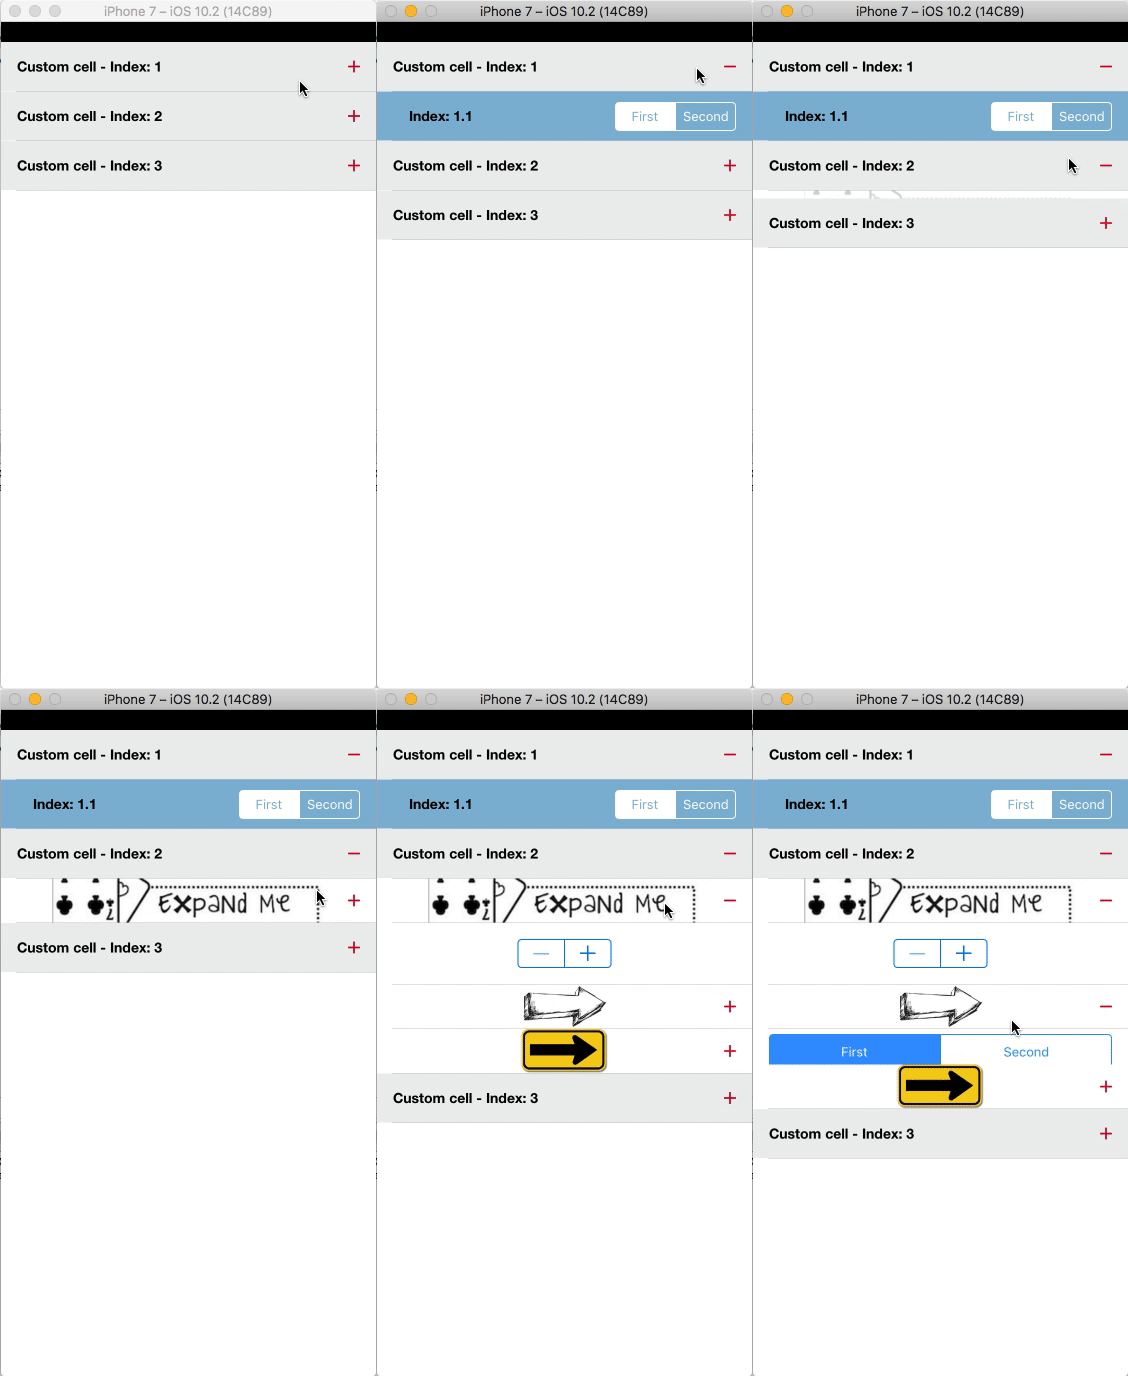
在 TableView 中展开单元格,直至 ∞-1。您可以为任何 Parent、Childs 或其 Subchilds 使用任何 Custom Cell。
特性
- [x] 静态初始化
- [x] 使用索引的静态初始化
- [x] 使用 JSON 的动态初始化
- [x] 自定义单元格
- [x] 细胞控制
- [x] 快速滚动,内存高效
- [x] 优秀的单元测试
安装
KJExpandableTableTree 可通过 CocoaPods 获取。要安装它,只需将以下行添加到您的 Podfile 中
pod 'KJExpandableTableTree'入门
初始化此库的方式有三种。
您可以选择任何一种方式来创建树。静态/动态。
1 - 使用 JSON 的动态树 - 初始化
示例 文件夹。我使用了 Tree.json 文件作为 JSON 数组。
{
    "Tree": {
        "Id": 0,
        "Parents": [
                     {
                     "Id": 1,
                     "Children": [
                                  {
                                  "Id": 2,
                                  "Children": null
                                  },
                                  {
                                  "Id": 3,
                                  "Children": [
                                               {
                                               "Id": 28,
                                               "Children": [
                                                            {
                                                            "Id": 29,
                                                            "Children": null
                                                            }
                                                            ]
                                               }
                                               ]
                                  }
                                  ]
                     },
                     {
                     "Id": 4,
                     "Children": null
                     }
                   ]
        }
}
使用与以下类似的 KJTree 与 JSON 数组 of Parents 初始化,提供所需的键名,您就完成了。
// KJ Tree instances -------------------------
var kjtreeInstance: KJTree? = nil

var arrayParents: NSArray?
if let treeDictionary = jsonDictionary?.object(forKey: "Tree") as? NSDictionary {
    if let arrayOfParents = treeDictionary.object(forKey: "Parents") as? NSArray {
      arrayParents = arrayOfParents
    }
}

if let arrayOfParents = arrayParents {
  kjtreeInstance = KJTree(parents: arrayOfParents, childrenKey: "Children", idKey: "Id")
}
2 - 静态树索引初始化。
示例 文件夹。
// KJ Tree instances -------------------------
// You can easily create tree by Indexing.
// below, There will be 3 parents -
// 1.1 indicates 1 child inside 1st parent.
// in Second, 2nd parent have 1 child (2.1....), That 1 child have 3 subchilds (2.1.1..., 2.1.2..., 2.1.3...), now it's easy to understand 2.1.3.2 and 2.1.3.3 means 2 sub childs inside 2.1.3.
// in Third, 3rd parent have 3 childs. 1, 2, 3.
kjtreeInstance = KJTree(indices:
            ["1.1",

             "2.1.1",
             "2.1.2.1",
             "2.1.3.2",
             "2.1.3.3",


             "3.1",
             "3.2",
             "3.3"]
            )
3 - 静态树初始化。
示例 文件夹。这是初始化此库的强力方式
// KJ Tree instances -------------------------
var kjtreeInstance: KJTree?

// You can easily identify here, I've one parent called parent1, 3 childs inside it, 2 sub childs inside 2nd child, and 2 more sub childs inside 2nd sub child.
// You can add as many as internal level of childs hierarchy.
// I've provided a block of each parent and child, use this block to return no of childs [Child] inside parent/child.
// this will provide you a robust visibility of static tree.

        let parent1 = Parent() { () -> [Child] in
            let child1 = Child()
            let child2 = Child(subChilds: { () -> [Child] in
                let subchild1 = Child()
                let subchild2 = Child(subChilds: { () -> [Child] in
                    let subchild1 = Child()
                    let subchild2 = Child(subChilds: { () -> [Child] in
                        let subchild1 = Child()
                        return [subchild1]
                    })
                    return [subchild1, subchild2]
                })
                return [subchild1, subchild2]
            })
            let child3 = Child()

            return [child1, child2, child3]
        }
        kjtreeInstance? = KJTree(Parents: [parent1])
我在我的演示模拟中增加了 2 个父节点
方法
像你们使用的那样使用 UITableView 委托,简单地在您的委托中调用心库的 方法 即可。
numberOfRowsInSection
调用 tableView(_ tableView: UITableView, numberOfRowsInSection section: Int) -> NSInteger 以返回单元格数量。
func tableView(_ tableView: UITableView, numberOfRowsInSection section: Int) -> Int {
        return kjtreeInstance.tableView(tableView, numberOfRowsInSection: section)
    }
cellIdentifierUsingTableView
调用 cellIdentifierUsingTableView(_ tableView: UITableView, cellForRowAt indexPath: IndexPath) -> Node 以接收 Node 实例。
使用 node.index 获取要在 tableview 中显示的每个单元格的索引。
对于父项,您将收到 0,1,2,... 对于子项 0.0, 0.1, 0.2, 1.0, 1.1,... 对于孙项 0.0.0, 0.0.1, 0.1.0, 1.0.0, 1.1.1,... 以及以此类推,对于子孙项的子项,您将收到 4 个用 . (点) 分隔的索引
注意:根据您的需求,您可以返回自定义单元格,我已经包含了 3 个示例来向您展示如何根据不同的目的返回单元格。
Example_Static_Init - 按层级返回单元格。
Example_Static_Init_Using_Index - 根据您指定的 自定义索引 返回单元格。
Example_Dynamic_Init - 根据层级返回单元格。您可以使用在 node.givenIndex 或我提供的 实际索引 上指定的标识符来根据您的需求返回不同的单元格。
func tableView(_ tableView: UITableView, cellForRowAt indexPath: IndexPath) -> UITableViewCell {

        let node = kjtreeInstance.cellIdentifierUsingTableView(tableView, cellForRowAt: indexPath)

        // You can return different cells for Parents, childs, subchilds, .... as below.
        let indexTuples = node.index.components(separatedBy: ".")
        if indexTuples.count == 1  || indexTuples.count == 4 {
          // return cell for Parents and subchilds at level 4. (For Level-1 and Internal level-4)
        }else if indexTuples.count == 2{
          // return cell for Childs of Parents. (Level-2)
        }else if indexTuples.count == 3{
          // return cell for Subchilds of Childs inside Parent. (Level-3)
        }

        // Return below cell for more internal levels....
        var tableviewcell = tableView.dequeueReusableCell(withIdentifier: "cellidentity")
        if tableviewcell == nil {
          tableviewcell = UITableViewCell(style: .default, reuseIdentifier: "cellidentity")
        }
        tableviewcell?.textLabel?.text = node.index
        tableviewcell?.backgroundColor = UIColor.yellow
        tableviewcell?.selectionStyle = .none
        return tableviewcell!
}
didSelectRowAt
调用 tableView(_ tableView: UITableView, didSelectRowAt indexPath: IndexPath) -> KJExpandableTableTree.Node 以接收 Node 实例。
使用 node 实例及其 index/givenIndex 以验证特定单元格的点击,并在您的 tableview 的 didSelectRowAt 中执行附加任务。
func tableView(_ tableView: UITableView, didSelectRowAt indexPath: IndexPath) {
        let node = kjtreeInstance.tableView(tableView, didSelectRowAt: indexPath)
        print(node.index)
        // if you've provided a 'Key'/'Id', you will receive it here.
        print(node.keyIdentity)
        // if you've added any identifier or used indexing format
        print(node.givenIndex)
}
作者
Kiran Jasvanee,[email protected]
许可协议
KJExpandableTableTree 在 MIT 许可协议下可用。有关更多信息,请参阅 LICENSE 文件。

