![]()
JDVideoKit
介绍
您可以将视频轻松转换为三种常见的视频格式。
您可以使用它轻松设置摄像机。
安装
pod 'JDVideoKit'
用法
1.使用我的两种布局
2. 仅使用捕获布局
3. 仅使用编辑布局
4. 直接转换视频
自定义布局
委托
public protocol JDVideoKitDelegate {
    //1.If return nil means call JDProcessingViewController
    func videoResource(forkit kit:JDVideoKit)->Any?

    //2.Only will call when above function return nil. Can make some setting for JDProcessingViewController
    func willPresent(cameraViewController vc:JDProcessingViewController,forkit:JDVideoKit)->JDProcessingViewController

    //3.Can make some setting for JDPresentingViewController, if return nil jump to next delegate
    func willPresent(edtingViewController vc:JDPresentingViewController,lastVC:UIViewController?,forkit:JDVideoKit)->JDPresentingViewController?

    //4.Set your type
    func ConvertType(forVideo resource:Any,forkit:JDVideoKit)->videoProcessType

    //5.Call When user click save.
    func FinalOutput(final video:AVAsset,url:URL)
}
- (非可选)
如果您已经有视频资源,请返回该资源并跳至委托3。
资源允许类型:URL、AVAsset
返回nil,将调用捕获布局。
- (可选)
您可以进行一些设置来自定义 ProcessingViewController 并返回它。
- (可选)
在捕获完成或委托提供可用视频时调用。
您可以进行一些设置来自定义 PresentingViewController 并返回它。
如果您不需要编辑布局,请返回nil并在此结束,跳至5。
如果之前使用捕获布局,并且在下一次不会使用编辑布局,您应使用“LastVC”参数来关闭它或完成您想要的任何操作
- (可选)
指定转换类型。(.Boom、.Speed、.Reverse)
- (非可选)
在用户点击编辑布局中的保存按钮、未编辑的捕获完成或直接传输完成后调用。
使用我的两个布局
—> 实现1, 5
class ViewController: UIViewController {
    override func viewDidAppear(_ animated: Bool) {
        let vk = JDVideoKit(delegate: self).getProperVC()
        self.present(vk, animated: true, completion: nil)
    }
}
extension ViewController:JDVideoKitDelegate{
    func videoResource(forkit kit: JDVideoKit) -> Any? {
        return nil
    }
    func FinalOutput(final video:AVAsset,url:URL){
        print(url)
    }
}
仅使用捕获布局
—> 实现1, 3, 4, 5
注意:您可能需要关闭ProcessingVC,否则它将持续显示。
class ViewController: UIViewController {
    override func viewDidAppear(_ animated: Bool) {
        let vk = JDVideoKit(delegate: self).getProperVC()
        self.present(vk, animated: true, completion: nil)
    }
}
extension ViewController:JDVideoKitDelegate
{
    func videoResource(forkit kit: JDVideoKit) -> Any? {
        return nil
    }
    func FinalOutput(final video:AVAsset,url:URL)
    {
        /// You will get a Video, you capture by my layout and convert
        /// To the type you specific.
    }
    func willPresent(edtingViewController vc:JDPresentingViewController,lastVC:UIViewController?,forkit:JDVideoKit)->JDPresentingViewController? {
    	lastVC.dissmiss(...)
        return nil
    }
    func ConvertType(forVideo resource: Any, forkit: JDVideoKit) -> videoProcessType {
        return .Boom
    }
}
仅使用编辑布局
—> 实现1, 5
class ViewController: UIViewController {
    override func viewDidAppear(_ animated: Bool) {
        let vk = JDVideoKit(delegate: self).getProperVC()
        self.present(vk, animated: true, completion: nil)
    }
}
extension ViewController:JDVideoKitDelegate
{
    func videoResource(forkit kit: JDVideoKit) -> Any? {
        return URL( url or asset of video)
    }
    func FinalOutput(final video:AVAsset,url:URL)
    {
        print(url)
    }
}
直接转换视频
-> 实现 1 , 4 , 5
class ViewController: UIViewController {
    override func viewDidAppear(_ animated: Bool) {
        let vk2 = JDVideoKit(delegate: self)
        vk2.getVideoDirectly { (progress) in
            print(progress)
        }
    }
}
extension ViewController:JDVideoKitDelegate
{
    func videoResource(forkit kit: JDVideoKit) -> Any? {
        return URL( url or asset of video)
    }
    func FinalOutput(final video:AVAsset,url:URL)
    {
        print(url)
    }
    func ConvertType(forVideo resource: Any, forkit: JDVideoKit) -> videoProcessType {
        return .Boom
    }
}
自定义
ProcessingViewController
实现此代理
func willPresent(cameraViewController vc:JDProcessingViewController,forkit:JDVideoKit)->JDProcessingViewController
{
	///Set Below Variable Like this
	vc.enableFlashLight = false
}
您可以自定义的组件
public var enableFlashLight:Bool = true
public var FlashLightIconColor:UIColor = UIColor.black
public var SwitchIconColor:UIColor = UIColor.white
public var CaptureIconColor:UIColor = UIColor.white
public var allowChooseFromLibrary:Bool = true
public var BackgroundViewBarColor:UIColor?
ProcessingViewController
实现此代理
func willPresent(edtingViewController vc:JDPresentingViewController,lastVC:UIViewController?,forkit:JDVideoKit)->JDPresentingViewController?
{
	vc.topTitle = "Title"
}
您可以自定义的组件
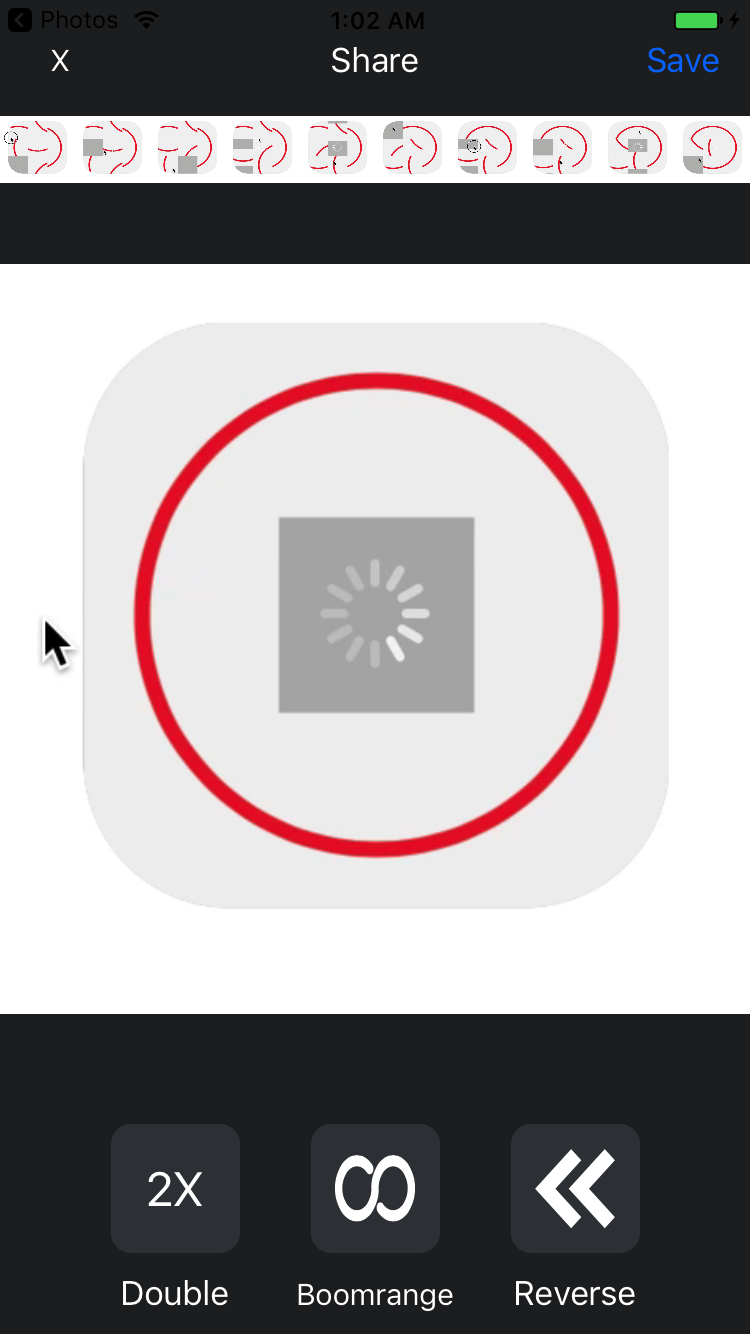
public var topTitle:String = "Share"
public var CloseIconColor:UIColor = UIColor.white
public var saveButtonTitle:String = "Save"
public var savaButtonColor:UIColor = UIColor.white