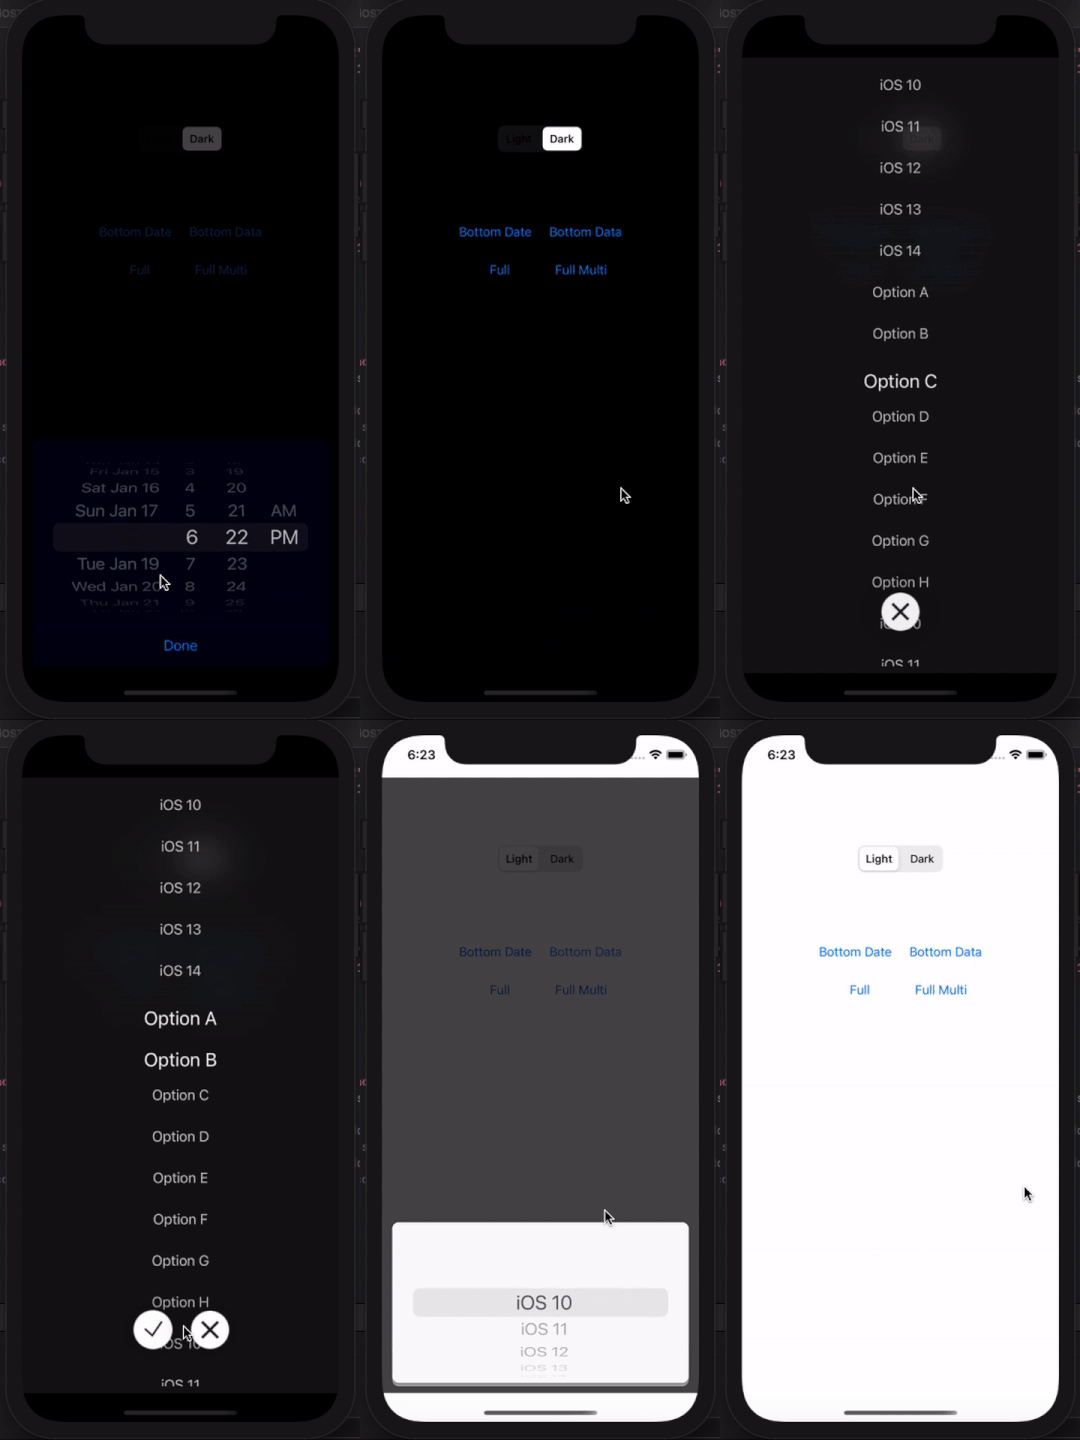
iPicker
动画精美的易用数据 & 日期选择器
安装
将此行添加到您的 pod 文件中,然后运行 pod install
pod 'IPicker', :git => 'https://github.com/YousefAnsary/iPicker.git'用法
iPicker 包括两个类
1: IDataPicker
并且可以用以下两种方式使用:
1: 通过传递对象数组,并传递要显示的字符串变量的 KeyPath,如下所示
import UIKit
import IPicker

class ViewController: UIViewController {

  let picker = IDataPicker()

  override func viewDidLoad() {
     super.viewDidLoad()

     let objArray = [YourClassOrStruct(stringVar: "Some", intVar: 0, anyVar: nil),
                     YourClassOrStruct(stringVar: "Dummy", intVar: 1, anyVar: nil),
                     YourClassOrStruct(stringVar: "Data", intVar: 2, anyVar: nil)]

     picker.setData(data: objArray, key: \.stringVar)

  }

}
或者
2- 直接传递字符串数组,如下所示
import UIKit
import IPicker

class ViewController: UIViewController {

  let picker = IDataPicker()

  override func viewDidLoad() {
     super.viewDidLoad()

     let stringArray = ["Some", "Other", "Dummy", "Data"]

     picker.setData(data: stringArray)
  }

}
然后简单调用
picker.show(inView: self.view)picker.selectedIndex您可以通过以下方式轻松监听事件
picker.onDoneBtnTapped { selectedIndex in
  print(selectedIndex)
}

picker.onValueChanged { selectedIndex in
  print(selectedIndex)
}

picker.onCancelled {
  print("Cancelled")
}
第二个类是
2- IDatePicker
import UIKit
import IPicker

class ViewController: UIViewController {

  let picker = IDatePicker()

  override func viewDidLoad() {
     super.viewDidLoad()

     //YDatePicker Customization
     picker.pickerMode = UIDatePicker.Mode.dateAndTime //it is dateAndTime by default
     picker.minimumDate = Date() // It is nil by default
     picker.maximumDate = Date() //It is nil by default

  }

}
来获取选中的日期
picker.selectedDate同样可以监听事件
picker.onDoneBtnTapped { selectedDate in
  print("Date Changed")
}

picker.onCancelled {
  print("Cancelled")
}
显示方法与另一个类似
picker.show(inView: self.view)
一些常见的自定义
  picker.seletorColor: UIColor = .lightGray // lightGray is the default
  picker.fontColor: UIColor = .black // black is the default
  picker.doneBtnTitle = "Done" //"Done" is the default
  picker.doneTextColor = UIColor.blue
  picker.pickerBackgroundColor = UIColor.white //default is off white
特别感谢我的朋友:Amr Khalifa


