椭圆曲线密钥对
在 iOS 和 MacOS 上使用 Secure Enclave 进行签名、验证、加密和解密。
特性
- 创建私钥和公钥对
- 在安全区域存储私钥
- 将公钥存储在密钥链中
- 每次使用私键时,用户都会被提示使用 FaceID、TouchID、设备密码或应用密码
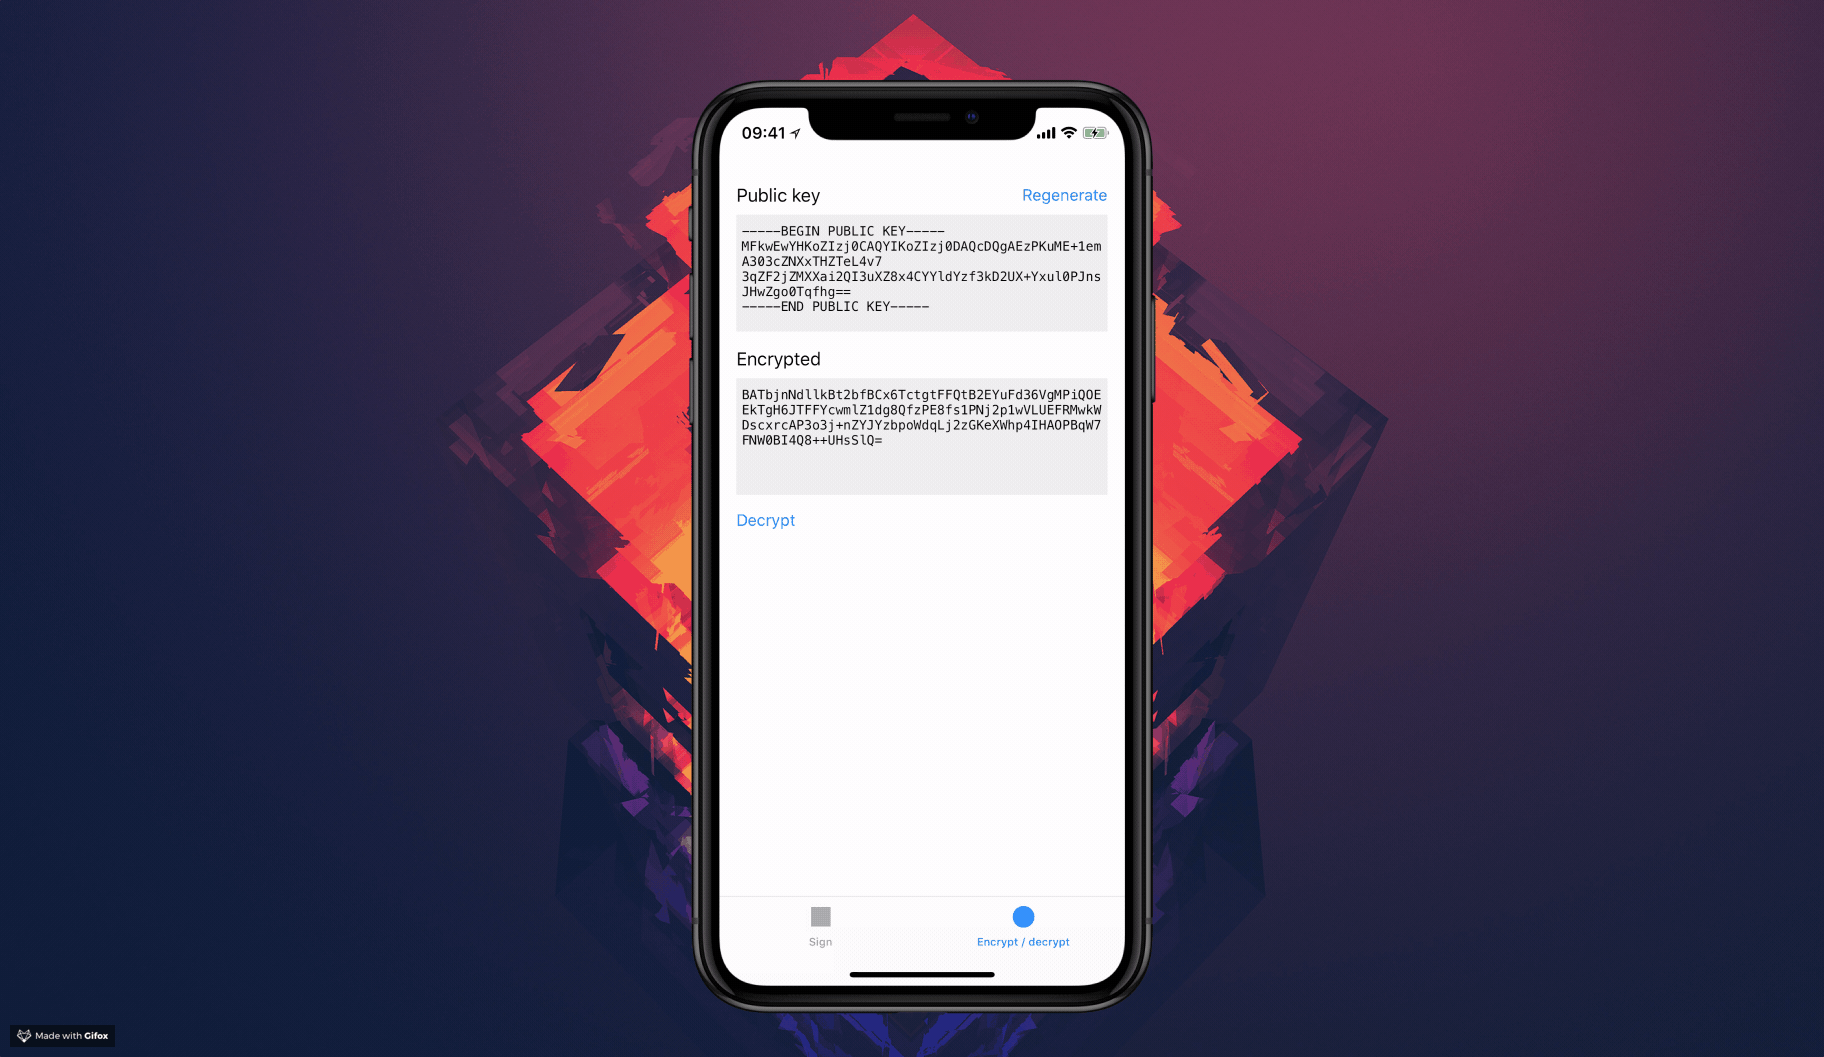
- 以正确的 ASN.1 标头/结构导出 X.509 DER 公钥
- 使用 openssl 在命令行中轻松验证签名
支持 FaceID、TouchID、设备密码和应用密码。
关于
使用安全框架可能有点复杂。这就是我创建这个的原因。您可以将其用作示例代码和指导,或者您也可以将其用作微框架。
我发现弄清楚如何在 Swift 3 中使用 C API SecKeyRawVerify、SecKeyGeneratePair 和 SecItemCopyMatching 相当棘手,但得益于 Swift 的出色功能,实现相当直接。
安装
手册
只需将文件 Sources/EllipticCurveKeyPair.swift 和 Sources/SHA256.swift 拖入您的 Xcode 项目中。
使用 Cocoapods
pod EllipticCurveKeyPair使用 Carthage
github "agens-no/EllipticCurveKeyPair"使用案例
Secure Enclave 有很多强大的可能性。以下是一些示例
加密
- 使用公钥加密一条消息
- 使用私钥解密消息 – 仅可通过 FaceID / TouchID / 设备密码访问
仅在 iOS 10 及以上版本中可用
签名
- 使用私钥对服务器接收到的数据进行签名 - 仅可使用 FaceID / TouchID / 设备密码访问
- 使用公钥验证签名的有效性
一个用例可能是
- 用户请求新的协议/购买
- 服务器发送一个带有会话令牌的推送通知,该令牌应该被签名
- 在设备上,我们使用私钥对会话令牌进行签名,同时提示用户使用 TouchID 进行确认
- 然后将签名的令牌发送到服务器
- 服务器已经拥有公钥,并使用公钥验证签名
- 服务器现在相信用户使用 TouchID 对此协议进行了签名
示例
更多信息请查看演示应用程序。
创建密钥对管理器
struct KeyPair {
    static let manager: EllipticCurveKeyPair.Manager = {
        let publicAccessControl = EllipticCurveKeyPair.AccessControl(protection: kSecAttrAccessibleAlwaysThisDeviceOnly, flags: [])
        let privateAccessControl = EllipticCurveKeyPair.AccessControl(protection: kSecAttrAccessibleAfterFirstUnlockThisDeviceOnly, flags: [.userPresence, .privateKeyUsage])
        let config = EllipticCurveKeyPair.Config(
            publicLabel: "payment.sign.public",
            privateLabel: "payment.sign.private",
            operationPrompt: "Confirm payment",
            publicKeyAccessControl: publicAccessControl,
            privateKeyAccessControl: privateAccessControl,
            token: .secureEnclave)
        return EllipticCurveKeyPair.Manager(config: config)
    }()
}
您也可以通过使用不同的访问控制标志,在不支持 Secure Enclave 的情况下优雅地降级使用密钥链
let privateAccessControl = EllipticCurveKeyPair.AccessControl(protection: kSecAttrAccessibleAfterFirstUnlockThisDeviceOnly, flags: {
    return EllipticCurveKeyPair.Device.hasSecureEnclave ? [.userPresence, .privateKeyUsage] : [.userPresence]
}())
在这种情况下,您需要记得在 Config 对象中将 token 变量设置为 .secureEnclaveIfAvailable。
以 DER 格式获取公钥
do {
    let key = try KeyPair.manager.publicKey().data().DER // Data
} catch {
    // handle error
}
请查看演示应用程序以获取示例
以 PEM 格式获取公钥
do {
    let key = try KeyPair.manager.publicKey().data().PEM // String
} catch {
    // handle error
}
签名
do {
    let digest = "some text to sign".data(using: .utf8)!
    let signature = try KeyPair.manager.sign(digest, hash: .sha256)
} catch {
    // handle error
}
签名时也可以传递一个 LAContext 对象
加密
do {
    let digest = "some text to encrypt".data(using: .utf8)!
    let encrypted = try KeyPair.manager.encrypt(digest, hash: .sha256)
} catch {
    // handle error
}
在不同的设备/操作系统/平台上加密
您还可以使用公钥在不同的设备/操作系统/平台上进行加密。如果您想了解如何以Secure Enclave可理解的方式来加密的所有细节,那么您绝对需要阅读由 @dschuetz 撰写的这篇文章!
https://darthnull.org/security/2018/05/31/secure-enclave-ecies/
解密
do {
    let encrypted = ...
    let decrypted = try KeyPair.manager.decrypt(encrypted, hash: .sha256)
    let decryptedString = String(data: decrypted, encoding: .utf8)
} catch {
    // handle error
}
解密时也可以传递一个 LAContext 对象
错误处理
最常见的是捕获与以下相关的错误
- Secure Enclave 不可用
- 用户取消指纹对话框
- 未注册指纹
使用 do/catch
do {
    let decrypted = try KeyPair.manager.decrypt(encrypted)
} catch EllipticCurveKeyPair.Error.underlying(_, let underlying) where underlying.code == errSecUnimplemented {
    print("Unsupported device")
} catch EllipticCurveKeyPair.Error.authentication(let authenticationError) where authenticationError.code == .userCancel {
    print("User cancelled/dismissed authentication dialog")
} catch {
    print("Some other error occurred. Error \(error)")
}
使用 if let
if case let EllipticCurveKeyPair.Error.underlying(_, underlying) = error, underlying.code == errSecUnimplemented {
    print("Unsupported device")
} else if case let EllipticCurveKeyPair.Error.authentication(authenticationError), authenticationError.code == .userCancel {
  print("User cancelled/dismissed authentication dialog")
} else {
  print("Some other error occurred. Error \(error)")
}
调试
为了检查与Keychain往来的查询,您可以像这样将此库在Keychain上所做的每个变更输出到控制台
EllipticCurveKeyPair.logger = { print($0) }验证签名
在演示应用中,您会看到每次创建签名时都会将一些有用的信息记录到控制台。
示例输出
#! /bin/sh
echo 414243 | xxd -r -p > dataToSign.dat
echo 3046022100842512baa16a3ec9b977d4456923319442342e3fdae54f2456af0b7b8a09786b022100a1b8d762b6cb3d85b16f6b07d06d2815cb0663e067e0b2f9a9c9293bde8953bb | xxd -r -p > signature.dat
cat > key.pem <<EOF
-----BEGIN PUBLIC KEY-----
MFkwEwYHKoZIzj0CAQYIKoZIzj0DAQcDQgAEdDONNkwaP8OhqFTmjLxVcByyPa19
ifY2IVDinFei3SvCBv8fgY8AU+Fm5oODksseV0sd4Zy/biSf6AMr0HqHcw==
-----END PUBLIC KEY-----
EOF
/usr/local/opt/openssl/bin/openssl dgst -sha256 -verify key.pem -signature signature.dat dataToSign.dat
为了运行此脚本,您可以
- 将其粘贴到一个文件:
verify.sh - 使文件可执行:
chmod u+x verify.sh - 运行它:
./verify.sh
然后您应该会看到
Verified OKPS: 此脚本将在您的当前目录中创建4个文件。
关键词
安全框架,Swift 3, Swift 4, Swift, SecKeyRawVerify, SecKeyGeneratePair, SecItemCopyMatching, secp256r1, 椭圆曲线密码学,ECDSA,ECDH,ASN.1,Apple,iOS,Mac OS,kSecAttrKeyTypeECSECPrimeRandom,kSecAttrKeyTypeEC,kSecAttrTokenIDSecureEnclave,LAContext,本地认证,FaceID,面容识别,TouchID,指纹识别,应用密码,设备PIN,设备PIN
感谢和致谢
TrailOfBits
TrailOfBits 在之前发布了一些 Objective-C 代码,这对我们非常有帮助!感谢分享 使用 Secure Enclave 密码 API 的指南和 SecureEnclaveCrypto。他们还有一些其他非常有趣的项目。去检查一下吧!
Quinn “the Eskimo!”,Apple
他分享了有关如何正确导出公开密钥为 DER X.509 格式的非常有价值的见解。
SHA256
SHA256 类(原本的代码为 SHA2.swift)位于 Marcin Krzyżanowski 编写的极具价值的 CryptoSwift 库中。此类已经经过大量修改,以便将其简化到本项目所需的最小程度。
常见问题解答(FAQ)
为什么在我的模拟器上没有得到触摸 ID / 设备 PIN 提示?
模拟器没有任何安全区域,因此尝试访问它只会导致错误。如果您将
fallbackToKeychainIfSecureEnclaveIsNotAvailable设置为true,则私钥将在模拟器的钥匙串中存储,从而使得在模拟器上测试您的应用程序变得容易。
我可以在哪里了解更多?
为什么它被封装在一个枚举中?
我试图在将您需要的文件拖放到 xcode 和支持依赖管理器(如 carthage 和 cocoapods)之间取得平衡。如果您有更好的想法或不同意这个决定,我很乐意讨论替代方案:)
反馈
我们想要