Conv
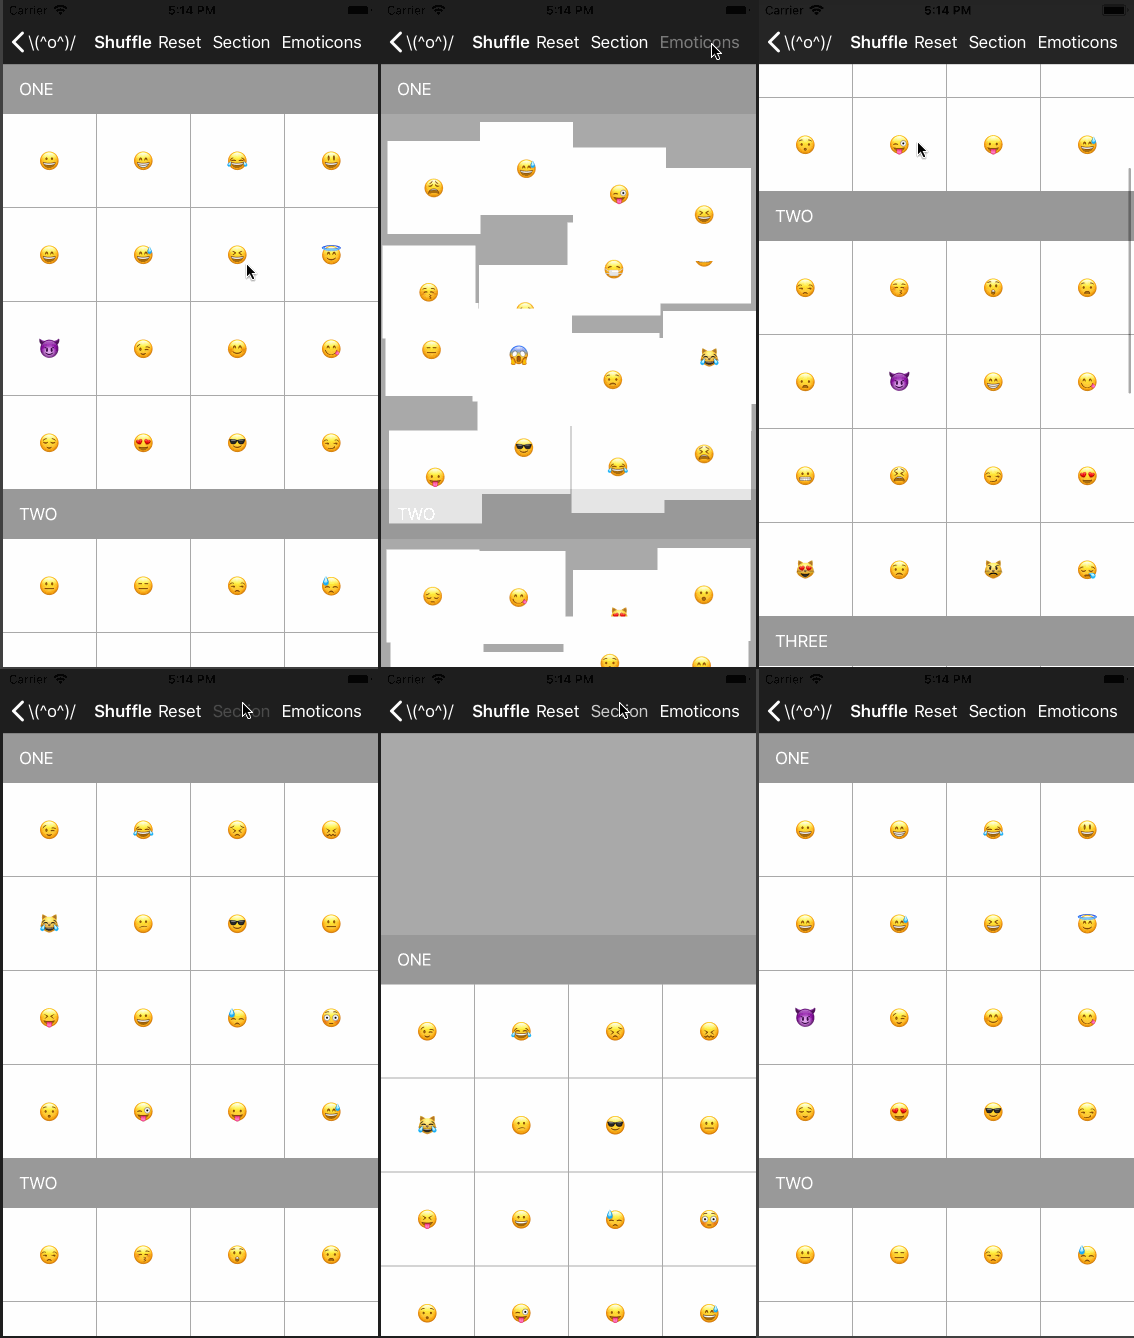
Conv 比 UIKit 智能地表示 UICollectionView 数据结构。
易于定义 UICollectionView DataSource 和 Delegate 方法。
并且 Conv 通过基于 Paul Heckel 算法的 diffing 算法快速重新加载。
| 插入和删除 | 移动项和分区 |
|---|---|
 |
 |
Conv(称为 KONBU)在日语中意为海草。
这个库受到了 Shoyu 的启发。感谢 @yukiasai。
使用方法
首先,Conv 需要为分区和项准备好数组定义的数据结构。然后它应该符合 Differenciable 协议以进行差异算法。
分区
enum SectionType: Int {
  case one
  case two
  case three

  static var allCases: [SectionType] {
    return [.one, .two, .three]
  }
}

extension SectionType: Differenciable {
  var differenceIdentifier: DifferenceIdentifier {
    return "\(self)"
  }
}
let sectionTypes = SectionType.allCases项
struct ItemModel {
    let index: Int
    let imageName: String
    var image: UIImage {
        return UIImage(named: imageName)!
    }
}

extension ItemModel: Differenciable {
    var differenceIdentifier: DifferenceIdentifier {
        return "\(index)" + imageName
    }
}
let itemModels = [
ItemModel(index: 1, imageName: "forest"),
ItemModel(index: 2, imageName: "moon"),
ItemModel(index: 3, imageName: "pond"),
ItemModel(index: 4, imageName: "river"),
]其次,开始定义分区和项的数据结构。
它使用已准备好的 Differenciable 数组。
collectionView
    .conv // #1
    .diffing()
    .start()
    .append(for: sectionTypes) { (sectionType, section) in // #2
        section.append(.header, headerOrFooter: { (header: SectionHeaderFooter<ListCollectionReusableView>) in // #3
            header.reusableIdentifier = "ListCollectionReusableView"
            header.size = CGSize(width: UIScreen.main.bounds.width, height: 50)
            header.configureView { view, _ in
                view.nameLabel.text = "\(sectionType)".uppercased()
                view.nameLabel.textColor = .white
                view.backgroundColor = sectionType.backgroundColor
            }
        })
        section.append(for: itemModels, items: { (itemModel, item: Item<ListCollectionViewCell>) in // #4
            item.reusableIdentifier = "ListCollectionViewCell"
            item.sizeFor({ _ -> CGSize in
                let gridCount: CGFloat = 3
                let edge = floor((UIScreen.main.bounds.width - (gridCount - 1)) / gridCount)
                let size = CGSize(width: edge, height: edge)
                return size
            })

            item.configureCell { (cell, info) in
                cell.setup(with: itemModel)
            }

            item.didSelect { [weak self] (item) in
                let viewController = DetailViewController(imageName: itemModel.imageName)
                self?.navigationController?.pushViewController(viewController, animated: true)
            }
        })
}
以下 Swift 代码的含义解释了代码中的 # 标记。
- 开始使用
Conv定义 UICollectionView 数据结构。 - 根据分区类型数量添加分区。然后开始定义关于分区的信息。
- 为每个部分添加标题。然后开始定义部分标题。
- 添加每个部分的itemModels数量。然后开始定义项目。
最后,如果您想渲染collectionView,您调用collectionView.update()是最佳时机。
update()计算在前后部分之间以及在前后项目之间的最小数据重新加载差异。
collectionView.conv.update()或者,如果您想重新加载所有单元格,可以调用reload()。它将具有与collectionView.reloadData()相同的行为。
collectionView.conv.reload()您可以查看ConvExmaple的更多示例。
算法
Conv使用基于Paul Heckel算法的diffing算法。
我还借鉴了以下库。
- https://github.com/mcudich/HeckelDiff
- https://github.com/ra1028/DifferenceKit
- https://github.com/Instagram/IGListKit/
安装
CocoaPods
Conv可以通过CocoaPods使用。
您可以在目标和exec中写入它,并执行pod install。
pod 'Conv'
Carthage
Conv可以通过Carthage使用。
您可以在目标和exec中写入它,并执行carthage update --platform iOS。然后找到conv框架并将它嵌入到项目中。
github 'bannzai/Conv'
为什么使用Conv?
UIKit.UICollectionView存在一些问题。
- UICollectionView.dequeueXXX方法不是类型安全的。因此,必须将每个单元格转换为期望的类。
- UICollectionViewDataSource和UICollectionViewDelegate(或DelegateFlowLayout)的配置功能分布在较远的位置。因此,逐个读取indexPath配置流非常困难。
- 很多情况下都会使用UICollectionView和Array。但是,使用indexPath从数组中提取元素很多次。
Conv可以解决这些问题。
- Conv不需要调用UICollectionView.dequeueXXX。因为你可以定义configureCell方法,并获取转换后的自定义类cell。
section.append(for: itemModels, items: { (itemModel, item: Item<ListCollectionViewCell>) in // #4
    ...
    item.configureCell { (cell, info) in
        // cell is converted ListCollectionViewCell
        cell.setup(with: itemModel)
    }
})-
您可以针对每个UICollectionView组件(section、item、header和footer)进行编写。因此,这种定义对UICollectionView数据结构、层次结构、关系来说是一种自然的表达方式。
-
当添加section或item时,您可以传递allCases配置UICollectionView。然后每个元素通过闭包参数传递,定义Conv.Section或Conv.Item。因此,您可以使用提取的每个元素来表示CollectionView数据结构。
授权
Header logo遵循CC BY-NC 4.0授权。原始设计由noainoue完成。


