
CiaoTransitions


目录
描述
使用 CiaoTransitions 您可以在 iOS 项目中制作演示效果复杂的自定义推送和模态过渡。您只需遵循一些简单的步骤即可实现。Ciao 是可定制的且易于使用。
- 制作令人惊叹的过渡
- 完全可定制
- 包括 App Store 模拟过渡!
- 易于使用
- 支持 iOS,使用 Swift 4 开发
示例
要运行示例项目,请克隆仓库,然后在示例目录中首先运行 pod install。

安装
Ciao可以通过CocoaPods获得。要安装,只需将以下行添加到您的Podfile中,并运行pod install
pod 'CiaoTransitions'然后您可以在需要时导入它
import CiaoTransitions使用方法
在示例中,您将看到一些可以在项目中使用的自定义过渡动画。一旦安装,请遵循以下步骤。操作非常简单
1. 将 CiaoTransition 添加到您要显示的视图控制器
将 CiaoTransition 添加到您的显示视图控制器中。这是为了保存您的过渡动画以用于已曦除交互。如果您有一些滚动视图,您可能也需要它。在这种情况下,您应该在 views 控制时调用 didScroll 方法。
class DetailViewController: CiaoBaseViewController, UIScrollViewDelegate {

    @IBOutlet weak var scrollView: UIScrollView!

    var ciaoTransition: CiaoTransition?

    override func viewDidLoad() {
        super.viewDidLoad()
        scrollView.delegate = self
    }

    func scrollViewDidScroll(_ scrollView: UIScrollView) {
        ciaoTransition?.didScroll(scrollView)
    }
}
重要提示:如果视图中有一些 滚动视图,您必须实现 UIScrollViewDelegate 协议,并在视图滚动时调用
didScroll方法。CiaoTransition需要这样做来管理交互过渡。
2. 使用您的值实例化 CiaoTransition
在显示您的视图控制器之前,您需要创建一个 CiaoTransition 实例并将其添加到显示视图控制器中。
// How to instance a CiaoTransition object
let ciaoTransition = CiaoTransition(
		style: CiaoTransitionStyle,
		configurator: CiaoConfigurator? = nil,
		scaleConfigurator: CiaoScaleConfigurator? = nil,
		appStoreConfigurator: CiaoAppStoreConfigurator? = nil)
CiaoConfigurator 用于设置过渡动画的自定义值
CiaoScaleConfigurator 用于创建
scale风格的过渡动画CiaoAppStoreConfigurator 用于创建
appStore风格的过渡动画
使用 Storyboard 的示例
override func prepare(for segue: UIStoryboardSegue, sender: Any?) {
    guard let detailViewController = segue.destination as? DetailViewController else { return }
    let ciaoTransition = CiaoTransition(style: .vertical)
    detailViewController.ciaoTransition = ciaoTransition
    navigationController?.delegate = ciaoTransition
}
使用Xibs的示例推送
func presentDetailView() {
	let ciaoTransition = CiaoTransition(style: .vertical)
	let detailViewController = DetailViewController()
	detailViewController.ciaoTransition = ciaoTransition
	navigationController?.delegate = ciaoTransition
	navigationController?.pushViewController(detailViewController, animated: true)
}
使用Xibs的示例模态窗口
func presentDetailView() {
	let ciaoTransition = CiaoTransition(style: .vertical)
	let detailViewController = DetailViewController()
	detailViewController.ciaoTransition = ciaoTransition
	detailViewController.transitioningDelegate = ciaoTransition
	present(detailViewController, animated: true, completion: nil)
}
使用Navigation Controller的示例模态窗口
func presentDetailView() {
let ciaoTransition = CiaoTransition(style: .vertical)
let detailViewController = DetailViewController()
detailViewController.ciaoTransition = ciaoTransition

let navigationController = UINavigationController(rootViewController: detailViewController)
navigationController.transitioningDelegate = ciaoTransition

present(navigationController, animated: true, completion: nil)
}
配置
CiaoConfigurator
通过创建CiaoConfigurator实例来自定义过渡效果
/// Present animation duration
public var duration: TimeInterval = 0.8

/// This block is executed when the view has been presented
public var presentCompletion: (()->Void)? = nil

/// This block is executed when the view has been dismissed
public var dismissCompletion: (()->Void)? = nil

/// Enable or disable fade effect on main view controller
public var fadeOutEnabled = true

/// Enable or disable fade effect on presented view controller
public var fadeInEnabled = false

/// Enable or disable scale 3d effect on back main view controller
public var scale3D = true

/// Enable or disable lateral translation on main view controller
public var lateralTranslationEnabled = false

/// Enable or disable lateral swipe to dismiss view
public var dragLateralEnabled = false

/// Enable or disable vertical swipe to dismiss view
public var dragDownEnabled = true
然后,你可以通过CiaoTransition实例传递这些配置参数
let configurator = CiaoConfigurator()
let ciaoTransition = CiaoTransition(style: .vertical, configurator: configurator)
CiaoScaleConfigurator
缩放过渡配置器是必需的,以便执行缩放过渡。为此,Ciao需要您要缩放的视图的一些信息。首先创建一个CiaoScaleConfigurator实例并设置自定义参数。
/// Source image view is going to be scaled from your initial view controller
public var scaleSourceImageView: UIImageView?

/// Source image view frame converted to superview in view controller.
public var scaleSourceFrame: CGRect = .zero

/// This is the tag asigned to your image view in presented view controller
public var scaleDestImageViewTag: Int = 1000000000

/// Destination image view frame in presented view controller
public var scaleDestFrame: CGRect = .zero
要设置scaleSourceFrame,需要将源图像视图框架中的矩形转换为视图控制器中的superview。请参阅下一个示例
// Convert image view frame to view under collection view
let rectInView = cell.convert(cell.imageView.frame, to: collectionView.superview)
scaleConfigurator.scaleSourceFrame = rectInView
在呈现的视图控制器中标记您的图像视图是必需的,以帮助CiaoTransition获取视图以创建交互式过渡。请记住在您的图像视图和scaleDestImageViewTag中使用相同的标记
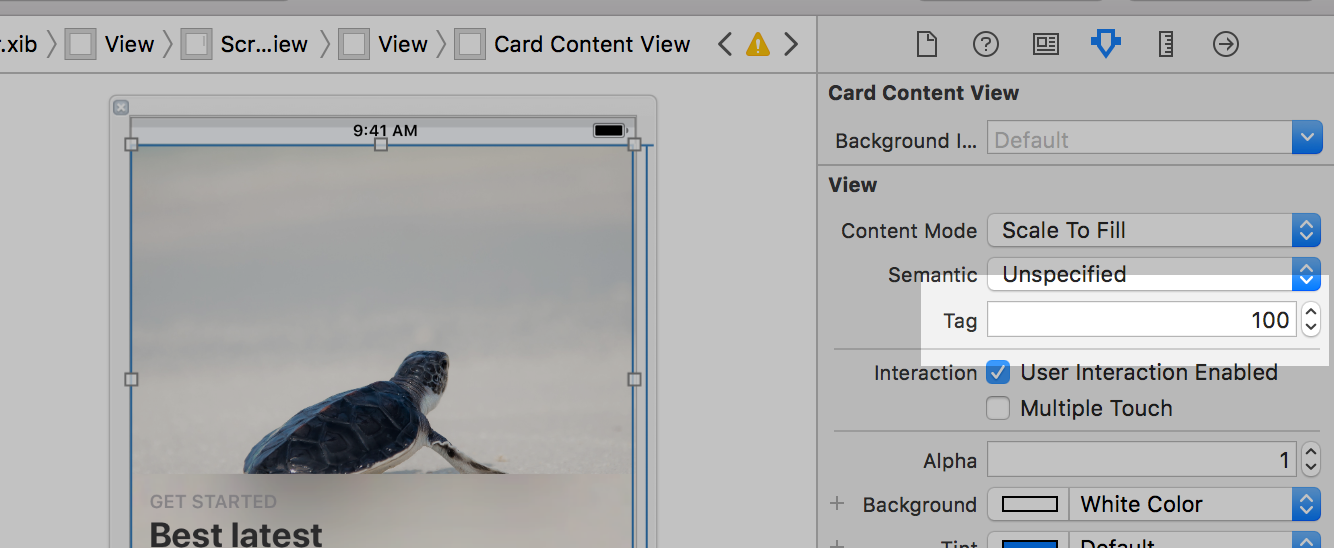
scaleConfigurator. scaleDestImageViewTag = 100CiaoAppStoreConfigurator
App Store 过渡配置器用于模拟应用商店的交互式过渡。为此,Ciao需要关于你要缩放视图的一些信息。首先创建一个《CiaoAppStoreConfigurator》实例并设置你的自定义参数。
/// Collection view cell used to expand the card view
let fromCell: CiaoCardCollectionViewCell

/// This is the tag asigned to your expanded view in presented view controller
let toViewTag: Int
查看下一个示例以实例化配置器
let appStoreConfigurator = CiaoAppStoreConfigurator(fromCell: cell, toViewTag: 100)过渡类型
基本过渡
/// Vertical transition. Drag down or lateral to dismiss the view (by default).
CiaoTransitionStyle.vertical

/// Lateral translation transition. Drag down or lateral to dismiss the view (by default).
CiaoTransitionStyle.lateral

/// Transition with scaled image. Drag down or lateral to dismiss the view (by default).
CiaoTransitionStyle.scaleImage
特殊过渡
/// Special simulated App Store transition. Drag down or lateral to dismiss the view (by default).
CiaoTransitionStyle.appStore
额外
此外,您可以在任何时候启用或禁用消失手势过渡。
// Enable gesture interactive transitions on dismiss
ciaoTransition.enable()

// Disable gesture interactive transitions on dismiss
ciaoTransition.disable()
使用《CiaoTransitions》的应用
如果你使用了《CiaoTransitions》,我很乐意听到你的消息并在此处展示你的应用!

作者
Alberto Aznar, [email protected]
致谢
我使用开源项目 iOS 11 App Store Transition,由 Wirawit Rueopas 创建,以模拟其中一个过渡效果。
贡献
欢迎提出想法进行合作
- 开源!
- 创建你的功能分支:
git checkout -b my-new-feature - 提交你的变更:
git commit -am '添加某些特性' - 将分支推送到远程:
git push origin my-new-feature - 提交拉取请求 :D
许可证
Ciao 可在 MIT 许可证下使用。有关更多详情,请参阅 LICENSE 文件。