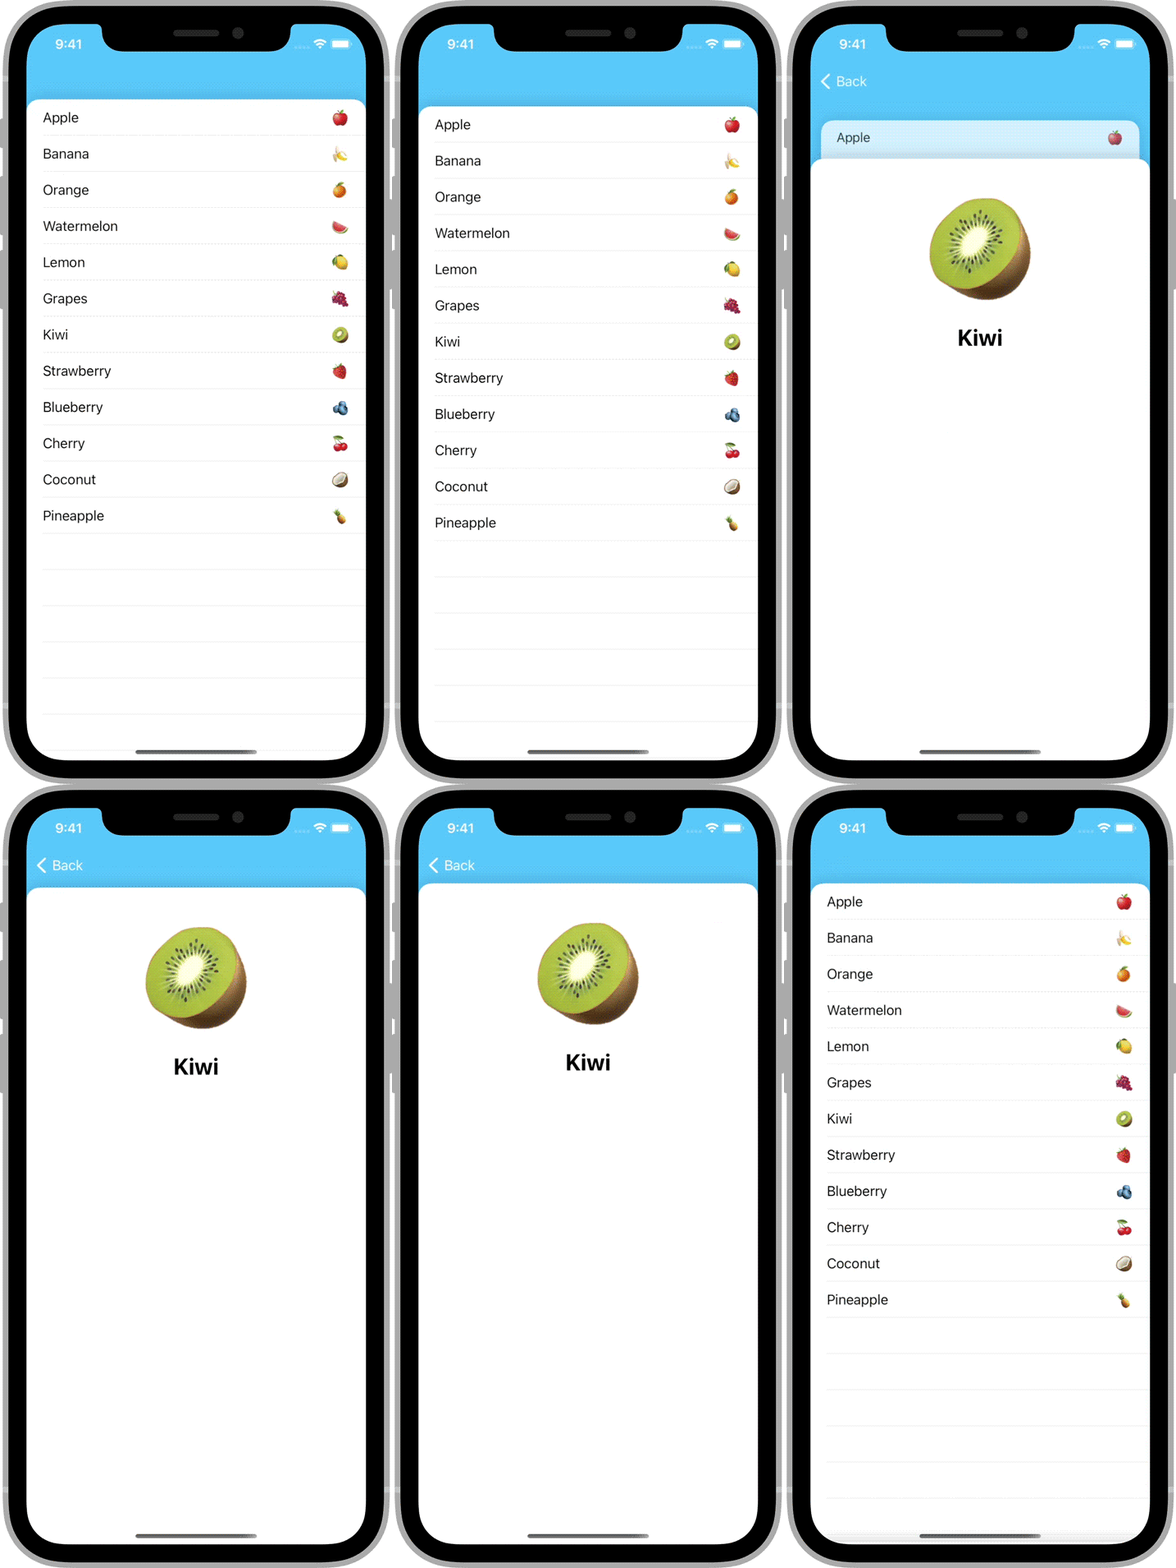
CardNavigation
将导航控制器转换成交互式卡片堆栈的最简单方式。
亮点
✅ 完全交互并可中断✅ 无缝与滚动视图结合使用✅ 支持方向变化✅ 可以使用或不用 Storyboard✅ 完全使用 Swift 编写,使用标准的 UIKit 组件
示例
安装
CocoaPods
要使用[CocoaPods](https://cocoapods.org.cn)安装CardNavigation,请将以下行添加到您的Podfile
pod 'CardNavigation', '~> 1.0'Swift Package Manager
要使用Swift Package Manager安装CardNavigation,请将以下值添加到您的Package.swift
dependencies: [
    .package(url: "https://github.com/james01/CardNavigation.git", .upToNextMajor(from: "1.0.0"))
]
使用方法
入门指南
CardNavigation由一个类组成:CardNavigationController。它 behaves like a standard UINavigationController。
在您想要使用CardNavigationController的文件顶部,导入CardNavigation。
import CardNavigation创建一个CardNavigationController的实例的方式与你创建一个常规的UINavigationController类似。
let navController = CardNavigationController(rootViewController: SomeViewController())当你推送一个视图控制器时,它将自动以互动卡的形式显示。
navController.pushViewController(AnotherViewController(), animated: true)背景颜色
默认情况下,CardNavigationController的navigationBar是透明的。这允许控制器的背景颜色显示出来。
您可能需要更改背景颜色以反映您应用程序的主题。
navController.view.backgroundColor = .systemTeal卡片外观
要更改卡片外观,创建一个自定义视图类。
import UIKit

class MyCardBackgroundView: UIView {

    override init(frame: CGRect) {
        super.init(frame: frame)
        backgroundColor = .white

        layer.cornerRadius = 32
        layer.maskedCorners = [.layerMinXMinYCorner, .layerMaxXMinYCorner]
        layer.cornerCurve = .continuous

        layer.borderColor = UIColor.black.cgColor
        layer.borderWidth = 4
    }

    required init?(coder: NSCoder) {
        fatalError("init(coder:) has not been implemented")
    }
}然后,创建CardNavigationController的子类并覆盖cardBackgroundViewClass属性,以返回您的自定义类。
import UIKit
import CardNavigation

class MyCardNavigationController: CardNavigationController {

    override var cardBackgroundViewClass: UIView.Type {
        return MyCardBackgroundView.self
    }
}
作者
詹姆斯·兰道尔夫 (@jamesrandolph01)
许可协议
CardNavigation遵循MIT许可协议发布。详情请见LICENSE。


