[CN]CYLTabBarController【一行代码实现 Lottie 动画 TabBar】
[EN]CYLTabBarController [An animated tabBar supported by Lottie with one line of code]


[CN]阅读须知
[EN]Before Reading
- [CN] 标记代表默认为中文。
- [EN] 标记代表英文。
- [CN] 点击此处获取 QQ 群,Telegram 群交流信息。
- [EN] Telegram 群组以交流功能或问题: https://t.me/CYLTabBarController
[中文]谁在用?上架APP列表[英文]who are using?List of App published
| APP名称链接图标 | 图片 | APP名称链接图标 | 图片 |
|---|---|---|---|
海底捞 App Store链接  |
 |
C家 App Store链接  |
Lottie效果  |
淘必中-淘宝推出的一具有营销购物功能的APP App Store链接  |
 |
慧诊健康 App Store链接  |
 |
究竟大学 App Store 链接  |
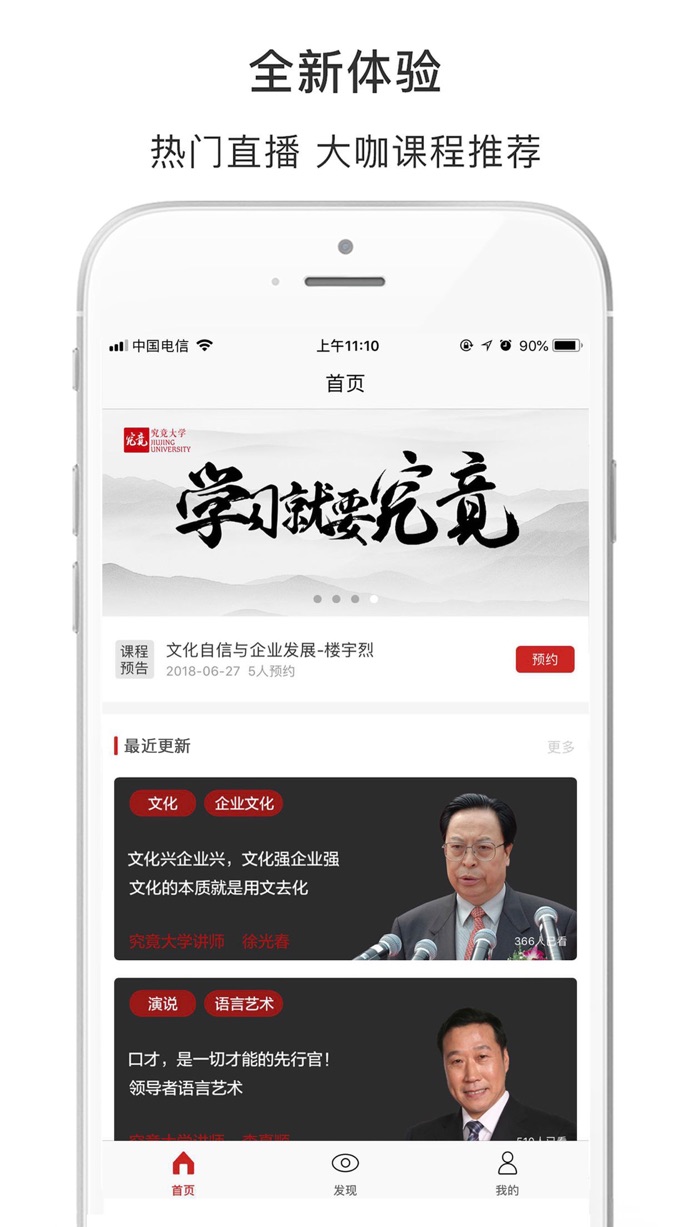 |
蕉片 - 短视频拍摄剪辑出电影大片 App Store 链接  |
 |
闪剧 - 可以玩的短视频 App Store 链接  |
 |
土狗云商城 App Store 链接  |
 |
Analyst.ai App Store 链接  |
 |
美膳校园 App Store 链接  |
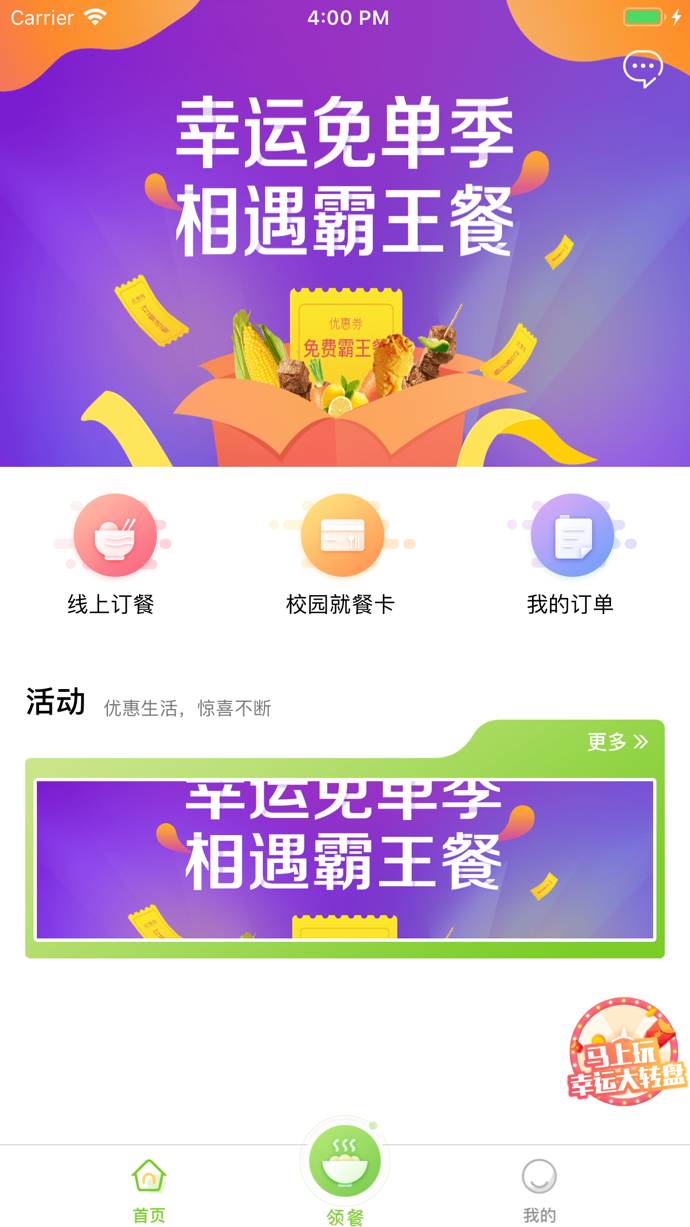 |
全聚星 App Store 链接  |
 |
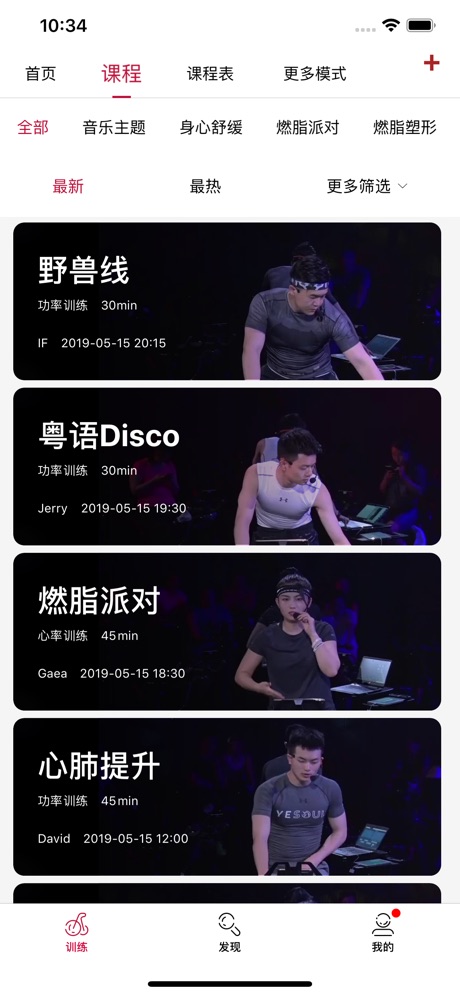
Yesoul App Store 链接  |
 |
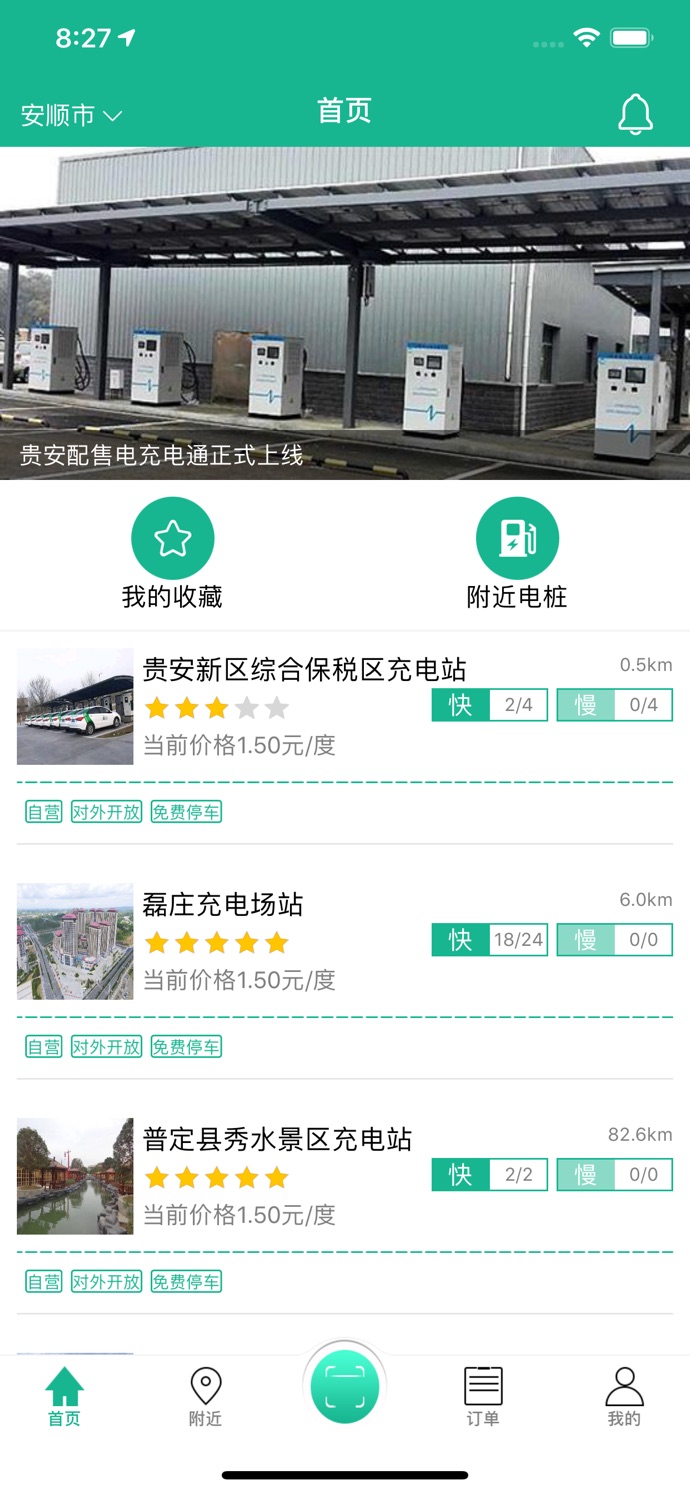
贵州充电通 App Store 链接  |
 |
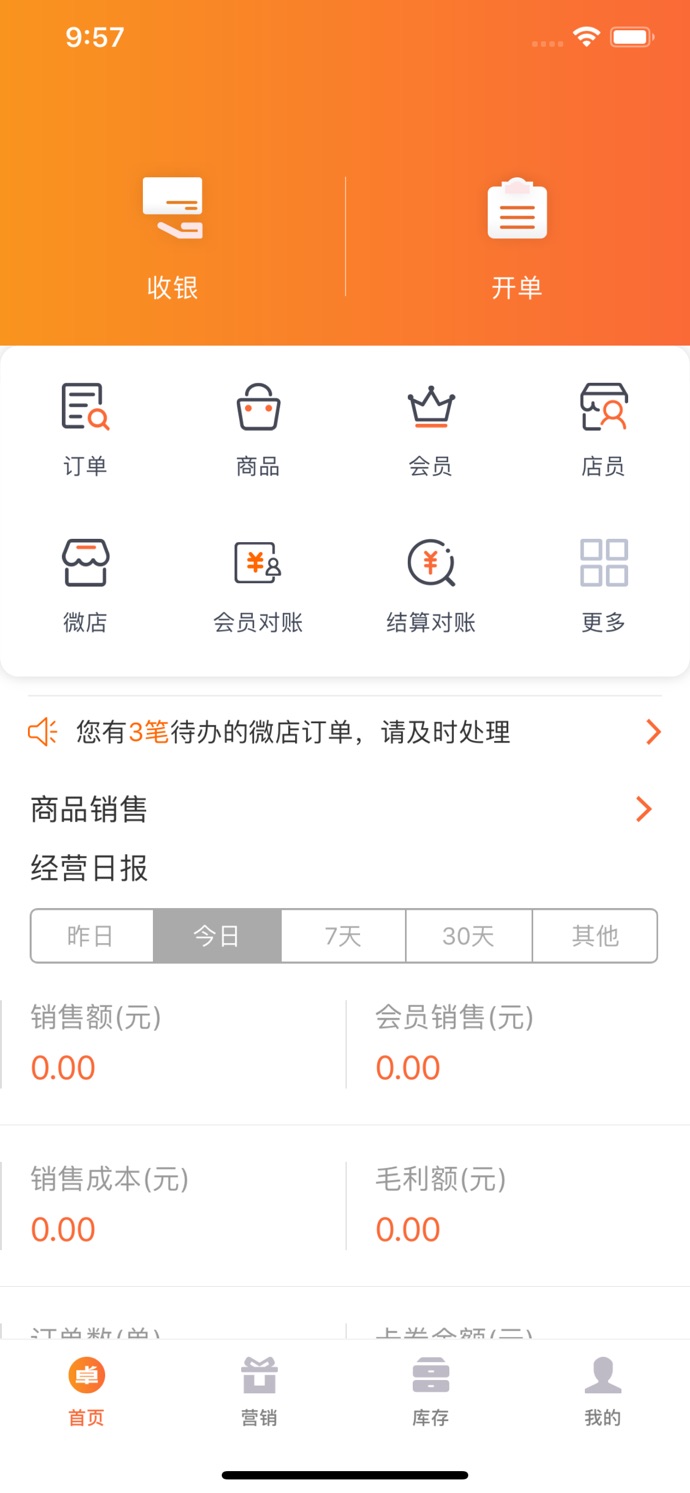
卓尔购 App Store 链接  |
 |
卓越管家 App Store 链接  |
 |
悦守护 App Store 链接 |  |
筑集采采购端 App Store 链接  |
 |
筑集采供应端 App Store 链接  |
 |
桂富宝 App Store 链接  |
 |
小猪奔奔 App Store 链接  |
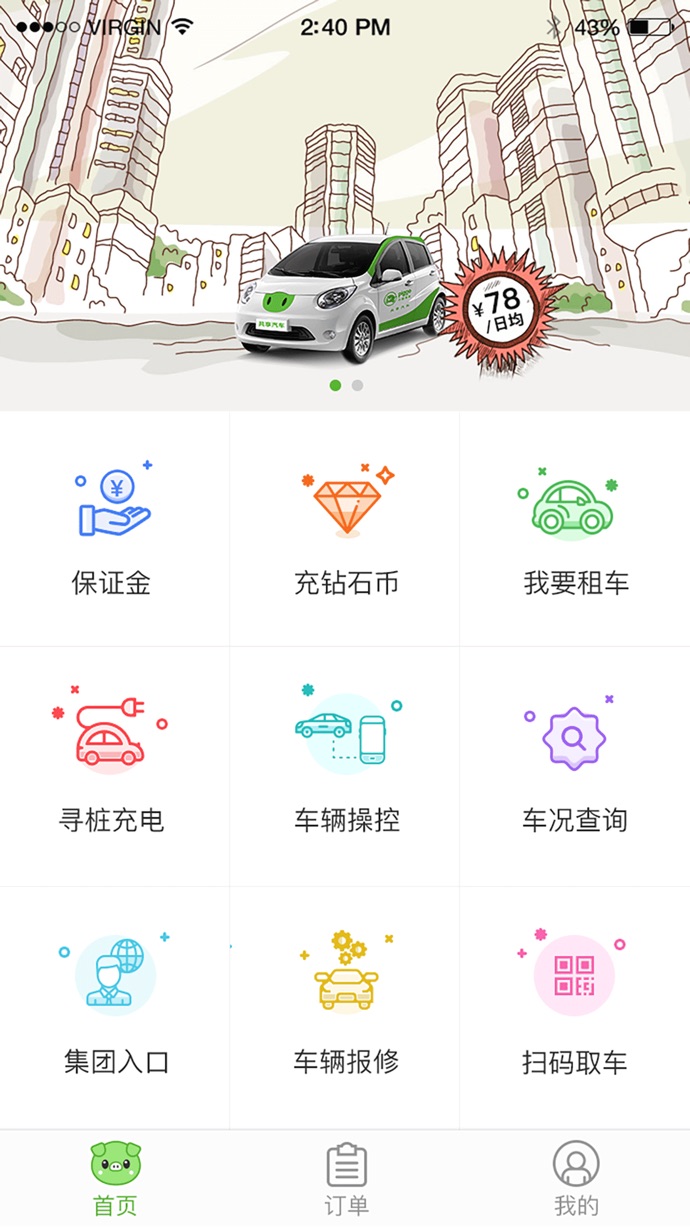 |
娃娃坞(开发中) |
 |
更多APP请访问 《使用 CYLTabBarController 开发的 APP,请在这里汇报》 | 如果你正在使用也请提交到这里 《使用 CYLTabBarController 做的 APP,来这里报道下吧》 |
[CN]导航
[EN]CONTENTS
与其他自定义TabBarController的区别
Comparetion with other Libraries
| [CN]特点[EN]Features | [CN]解释[EN]Explanation |
|---|---|
| [CN]一行代码支持Lottie动画TabBar样式[EN] It only needs one line of code to have an animated TabBar with Lottie. | [CN]使用方法[EN]How to add animation of Lottie with one line of code.   |
| [CN]低耦合,易删除[EN]Loose coupling | [CN]1、TabBar设置与业务完全分离,最低只需传两个数组即可完成主流App框架搭建。[EN]1. This library is independent of your business codes which only needs two array parameters to be passed.[CN]2、 PlusButton 的所有设置都在单独的一个类(CYLPlusButton的子类)中实现:删除该特定的类,就能完全将 PlusButton 从项目中删除掉。[EN]2. PlusButton is also independent. If you delete the code of this class, you remove the PlusButton feature from your UI on screen completely. |
[CN]
[EN] TabBar and TabBarItem parts of this library both are system objects. |
[英文]放弃选择UIButton或UIView的优势1. 无需反复调整“间距位置等”来接近系统效果。[英文]不需要调整这些对象使其接近系统对象的的外观。2. 在push到下一页时,TabBar的隐藏和显示之间的过渡效果与系统一致(详见“ 集成后的效果 ”部分,给出了效果图)[英文]2. 推动动画与系统对象外观相同。3. 原生控件,因此可以使用许多系统API,例如:可以使用 [UITabBar appearance]; 、 [UITabBarItem appearance]; 设置样式。(详见“补充说明 ”部分,给出了响应代码示例)[英文]3. 使用系统API如 [UITabBar appearance];, [UITabBarItem appearance];等十分方便。 |
| 自动监测是否需要添加“加号”按钮,并能自动设置位置[英文]能够自动检查是否需要添加PlusButton。 | CYLTabBarController 既支持类似微信的“中规中矩”的 TabBarController 样式,并且默认就是微信这种样式,同时又支持类似“微博”或“淘宝闲鱼”这种具有不规则加号按钮的 TabBarController 。想支持这种样式,只需自定义一个加号按钮,CYLTabBarController 能检测到它的存在并自动将 tabBar 排序好,无需额外操作,并且还预留了一定的接口来满足自定义需求。“加号”按钮的样式、frame均在自定义的类中独立实现,不会涉及tabbar相关设置。 |
| 支持动态更新 | 可以动态删除PlusButton,可以动态更新样式  |
| 即使加号按钮超出了tabbar的区域,超出部分依然可以响应点击事件 | 红线内的区域均可以响应tabbar相关的点击事件,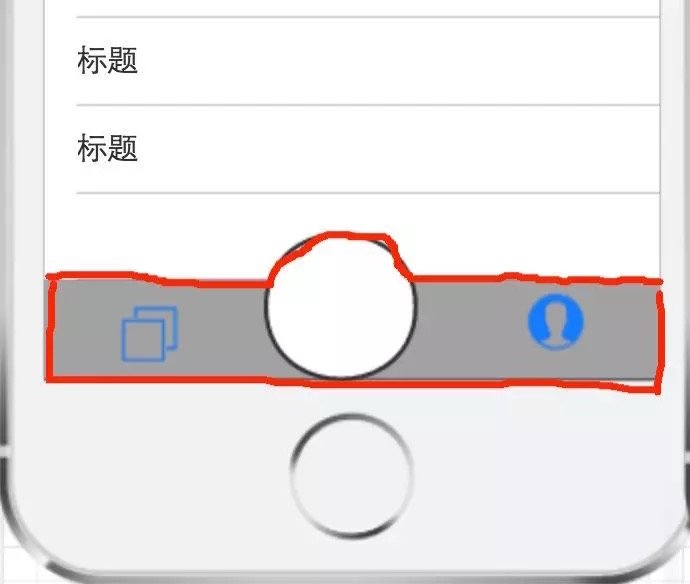 |
| 允许指定加号按钮位置 | 效果如下: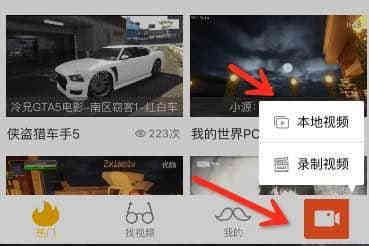 Airbnb-app效果: Airbnb-app效果: |
| 支持让TabBarItem仅显示图标,并自动使图标垂直居中,支持自定义TabBar高度 | 效果可见Airbnb-app效果,或者下图 |
| 支持角标自定义View |  |
| 支持多TabBar嵌套,并指定PlusButton位置 |  |
| 支持CocoaPods | 集成容易 |
| 支持Swift项目导入 | 兼容性良好 |
| 支持横竖屏 | ---- |
(学习交流群:515295083)
集成后的效果:
| 既支持默认样式 | 同时也支持创建自定义形状不规则的加号按钮 |
|---|---|
 |
 |
支持横竖屏

| 本仓库配套Demo的效果: | 另一个Demo 使用CYLTabBarController实现了微博Tabbar框架,效果如下 |
|---|---|
 |
 |
项目结构

以下是一些说明:
├── CYLTabBarController  #核心库文件夹,如果不使用 CocoaPods 集成,请直接将这个文件夹拖拽带你的项目中
└── Example
   └── Classes
       ├── Module       #模块类文件夹
       │   ├── Home
       │   ├── Message
       │   ├── Mine
       │   └── SameCity
       └── View         #这里放着 CYLPlusButton 的子类 CYLPlusButtonSubclass,演示了如何创建自定义的形状不规则加号按钮
使用CYLTabBarController
四步完成主流App框架搭建:
- 第一步:使用CocoaPods导入CYLTabBarController
- 第二步:设置CYLTabBarController的两个数组:控制器数组和TabBar属性数组
- 第三步:将CYLTabBarController设置为window的RootViewController
- 第四步(可选):创建自定义的形状不规则加号按钮
第一步:使用CocoaPods导入CYLTabBarController
- CocoaPods 安装
如果您的机器上已经安装了 CocoaPods,直接进入下一步即可。
如果您的网络已经翻墙,在终端中运行如下命令直接安装:
sudo gem install cocoapods
如果您的网络不能翻墙,可以通过国内 Ruby China 的 RubyGems 镜像进行安装。
在终端依次运行以下命令:
gem sources --add https://gems.ruby-china.com/ --remove https://rubygems.org.cn/ sudo gem install cocoapods
- 在 CocoaPods 源中查找当前库
在终端中运行以下命令:
pod search CYLTabBarController
注意,这个命令搜索的是您本机上的最新版本,并没有联网查询。如果运行以上命令没有找到或找不到最新版本,您可以运行以下命令更新一下本地的 CocoaPods 源列表。
pod repo update
- 使用 CocoaPods 导入
打开终端,进入您的工程目录,执行以下命令,会自动生成一个 Podfile 文件。
pod init
然后使用 CocoaPods 进行安装。如果尚未安装 CocoaPods,运行以下命令进行安装:
gem install cocoapods
打开 Podfile,在您项目的 target 下加入以下内容。(这里的示例可能是旧版本,使用时请替换为最新版本,最新版本信息可以从这里获取:)
在文件 Podfile 中加入以下内容:
pod 'CYLTabBarController', '~> 1.24.0'
然后在终端中运行以下命令:
pod install
或者这个命令:
# 禁止升级 CocoaPods 的 spec 仓库,否则会卡在 Analyzing dependencies,非常慢
pod update --verbose --no-repo-update
如果提示找不到库,则可以去掉 --no-repo-update。
完成后,CocoaPods 会在您的工程根目录下生成一个 .xcworkspace 文件。您需要通过此文件打开您的工程,而不是之前的 .xcodeproj。
CocoaPods 使用指南
指定 CYLTabBarController 版本
CocoaPods 中,有几种指定 CYLTabBarController 版本的方法。例如:
>= 1.n.X 会根据您本地的 CocoaPods 源列表,导入不低于 1.(n+1).X 版本的 CYLTabBarController。
~> 1.n.X 会根据您本地的 CocoaPods 源列表,导入介于 1.n.X~1.(n+1).0 之前的 CYLTabBarController 版本。
建议选择后者:锁定版本,便于团队开发。例如:
(这里的示例可能是旧版本,使用时请替换为最新版本,最新版本信息可以从这里获取:)
pod 'CYLTabBarController', '~> 1.24.0'
- 升级本地 CocoaPods 源
cocoaPods 有一个中心化的源,默认本地会缓存 CocoaPods 源服务器上的所有 CYLTabBarController 版本。
如果搜索时没有找到或找不到最新版本,可以执行以下命令更新本地缓存。
pod repo update
- 升级工程的 CYLTabBarController 版本
更新您工程目录中 Podfile 指定的 CYLTabBarController 版本后,在终端中执行以下命令。
pod update
- 删除 Cocoapods 本地缓存
在特殊情况下,由于网络或其他原因,通过 CocoaPods 下载的文件可能会有问题。
这时候您可以删除 CocoaPods 的缓存(~/Library/Caches/CocoaPods/Pods/Release 目录),然后再次导入即可。
- 查看当前使用的 CYLTabBarController 版本
您可以在 Podfile.lock 文件中看到您项目中使用的 CYLTabBarController 版本。
有关 CocoaPods 的更多内容,请参阅 CocoaPods 文档。
第二步:设置CYLTabBarController的两个数组:控制器数组和TabBar属性数组
//MainTabBarController

@interface MainTabBarController : CYLTabBarController
@end


- (instancetype)init {
   if (!(self = [super init])) {
       return nil;
   }
   /**
    * 以下两行代码目的在于手动设置让TabBarItem只显示图标,不显示文字,并让图标垂直居中。
    * 等效于在 `-tabBarItemsAttributesForController` 方法中不传 `CYLTabBarItemTitle` 字段。
    * 更推荐后一种做法。
    */
   UIEdgeInsets imageInsets = UIEdgeInsetsZero;//UIEdgeInsetsMake(4.5, 0, -4.5, 0);
   UIOffset titlePositionAdjustment = UIOffsetMake(0, -3.5);
   CYLTabBarController *tabBarController = [CYLTabBarController tabBarControllerWithViewControllers:self.viewControllers
                                                                              tabBarItemsAttributes:self.tabBarItemsAttributesForController
                                                                                        imageInsets:imageInsets
                                                                            titlePositionAdjustment:titlePositionAdjustment
                                                                                            context:nil
                                            ];
   [self customizeTabBarAppearance:tabBarController];
   self.navigationController.navigationBar.hidden = YES;
   return (self = (MainTabBarController *)tabBarController);
}

- (NSArray *)viewControllers {
   CYLHomeViewController *firstViewController = [[CYLHomeViewController alloc] init];
   UIViewController *firstNavigationController = [[CYLBaseNavigationController alloc]
                                                  initWithRootViewController:firstViewController];
   [firstViewController cyl_setHideNavigationBarSeparator:YES];
   CYLSameCityViewController *secondViewController = [[CYLSameCityViewController alloc] init];
   UIViewController *secondNavigationController = [[CYLBaseNavigationController alloc]
                                                   initWithRootViewController:secondViewController];
   [secondViewController cyl_setHideNavigationBarSeparator:YES];
   NSArray *viewControllers = @[
                                firstNavigationController,
                                secondNavigationController,
                                ];
   return viewControllers;
}

- (NSArray *)tabBarItemsAttributesForController {
   NSDictionary *firstTabBarItemsAttributes = @{
                                                CYLTabBarItemTitle : @"首页",
                                                CYLTabBarItemImage : self.darkMode ? @"home_highlight" : @"home_normal",  /* NSString and UIImage are supported*/
                                                CYLTabBarItemSelectedImage : @"home_highlight",  /* NSString and UIImage are supported*/
                                                };
   NSDictionary *secondTabBarItemsAttributes = @{
                                                 CYLTabBarItemTitle : @"鱼塘",
                                                 CYLTabBarItemImage : self.darkMode ? @"fishpond_highlight" : @"fishpond_normal",
                                                 CYLTabBarItemSelectedImage : @"fishpond_highlight",
                                                 };


   NSArray *tabBarItemsAttributes = @[
                                      firstTabBarItemsAttributes,
                                      secondTabBarItemsAttributes,
                                      ];
   return tabBarItemsAttributes;
}在这个字典中,CYLTabBarItemImage 和 CYLTabBarItemSelectedImage 支持 NSString、UIImage 两种格式。CYLTabBarItemTitle 不设置将只展示图标,并会对布局进行处理。
第三步:将CYLTabBarController设置为window的RootViewController
- (BOOL)application:(UIApplication *)application didFinishLaunchingWithOptions:(NSDictionary *)launchOptions {
/* *省略部分:   * */
   [self.window setRootViewController:self.tabBarController];
/* *省略部分:   * */
   return YES;
}
或者将 CYLTabBarController 的子类设置为 RootViewController,也可以将 CYLTabBarController 子类的 NavigationViewController 设置为 RootViewController,以便于动态更新,示例中采用后者。
第四步(可选):创建自定义的形状不规则加号按钮
创建一个继承于 CYLPlusButton 的类,需要满足的要求和步骤:
-
实现
CYLPlusButtonSubclassing协议 -
子类将自身类型进行注册:调用
[YourClass registerPlusButton],需要在RootViewController的ViewDidLoad方法中注册,也可以在-application:didFinishLaunchingWithOptions:方法中进行操作。
注意,不建议在子类的 +load 方法中调用,例如以下做法,在 iOS10 系统上存在崩溃风险:
+ (void)load {
   [super registerPlusButton];
}
协议提供了可选方法:
+ (NSUInteger)indexOfPlusButtonInTabBar;
+ (CGFloat)multiplierOfTabBarHeight:(CGFloat)tabBarHeight;
+ (UIViewController *)plusChildViewController;
+ (BOOL)shouldSelectPlusChildViewController;
各方法的作用是:
+ (NSUInteger)indexOfPlusButtonInTabBar;用于自定义加号按钮的位置,如果不实现则默认居中。但如果 tabBar 的个数是奇数,则必须实现该方法;否则,CYLTabBarController 会抛出 exception 进行提示。
主要适用于以下场景:
Airbnb-app效果:
+ (CGFloat)multiplierOfTabBarHeight:(CGFloat)tabBarHeight;此方法用于调整自定义按钮在 Y 轴方向上的中心位置,建议在按钮超出 tabBar 边界时实现该方法。返回值是自定义按钮中心点 Y 轴坐标除以 tabBar 的高度。如果不实现,则会自动进行比对,预设一个较为合适的位置;如果实现了该方法,预设的逻辑将失效。
内部实现时,会使用该返回值来设置 PlusButton 的 centerY 坐标,公式如下:
PlusButtonCenterY = multiplierOfTabBarHeight * taBarHeight + constantOfPlusButtonCenterYOffset;
也就是说:如果 constantOfPlusButtonCenterYOffset 为 0,同时 multiplierOfTabBarHeight 的值是 0.5,则表示 PlusButton 居中;小于 0.5 表示 PlusButton 偏上,大于 0.5 则表示偏下。
+ (CGFloat)constantOfPlusButtonCenterYOffsetForTabBarHeight:(CGFloat)tabBarHeight;参考 +multiplierOfTabBarHeight: 中的公式:
PlusButtonCenterY = multiplierOfTabBarHeight * taBarHeight + constantOfPlusButtonCenterYOffset;
也就是说:constantOfPlusButtonCenterYOffset 大于 0 会向下偏移,小于 0 会向上偏移。
注意:实现了该方法但没有实现 +multiplierOfTabBarHeight: 方法,在这种情况下,将基于预设逻辑进行偏移。
详情请见 Demo 中的 CYLPlusButtonSubclass 类实现。
+ (UIViewController *)plusChildViewController;详情请见: 点击 PlusButton 跳转到指定的 UIViewController
另外,如果加号按钮超出了边界,通常需要手动调用以下代码取消 tabBar 顶部的默认阴影,可在 AppDelegate 类中调用:
   //去除 TabBar 自带的顶部阴影
   [[UITabBar appearance] setShadowImage:[[UIImage alloc] init]];
// iOS10 之后需要使用 -[CYLTabBarController hideTabBarShadowImageView],见 AppDelegate 类中的演示;
如何调整、自定义 PlusButton 与其他 TabBarItem 的宽度?
CYLTabBarController 规定:
TabBarItem 宽度 = ( TabBar 总宽度 - PlusButton 宽度 ) / (TabBarItem 个数)因此,想自定义宽度,只需修改 PlusButton 的宽度即可。
例如,你可以在 Demo 中的 CYLPlusButtonSubclass.m 类中:
把
[button sizeToFit]; 改为
button.frame = CGRectMake(0.0, 0.0, 250, 100);
button.backgroundColor = [UIColor redColor];
效果如下,版本号为 1.24.0

同时,你也可以测试 CYLTabBarController 的这一特性:
即使加号按钮超出了 tabbar 的区域,超出部分仍然可以响应点击事件
并且你可以在项目的任意位置读取到 PlusButton 的宽度,借助 CYLTabBarController.h 定义的 CYLPlusButtonWidth 这个 extern。可参考 +[CYLTabBarControllerConfig customizeTabBarAppearance:] 中的用法。
补充说明
自定义 tabBar 样式
如果想更深入地自定义 tabBar 样式,可以在 -application:didFinishLaunchingWithOptions: 方法中设置。
/**
*  tabBarItem 的选中和不选中文字属性、背景图片
*/
- (void)customizeInterface {

   // 普通状态下的文字属性
   NSMutableDictionary *normalAttrs = [NSMutableDictionary dictionary];
   normalAttrs[NSForegroundColorAttributeName] = [UIColor grayColor];

   // 选中状态下的文字属性
   NSMutableDictionary *selectedAttrs = [NSMutableDictionary dictionary];
   selectedAttrs[NSForegroundColorAttributeName] = [UIColor darkGrayColor];

   // 设置文字属性
   UITabBarItem *tabBar = [UITabBarItem appearance];
   [tabBar setTitleTextAttributes:normalAttrs forState:UIControlStateNormal];
   [tabBar setTitleTextAttributes:selectedAttrs forState:UIControlStateSelected];

   // 设置背景图片
   UITabBar *tabBarAppearance = [UITabBar appearance];
   [tabBarAppearance setBackgroundImage:[UIImage imageNamed:@"tabbar_background"]];
}

- (BOOL)application:(UIApplication *)application didFinishLaunchingWithOptions:(NSDictionary *)launchOptions {
/* *省略部分:   * */
   [self.window makeKeyAndVisible];
   [self customizeInterface];
   return YES;
}
捕获 tabBar 点击事件
实现 CYLTabBarController 的以下几个代理方法即可捕获点击事件。
以下方法可捕获当前点击的 TabBar 控件,可以是 UITabBarButton、也可以是 PlusButton、还可以是添加到 TabBar 上的任意 UIControl 子类。但如果 PlusButton 也添加了点击事件,则点击 PlusButton 将不会触发该代理方法。
//CYLTabBarController.h

@protocol CYLTabBarControllerDelegate <NSObject>

/*!
* @param tabBarController The tab bar controller containing viewController.
* @param control Selected UIControl in TabBar.
* @attention If PlusButton also add an action, then this delegate method will not be invoked when the PlusButton is selected.
*/
- (void)tabBarController:(UITabBarController *)tabBarController didSelectControl:(UIControl *)control;

@end
以下方法可捕获跳转前的控制器以及跳转到的目标控制器。
//UITabBarController.h
@protocol UITabBarControllerDelegate <NSObject>
@optional
- (BOOL)tabBarController:(UITabBarController *)tabBarController shouldSelectViewController:(UIViewController *)viewController NS_AVAILABLE_IOS(3_0);
@end
注意:在调用该方法时,应始终调用 [[self cyl_tabBarController] updateSelectionStatusIfNeededForTabBarController:tabBarController shouldSelectViewController:viewController]; 来确保 PlusButton 的选中状态。以下为示例:
- (BOOL)tabBarController:(UITabBarController *)tabBarController shouldSelectViewController:(UIViewController *)viewController {
   [[self cyl_tabBarController] updateSelectionStatusIfNeededForTabBarController:tabBarController shouldSelectViewController:viewController];
   return YES;
}
相关用法已在 Demo 中展示。
遵循协议的方式如下:
@interface AppDelegate ()<UITabBarControllerDelegate, CYLTabBarControllerDelegate>

@end

- (BOOL)application:(UIApplication *)application didFinishLaunchingWithOptions:(NSDictionary *)launchOptions {
   //...
       tabBarControllerConfig.tabBarController.delegate = self;
   //...
   return YES;
}
点击 TabBarButton 时添加动画
Demo 演示效果图:

实现如下代理方法,就能得到对应的选中控件,可以在控件上直接添加动画。
//CYLTabBarController.h

@protocol CYLTabBarControllerDelegate <NSObject>

/*!
* @param tabBarController The tab bar controller containing viewController.
* @param control Selected UIControl in TabBar.
*/
- (void)tabBarController:(UITabBarController *)tabBarController didSelectControl:(UIControl *)control;

@end
Demo 中示例代码如下:
遵循协议
@interface AppDelegate ()<UITabBarControllerDelegate, CYLTabBarControllerDelegate>

@end//AppDelegate.m
- (void)tabBarController:(UITabBarController *)tabBarController didSelectControl:(UIControl *)control {
UIView *animationView;
// 如果 PlusButton 也添加了点击事件,那么点击 PlusButton 后不会触发该代理方法。
if ([control isKindOfClass:[CYLExternPlusButton class]]) {
UIButton *button = CYLExternPlusButton;
animationView = button.imageView;
} else if ([control isKindOfClass:NSClassFromString(@"UITabBarButton")]) {
for (UIView *subView in control.subviews) {
if ([subView isKindOfClass:NSClassFromString(@"UITabBarSwappableImageView")]) {
animationView = subView;
}
}
}
if ([self cyl_tabBarController].selectedIndex % 2 == 0) {
[self addScaleAnimationOnView:animationView];
} else {
[self addRotateAnimationOnView:animationView];
}
}
//缩放动画
- (void)addScaleAnimationOnView:(UIView *)animationView {
//需要实现的帧动画,这里根据需求自定义
CAKeyframeAnimation *animation = [CAKeyframeAnimation animation];
animation.keyPath = @"transform.scale";
animation.values = @[@1.0,@1.3,@0.9,@1.15,@0.95,@1.02,@1.0];
animation.duration = 1;
animation.calculationMode = kCAAnimationCubic;
[animationView.layer addAnimation:animation forKey:nil];
}
//旋转动画
- (void)addRotateAnimationOnView:(UIView *)animationView {
[UIView animateWithDuration:0.32 delay:0 options:UIViewAnimationOptionCurveEaseIn animations:^{
animationView.layer.transform = CATransform3DMakeRotation(M_PI, 0, 1, 0);
} completion:nil];
dispatch_after(dispatch_time(DISPATCH_TIME_NOW, (int64_t)(0.2 * NSEC_PER_SEC)), dispatch_get_main_queue(), ^{
[UIView animateWithDuration:0.70 delay:0 usingSpringWithDamping:1 initialSpringVelocity:0.2 options:UIViewAnimationOptionCurveEaseOut animations:^{
animationView.layer.transform = CATransform3DMakeRotation(2 * M_PI, 0, 1, 0);
} completion:nil];
});
}横竖屏适配
TabBar 在横竖屏适配时,如果你添加了 PlusButton,并且使用到了 TabBarItem 的宽度,不建议使用系统的事件 UIDeviceOrientationDidChangeNotification,而应使用库中的 CYLTabBarItemWidthDidChangeNotification 来更新 TabBar 的布局,最典型的场景是根据 TabBarItem 在不同横竖屏状态下的宽度变化来切换选中 TabBarItem 的背景图片。在 Demo 中 CYLTabBarControllerConfig.m 提供了这种场景的用法
CYLTabBarController.h 中提供了 CYLTabBarItemWidth 这一 extern 常量,并且在该值变化时,会及时更新该值,因此用法如下:
- (void)updateTabBarCustomizationWhenTabBarItemWidthDidUpdate {
   void (^deviceOrientationDidChangeBlock)(NSNotification *) = ^(NSNotification *notification) {
       [self tabBarItemWidthDidUpdate];
};
   [[NSNotificationCenter defaultCenter] addObserverForName:CYLTabBarItemWidthDidChangeNotification
                                                     object:nil
                                                      queue:[NSOperationQueue mainQueue]
                                                 usingBlock:deviceOrientationDidChangeBlock];
}

- (void)tabBarItemWidthDidUpdate {
   UIDeviceOrientation orientation = [[UIDevice currentDevice] orientation];
   if ((orientation == UIDeviceOrientationLandscapeLeft) || (orientation == UIDeviceOrientationLandscapeRight)) {
       NSLog(@"Landscape Left or Right !");
   } else if (orientation == UIDeviceOrientationPortrait){
       NSLog(@"Landscape portrait!");
   }
   CGSize selectionIndicatorImageSize = CGSizeMake(CYLTabBarItemWidth, [self cyl_tabBarController].tabBar.bounds.size.height);
   [[self cyl_tabBarController].tabBar setSelectionIndicatorImage:[[self class]
                                                                   imageFromColor:[UIColor yellowColor]
                                                                   forSize:selectionIndicatorImageSize
                                                                   withCornerRadius:0]];
}
访问初始化好的 CYLTabBarController 对象
对于任意 NSObject 对象:
CYLTabBarController.h 中为 NSObject 提供了分类方法 -cyl_tabBarController,因此在任何对象中,一行代码就可以访问到一个初始化好的 CYLTabBarController 对象,-cyl_tabBarController 的作用你可以这样理解:与获取单例对象的 +shareInstance 方法作用一样。
接口如下:
// CYLTabBarController.h

@interface NSObject (CYLTabBarController)

/**
* If `self` is kind of `UIViewController`, this method will return the nearest ancestor in the view controller hierarchy that is a tab bar controller. If `self` is not kind of `UIViewController`, it will return the `rootViewController` of the `rootWindow` as long as you have set the `CYLTabBarController` as the  `rootViewController`. Otherwise return nil. (read-only)
*/
@property (nonatomic, readonly) CYLTabBarController *cyl_tabBarController;

@end
用法:
//导入 CYLTabBarController.h
#import "CYLTabBarController.h"

- (void)viewDidLoad {
   [super viewDidLoad];
   CYLTabBarController *tabbarController = [self cyl_tabBarController];
   /*...*/
}
点击 PlusButton 跳转到指定 UIViewController
提供了一个协议方法来完成本功能:

实现该方法后,能让 PlusButton 的点击效果与点击其他 TabBar 按钮效果一样,跳转到该方法指定的 UIViewController。
注意:必须同时实现 +indexOfPlusButtonInTabBar 来指定 PlusButton 的位置。
遵循几个协议:
#pragma mark - CYLPlusButtonSubclassing

+ (UIViewController *)plusChildViewController {
   UIViewController *plusChildViewController = [[UIViewController alloc] init];
   plusChildViewController.view.backgroundColor = [UIColor redColor];
   plusChildViewController.navigationItem.title = @"PlusChildViewController";
   UIViewController *plusChildNavigationController = [[UINavigationController alloc]
                                                  initWithRootViewController:plusChildViewController];
   return plusChildNavigationController;
}

+ (NSUInteger)indexOfPlusButtonInTabBar {
   return 2;
}

+ (BOOL)shouldSelectPlusChildViewController {
   BOOL isSelected = CYLExternPlusButton.selected;
   if (isSelected) {
//        HDLLogDebug("🔴类名与方法名:%@(在第%@行),描述:%@", @(__PRETTY_FUNCTION__), @(__LINE__), @"PlusButton is selected");
   } else {
//        HDLLogDebug("🔴类名与方法名:%@(在第%@行),描述:%@", @(__PRETTY_FUNCTION__), @(__LINE__), @"PlusButton is not selected");
   }
   return YES;
}

+ (CGFloat)multiplierOfTabBarHeight:(CGFloat)tabBarHeight {
   return  0.3;
}

+ (CGFloat)constantOfPlusButtonCenterYOffsetForTabBarHeight:(CGFloat)tabBarHeight {
   return (CYL_IS_IPHONE_X ? - 6 : 4);
}

//+ (NSString *)tabBarContext {
//    return NSStringFromClass([self class]);
//}
另外你可以通过下面这个方法获取到 PlusButton 的点击事件:
+ (BOOL)shouldSelectPlusChildViewController;用法如下:
+ (BOOL)shouldSelectPlusChildViewController {
    BOOL isSelected = CYLExternPlusButton.selected;
    if (isSelected) {
        NSLog(@"🔴类名与方法名:%@(在第%@行),描述:%@", @(__PRETTY_FUNCTION__), @(__LINE__), @"PlusButton is selected");
    } else {
        NSLog(@"🔴类名与方法名:%@(在第%@行),描述:%@", @(__PRETTY_FUNCTION__), @(__LINE__), @"PlusButton is not selected");
    }
    return YES;
}
让TabBarItem仅显示图标,并使图标垂直居中
要想实现该效果,只需要在设置 tabBarItemsAttributes该属性时不传 title 即可。
比如:在 Demo 的基础上,注释掉图中红框部分:

| 注释前 | 注释后 |
|---|---|
 |
 |
可以通过这种方式来达到 Airbnb-app 的效果:
如果想手动设置偏移量来达到该效果:可以在 -setViewControllers: 方法前设置 CYLTabBarController 的 imageInsets 和 titlePositionAdjustment 属性。
请注意:设置这两个属性后,TabBar 中所有的 TabBarItem 都将被设置。并且第一种做法的逻辑将不会执行,也就是说该做法的优先级要高于第一种做法。
具体做法在demo中已经给出。
但仅使用该接口无法达到Airbnb-app的效果,还需要自定义 TabBar 的高度,你需要设置 CYLTabBarController 的 tabBarHeight 属性。你可以在 Demo 的 CYLTabBarControllerConfig.m 中的 -customizeTabBarAppearance: 方法中设置。
注:“仅显示图标,并使图标垂直居中”这里所指的“图标”,其所属类是私有类:UITabBarSwappableImageView,因此 CYLTabBarController 在相关的接口命名时会包含 SwappableImageView 字样。另外,使用该特性需要 pod update 到 1.5.5 以上版本。
多TabBar嵌套,并指定PlusButton位置
该功能在旧版本中可能不支持,建议使用最新版。
效果图:
实现 PlusButton 的以下协议方法指定 context:
//CYLPlusButtonSubclassing
+ (NSString *)tabBarContext;
当该值与 TabBarController 的 context 能够匹配上,PlusButton 将会展示。如果 PlusButton 和 TabBarController 均未指定 context 值,那么默认 context 值是相等的。
目前仅支持一个 PlusButton 展示一次,不限层级。如果与多个 TabBarController 的 context 能够匹配上,仅展示在最先一次匹配上的 TabBarController 上。
在 Swift 项目中使用 CYLTabBarController
仓库中提供了一个 Swift Demo,文件夹名为 Example-Swift。
如果想在 Swift 项目中将本库作为静态库使用:
CocoaPods 1.5.0+ (with Xcode 9+):
platform :ios, '8.0'
# Uncomment the next line when you want all Pods as static framework
# use_modular_headers!
pod 'CYLTabBarController', '~> 1.29.0', :modular_headers => true
作为动态库使用:
platform :ios, '8.0'
use_frameworks!
感谢 WeMadeCode 提供的 Swift 版 Demo,原仓库地址:WeMadeCode/CYLTabBarController-Swift
具体的编写步骤可参考热心网友提供的教程:《从头开始swift2.1 仿搜材通项目(三)主流框架Tabbed的搭建》
这里注意,文章的早期一个版本的示例代码有问题(作者注:现在已经更新了),缺少设置 PlusButton 大小的代码:这将导致 PlusButton 点击事件失效,具体修改代码如下:

搭配 Storyboard 使用 CYLTabBarController
参考:
- 见这里 issue讨论
- 这里,里面有个文件夹 CYLTabBarControllerTestDemo,这个 Demo 演示了如何搭配Storyboard使用。
源码实现原理
参考:《[Note] CYLTabBarController》
更多文档信息可查看 CocoaDocs:CYLTabBarController
常见问题解答
更多Q-A内容,可以在这里查看: issue-常见问题解答 Q:为什么放置6个TabBarItem会显示异常?
A:
Apple规定:
TabBar上最多只能显示5个TabBarItem,第六个及以上的将不会被显示。
另外,Apple检测的是UITabBarItem及其子类,所以放置“加号按钮”,这是UIButton,不在“5个”以内。
最多只能添加5个TabBarItem,也就是说加上“加号按钮”,一个TabBar上最多可以放置6个控件。否则,第6个及以后的TabBarItem将自动被屏蔽掉。从Apple的审核机制来看,超过5个也会被直接拒绝上架。
Q:我把demo两侧的item各去掉一个后,按钮的响应区域就变成下图的样子了:

A:v1.5.5版本已经修复了该问题,现在不会出现类似的问题了:点击按钮区域却不响应,响应区域有偏移。
Q:如何实现添加选中背景色的功能,像下面这样:
A:我已经在Demo中添加了如何实现该功能的代码,详情见CYLTabBarControllerConfig类中下面方法的实现:
/**
*  更多TabBar自定义设置:比如:tabBarItem 的选中和不选中文字和背景图片属性、tabbar 背景图片属性
*/
- (void)customizeTabBarAppearance:(CYLTabBarController *)tabBarController;
效果如下:

Q:当ViewController设置的self.title和tabBarItemsAttributes中对应的