ApolloDeveloperKit
![]()


Apollo Client Devtools 是用于 Apollo iOS 的桥梁。
概述
ApolloDeveloperKit 是一个 iOS / macOS 库,作为 Apollo iOS 客户端与 Apollo Client Developer tools 之间的桥梁。
此库具有同时监视发送的查询或突变的能力,还具有从嵌入的 GraphiQL 控制台中请求任意操作的功能。
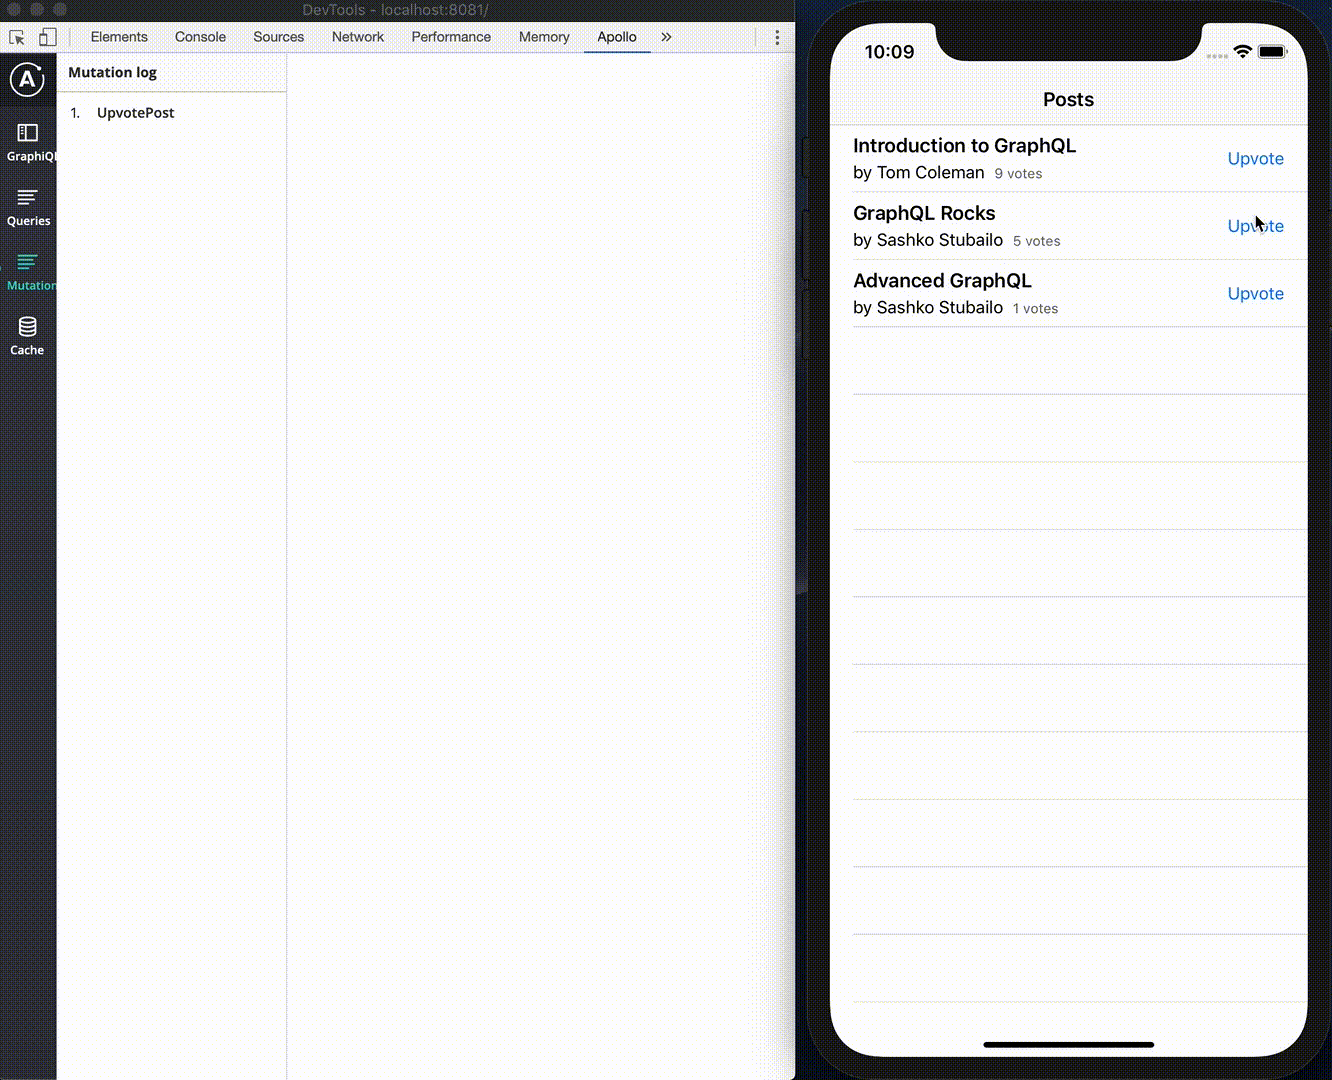
屏幕截图

先决条件
- Xcode
>= 11.2.1 - Apollo iOS
>= 0.29.0,< 0.34.0 - Apollo Client Devtools
安装
从 CocoaPods 安装
将以下行添加到您的 Podfile 中。
pod 'Apollo'
pod 'ApolloDeveloperKit', '~> 0.15.0', configurations: ['Debug']
然后运行 pod install。
从 Carthage 安装
将以下行添加到您的 Cartfile 中。
github "apollographql/apollo-ios"
github "manicmaniac/ApolloDeveloperKit"
然后运行 carthage update --platform iOS 或 carthage update --platform Mac。
设置
首先,为了连接 Apollo 的缓存和网络层,您需要使用 DebuggableNetworkTransport 和 DebuggableInMemoryNormalizedCache 而不是常规版本。
let networkTransport = DebuggableNetworkTransport(networkTransport: HTTPNetworkTransport(url: url))
let cache = DebuggableInMemoryNormalizedCache()
其次,用可调试组件实例化 ApolloStore 和 ApolloClient。
let store = ApolloStore(cache: cache)
let client = ApolloClient(networkTransport: networkTransport: store: store)
最后,创建 ApolloDebugServer 并运行。
let debugServer = ApolloDebugServer(cache: cache, networkTransport: networkTransport)
self.debugServer = debugServer // Note: you need to retain debugServer's reference
debugServer.start(port: 8081)
完整示例
import Apollo
import ApolloDeveloperKit
import UIKit

@UIApplicationMain
class AppDelegate: UIResponder, UIApplicationDelegate {
    var window: UIWindow?
    private var client: ApolloClient!
    private var debugServer: ApolloDebugServer?

    func application(_ application: UIApplication, didFinishLaunchingWithOptions launchOptions: [UIApplication.LaunchOptionsKey: Any]?) -> Bool {
        let url = URL(string: "https://example.com/graphql")!
        #if DEBUG
            let networkTransport = DebuggableNetworkTransport(networkTransport: HTTPNetworkTransport(url: url))
            let cache = DebuggableNormalizedCache(cache: InMemoryNormalizedCache())
            let store = ApolloStore(cache: cache)
            client = ApolloClient(networkTransport: networkTransport, store: store)
            debugServer = ApolloDebugServer(networkTransport: networkTransport, cache: cache)
            do {
                try debugServer.start(port: 8081)
            } catch let error {
                print(error)
            }
        #else
            client = ApolloClient(url: url)
        #endif
        return true
    }
}
使用方法
如果您还没有 Apollo Client Developer Tools,在继续下一步之前先安装它。
- 在您的设备或模拟器上启动您应用。
- 打开浏览器并跳转到服务器的 URL(如果您的应用在模拟器上运行上述示例,则 URL 为
https://:8081)。- 您将在浏览器的标签页上看到
ApolloDebugServer is running!。 - 如果没有,请确保服务器正在运行,并且指定的 URL 是正确的。
- 在真实设备上,主机不会是
localhost,但您可以使用ApolloDebugServer.serverURL检查它是什么。
- 您将在浏览器的标签页上看到
- 打开开发者工具。
- 选择
Apollo选项卡。- 您将在左侧面板看到如
GraphiQL、查询、变更之类的选项卡。 - 如果没有,请重新加载选项卡,直到再次连接。
- 您将在左侧面板看到如
从发布(App Store)构建中排除ApolloDeveloperKit
本节中的所有说明都是根据 Flipboard/FLEX 的方式编写的。
ApolloDeveloperKit最初是只为调试用途设计的,因此它不应向最终用户公开。
幸运的是,很容易从发布构建中排除ApolloDeveloperKit框架。具体策略取决于您如何将它们集成到项目中,以下进行了描述。
在开始这些说明之前,请确保您的代码使用了 #if DEBUG 语句正确地排除了ApolloDeveloperKit,否则它可能会意外地链接到您的应用。参见 Example/AppDelegate.swift 了解如何做。
对于CocoaPods用户
CocoaPods会在您的Podfile中仅指定调试配置时自动从发布构建中排除ApolloDeveloperKit。
对于Carthage用户
- 请勿将
ApolloDeveloperKit.framework添加到您的目标嵌入式二进制中,否则它将包含在所有构建中(因此也包括发布构建)。 - 相反,将
$(PROJECT_DIR)/Carthage/Build/iOS或$(PROJECT_DIR)/Carthage/Build/Mac添加到您的目标的 框架搜索路径 中(如果您已经使用Carthage包含其他框架,则此设置可能已经存在)。这使得可以从源文件中导入ApolloDeveloperKit框架。虽然添加此设置不会造成损害,但是至少应该为调试版添加。 - 将 运行脚本阶段 添加到您的目标中(比如在现有的
Link Binary with Libraries阶段之后插入),并将仅嵌入ApolloDeveloperKit.framework的调试构建
if [ "$CONFIGURATION" = Debug ]; then
  /usr/local/bin/carthage copy-frameworks
fi
最后,将 $(SRCROOT)/Carthage/Build/iOS/ApolloDeveloperKit.framework 或 $(SRCROOT)/Carthage/Build/Mac/ApolloDeveloperKit.framework 添加为此脚本阶段的输入文件。
对于手动将所有源文件复制到项目的用户
目前没有简单的方法,但您可以通过设置名为 EXCLUDED_SOURCE_FILE_NAMES 的用户定义构建变量来排除 ApolloDeveloperKit。该变量的值是 ApolloDeveloperKit 中每个文件名的空格分隔列表。对此带来的不便表示歉意。
控制台重定向
ApolloDeveloperKit 支持控制台重定向。当启用时,所有写入 stdout(通常使用 print() 写入)和 stderr(使用 NSLog() 写入)的日志都会重定向到网页浏览器的控制台。
默认情况下禁用了此功能,因此您可能需要显式启用它。
debugServer = ApolloDebugServer(networkTransport: networkTransport, cache: cache)
debugServer.enableConsoleRedirection = true
然后在浏览器开发者工具中的控制台打开。您将看到 iPhone 或模拟器的日志。
在浏览器控制台中,stdout 写入的日志以 蓝绿色 表示,stderr 以 橙色 表示,以便您能够将它们与普通浏览器日志区分开来。

开发
API 文档
自动生成的 API 文档在这里。
运行示例应用程序
由于Example应用程序是apollographql/frontpage-ios-app(https://github.com/apollographql/frontpage-ios-app)的略作修改版本,您需要在运行应用程序之前启动apollographql/frontpage-server(https://github.com/apollographql/frontpage-server)。
- 打开Xcode并选择ApolloDeveloperKitExample方案。
- 在你的浏览器中运行并打开
https://:8081。
许可协议
本软件根据MIT许可证分发。更多详细信息,请参阅LICENSE。